Why Is My Air Compressor Leaking Air?
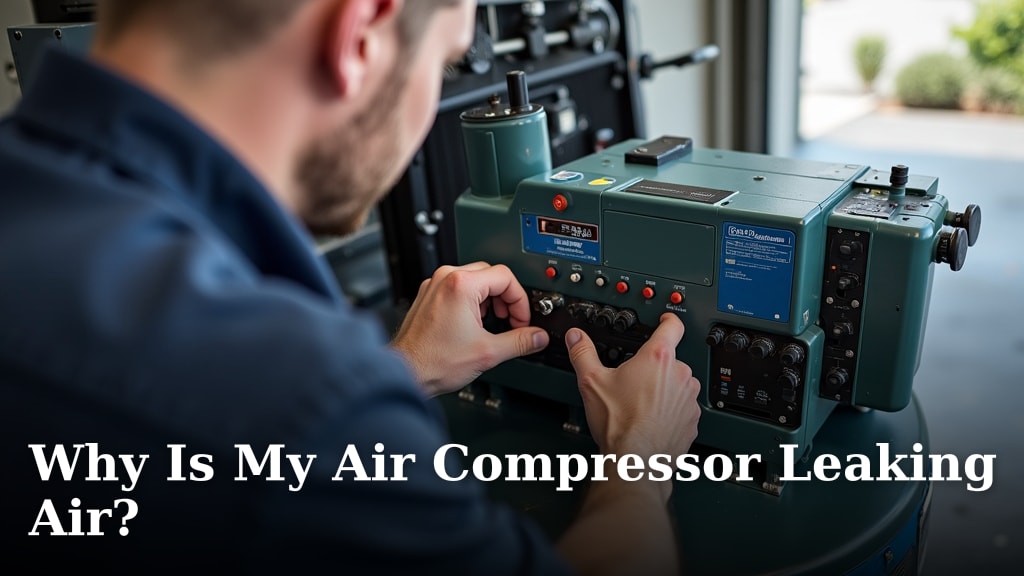
Your air compressor is leaking air because of worn-out seals, loose fittings, or damaged hoses. These are the most common culprits we found that cause air to escape. Finding the leak quickly can save you money and prevent further damage to your equipment.
An air leak means your compressor has to work harder. This leads to higher energy bills and can shorten the lifespan of your unit. Even a small leak can turn into a big problem over time if not addressed.
- Air leaks waste energy and money.
- Common causes include bad seals, loose connections, and damaged hoses.
- Ignoring leaks can lead to costly repairs and reduced compressor life.
- Regular checks can help you find and fix leaks early.
Let’s walk through exactly why your air compressor might be leaking air and what you can do about it.
Identifying the Source of Your Air Compressor Leak
Pinpointing where your air compressor is leaking air can feel like finding a needle in a haystack. But don’t worry, we’ve found that with a methodical approach, you can track down the culprit.
Most leaks stem from a few common areas. We’ll show you how to check each one. Think of it as a treasure hunt, but for a hidden air escape route.
The Soapy Water Test: Your Best Friend
This simple test is the gold standard for finding air leaks. You’ll need a spray bottle, some dish soap, and water. It’s safe, effective, and really easy to do.
How to Perform the Soapy Water Test
- Mix a solution: Combine one part dish soap with three parts water in your spray bottle. Shake it gently.
- Pressurize your compressor: Turn on your air compressor and let it build up to its maximum pressure.
- Spray suspected areas: Apply the soapy solution liberally to all connections, hoses, and valves.
- Watch for bubbles: If you see bubbles forming and growing, you’ve found a leak! The bigger the bubbles, the bigger the leak.
- Mark the spot: Use a marker or tape to clearly mark the exact location of each leak you find. This helps with repairs.
This test works because air escaping through a small opening creates enough force to form soap bubbles. It’s like blowing bubbles through a straw (National Institute for Occupational Safety and Health).
Common Areas Where Air Leaks Occur
Air compressors have several points where leaks are most likely to develop. Knowing these spots helps you focus your search. We often find that these areas are subject to the most wear and tear.
Fittings and Connections
These are the junctions where different parts of your compressor meet. They are a frequent source of leaks. Think of them as the weakest links in a chain.
Loose or Damaged Threads
Over time, vibrations can cause fittings to loosen. The threads themselves can also get damaged. A simple tightening might fix the problem. If the threads are stripped, you might need a replacement part.
Missing or Worn Thread Sealant
Many fittings require thread sealant tape (like PTFE tape) or liquid sealant. This material helps create an airtight seal. If it’s old or not applied correctly, air can escape. Reapplying sealant is a quick fix.
Hoses and Air Lines
Your compressor’s hoses carry the compressed air. They are often exposed and can suffer damage. Imagine a garden hose with a tiny pinhole — water would escape, right?
Cracks, Cuts, and Punctures
Hoses can degrade over time due to age, UV exposure, or physical damage. Look for visible signs of wear. Even a small pinhole can lead to a significant leak. Sometimes, a hose can crack where it connects to a fitting, which is harder to see.
Loose Clamps
Hoses are often secured with clamps. If these clamps aren’t tight enough, air can leak from the connection point. Tightening them might solve your issue. Always ensure they are snug, but don’t overtighten and damage the hose.
Valves
Valves control the flow of air. When they malfunction, they can become a source of leaks. Each valve has a specific job, and a leak means it’s not doing its job correctly.
Drain Valve
This valve is usually at the bottom of the air tank. Its purpose is to release condensation. If it doesn’t close completely, air will constantly escape. We’ve found that the drain valve is a common offender.
- Check for debris: Sometimes dirt or rust can prevent the valve from seating properly.
- Tighten or replace: A loose drain valve can be tightened. If it’s faulty, you’ll need to replace it.
Safety Valve (Pressure Relief Valve)
The safety valve is a crucial component. It releases air if the tank pressure gets too high. If it’s constantly leaking, it could mean one of two things: either the valve is faulty, or your pressure switch isn’t working correctly, causing the tank to over-pressurize.
If your safety valve is consistently releasing air at normal operating pressure, seek professional advice. This indicates a potentially dangerous situation (Occupational Safety and Health Administration).
Check Valve
The check valve prevents air from flowing back into the pump from the tank. If this valve leaks, you might hear a hissing sound from the intake filter when the compressor is off. The pump will also cycle on more often. This is a subtle leak, but important.
Tank and Welds
While less common, the air tank itself can develop leaks. These are usually more serious. A tank leak means the structural integrity might be compromised.
Rust or Corrosion
Inside the tank, moisture can lead to rust. Over time, rust can eat through the metal, creating pinholes. This is why draining your tank regularly is so important. External rust can also lead to leaks, especially at welds. Visible rust is a major red flag.
Faulty Welds
Manufacturing defects or extreme stress can cause welds to crack. If you suspect a tank or weld leak, it’s often best to consult a professional. Tank leaks can be very dangerous. We always recommend caution here.
The Impact of Air Leaks on Your Compressor and Wallet
You might think a small leak is no big deal. But those tiny hisses add up. They drain your energy, your time, and your money. It’s like leaving a faucet dripping; it seems minor until you see the water bill. We’ve found that even small leaks can have a significant impact.
Increased Energy Consumption
When air leaks, your compressor has to run more frequently and for longer periods. It’s constantly trying to reach and maintain the set pressure. This extra work translates directly into higher electricity bills. Imagine your car always trying to go uphill – it uses more gas.
Reduced Lifespan of Components
Constant cycling wears down your compressor’s motor, pump, and other moving parts faster. The harder your compressor works, the quicker it ages. Addressing leaks helps your compressor live a longer, healthier life.
Decreased Efficiency
Leaks reduce the usable air pressure and volume available for your tools. This means your air tools might perform poorly or not at all. It can be frustrating when your nail gun won’t drive a nail all the way in because of a lack of air. A steady air supply is key for productivity.
Checklist for Finding and Fixing Air Leaks
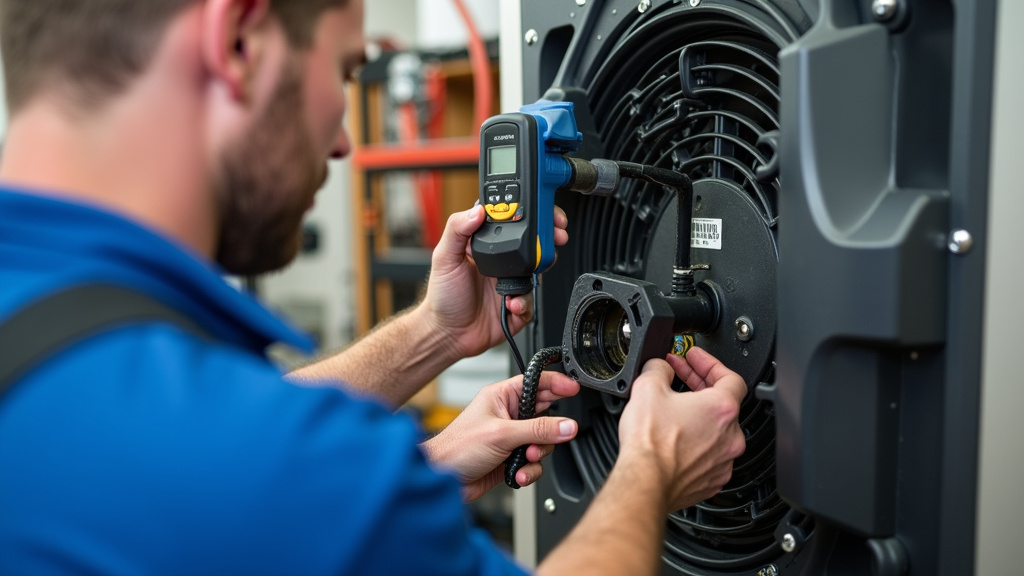
Here’s a quick list to guide you through the process. Keeping this handy can make troubleshooting much easier. We’ve put together the most important steps.
- Assemble your soapy water spray bottle.
- Pressurize your air compressor fully.
- Start by spraying all hose connections and fittings.
- Move on to all valves, especially the drain valve and safety valve.
- Inspect hoses for visible cracks or damage.
- Don’t forget to check tank welds and seams.
- Mark every leak you find for later repair.
By systematically going through these steps, you’ll be well on your way to a leak-free air compressor. A little detective work now can save you a lot of headache and expense later. You’ll be glad you took the time to do it right.
Conclusion
Finding and fixing an air leak in your compressor might seem daunting at first. However, by using the simple soapy water test and systematically checking common leak points, you can accurately pinpoint the problem. We’ve shown you how even small leaks can lead to big issues like higher energy bills and reduced equipment life. Taking the time now to address these leaks will save you money and headaches down the road.
So, grab your spray bottle, follow our checklist, and get your air compressor running efficiently again. Your wallet and your tools will thank you.
Frequently Asked Questions
How often should I check my air compressor for leaks?
We recommend checking your air compressor for leaks at least every few months, especially if you use it regularly. A quick visual inspection and a soapy water test can catch issues before they become major problems.
Can a small air leak really make a big difference in my electricity bill?
Absolutely. Even a tiny, continuous leak forces your compressor to run more often to maintain pressure. This constant cycling consumes extra electricity, leading to noticeable increases in your energy costs over time.
Is it safe to use my air compressor if it has a small leak?
While a very small, non-critical leak might not pose an immediate danger, it’s always best to fix it promptly. Leaks reduce efficiency and put added strain on components, potentially leading to more serious failures or safety concerns down the line.
What should I do if my air compressor’s safety valve is always leaking?
If your safety valve is constantly releasing air, it’s a serious sign. This could mean the valve itself is faulty, or that your compressor’s pressure switch isn’t working correctly, causing dangerous over-pressurization. We strongly advise you to stop using the compressor and have it inspected by a professional immediately.
Can I use regular plumbers tape (PTFE tape) to seal leaky air compressor fittings?
Yes, standard PTFE (Teflon) tape designed for plumbing applications works well for sealing threaded air compressor fittings. We find it creates an effective airtight seal. Always apply it correctly, wrapping clockwise around the threads to prevent it from unwinding.