
How to Clean an Air Compressor Filter?
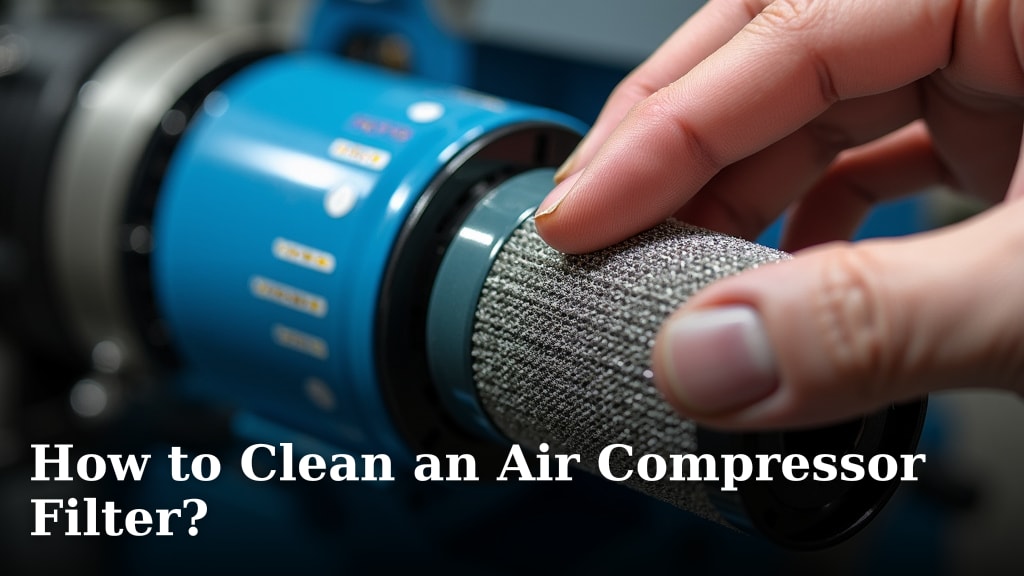
The easiest way to clean an air compressor filter is by removing it and gently blowing away dust with low-pressure compressed air, or by washing it with mild soap and water if it’s a reusable foam type. This simple process helps your compressor run better and lasts much longer. Keeping your filter clean is a small task with big rewards for your tools.
A dirty air filter can seriously hurt your air compressor’s performance. It can make your compressor work harder than it should, leading to overheating and premature wear. We found that a regularly cleaned or replaced filter ensures your air tools get clean, unrestricted air flow. This keeps your projects running smoothly and efficiently.
- Discover why a clean filter matters for your air compressor.
- Learn how to tell if your air filter needs cleaning.
- Find out the best way to clean different filter types.
- Understand when you should replace your air filter instead.
Ready to give your air compressor the care it deserves? Let’s walk through the simple steps to clean your air compressor filter, ensuring it stays in top shape for all your future projects.
Getting Started: Essential Steps Before You Clean Your Air Compressor Filter
Before you dive into cleaning, a little preparation goes a long way. This ensures your safety and a more effective cleaning process.
Safety First: Disconnecting and Depressurizing
Your safety is the top priority. Always take these steps before touching any part of your air compressor.
Unplugging Your Compressor
No matter what, always unplug your air compressor from the power source. This prevents accidental startups, protecting you from sudden movements or electrical hazards. Think of it like turning off the car before you work on the engine.
Depressurizing the Tank
Air compressors store air under high pressure. You need to release this pressure completely before opening anything. Find the tank drain valve, usually at the bottom of the tank, and slowly open it. You’ll hear the air escape. Wait until all the air is out and the pressure gauge reads zero. This prevents a surprising burst of air when you open the filter housing.
Gathering Your Cleaning Supplies
Having your tools ready makes the job much smoother. You likely have most of these items around your home or workshop.
- Screwdriver or wrench (if needed to remove the filter housing)
- Soft brush or vacuum cleaner with a brush attachment
- Low-pressure compressed air (from another compressor or an aerosol can)
- Mild dish soap or a specialized filter cleaner
- Clean cloths or paper towels
- Bucket of warm water (for washable filters)
- Safety goggles (we found these are always a good idea)
- Gloves (optional, but helpful for keeping hands clean)
Understanding Your Air Compressor Filter: Types and How to Identify Them
Not all filters are created equal. Knowing what type of filter your compressor uses is key to cleaning it correctly.
Common Air Filter Types
Most air compressors use one of two main types of intake filters. Each has a different cleaning process.
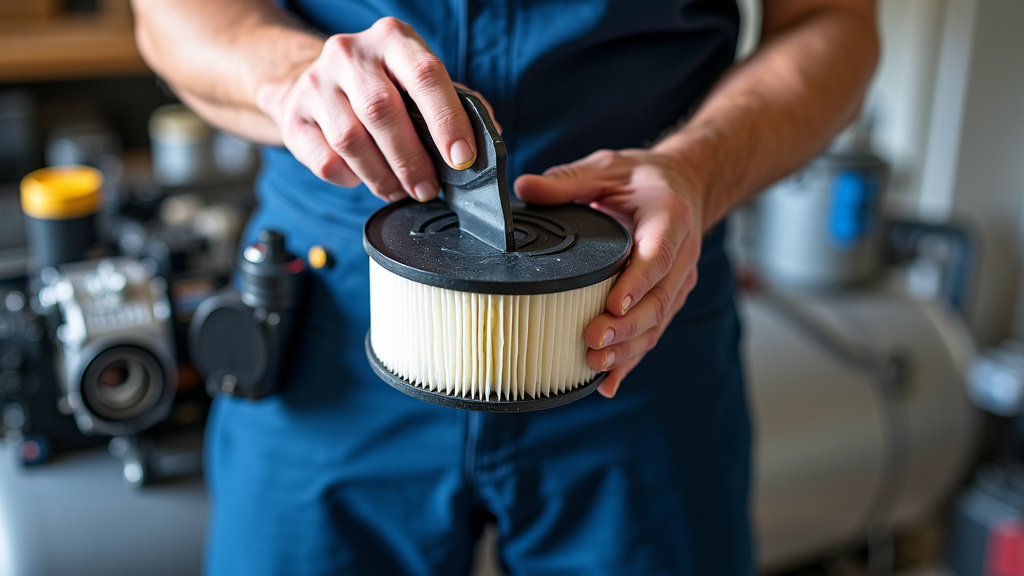
Paper or Pleated Filters (Non-Washable)
These filters often look like the air filter in your car. They feature pleated paper or synthetic media designed to trap small particles. You’ll find these in many piston and rotary screw compressors. Paper filters are generally not meant to be washed with water. Getting them wet can damage the filtering material and reduce their effectiveness. (Our research indicates this can lead to decreased filter efficiency.)
Foam or Sponge Filters (Washable)
Foam filters are typically made of a porous foam material. They are squishy to the touch and usually housed in a plastic cage. These are common in smaller, portable compressors. The good news is, most foam filters can be carefully washed and reused. This makes them a cost-effective option over time.
Diagnosing a Dirty Filter: When to Clean or Replace
How do you know if your filter needs attention? Your compressor often gives you clues.
Signs Your Filter Needs Attention
Pay attention to these signals. They tell you your filter might be clogged and causing problems for your compressor.
- Reduced Airflow: Does your air tool feel weaker? A clogged filter restricts air going into the compressor, meaning less air comes out.
- Longer Compressor Run Times: Is your compressor taking much longer to fill the tank or keep up with demand? It’s working harder to suck in air through a dirty filter.
- Overheating: When a compressor works too hard, it can generate excess heat. Feel around the compressor head; if it’s hotter than usual, the filter could be a culprit.
- Visible Dirt and Debris: Just look at it! If your filter looks caked with dust, sawdust, or other workshop grit, it’s definitely time for a cleaning.
- Increased Noise: A compressor straining to pull air can sound different – perhaps louder or more labored.
General Cleaning Frequency Guidelines
How often should you clean? It depends on how you use your compressor and where it lives.
| Usage Environment | Recommended Cleaning Frequency | Notes |
|---|---|---|
| Clean, Low Dust (e.g., home garage, light use) | Every 3-6 months | Check visually more often. |
| Moderate Dust (e.g., woodworking shop, regular use) | Every 1-3 months | Dusty environments clog filters much faster. |
| High Dust/Heavy Use (e.g., construction site, daily use) | Weekly or bi-weekly | Consider owning spare filters for quick changes. |
Pro Tip: We recommend a quick visual check of your filter before each major project. It only takes a second and can save you headaches later.
Step-by-Step Cleaning Guide for Different Filter Types
Now, let’s get into the cleaning process itself. Remember, different filters require different approaches.
Cleaning Paper or Pleated Filters (Dry Method)
For these filters, do not use water. Moisture can ruin the pleats and reduce filtering ability.
Removing the Filter
First, locate your filter housing. It’s usually a small, distinct cap or box on the side of the compressor’s pump, often near the air intake. You might need a screwdriver or wrench to unlatch or unscrew it. Carefully remove the filter element, taking note of how it sits inside the housing so you can replace it correctly.
Gentle Dust Removal
Hold the filter over a trash can. We found the safest way to clean these is by gently tapping it. This knocks off loose debris. Next, use a low-pressure blast of compressed air (from a can or another compressor). Direct the air from the inside out. This pushes dirt away from the filter material. Keep the air pressure gentle to avoid damaging the delicate pleats. Many manufacturers recommend keeping the pressure below 30 PSI for this task. You can also use a soft brush or vacuum with a brush attachment to lightly clean the outside surfaces.
Inspecting for Damage
After cleaning, hold the filter up to a light source. Can you see light evenly through the pleats? Look for any tears, holes, or significant discoloration that won’t come off. If you find damage, it’s time for a replacement. A damaged filter won’t protect your compressor effectively.
Cleaning Foam or Sponge Filters (Wet Method)
These filters are more forgiving and can be washed. This makes them a great reusable option!
Removing and Initial Shake-Out
Just like with pleated filters, carefully remove the foam element from its housing. Often, it’s a simple push-fit or a clip. Give it a good shake outdoors or over a trash can to remove any large, loose debris. This pre-cleaning step makes the washing process easier.
Washing with Soap and Water
Fill a bucket or sink with warm water and add a few drops of mild dish soap. Submerge the foam filter and gently “knead” it like dough. This helps work the soap and water through the foam, dislodging trapped dirt. Keep squeezing and rinsing until the water runs clear and the filter appears clean. Many experts say to rinse thoroughly to remove all soap residue. Leftover soap can attract more dust.
Drying the Filter Completely
This step is critical! You must allow the foam filter to dry completely before reinstallation. Squeeze out as much excess water as possible, then pat it dry with a clean cloth. You can let it air dry in a well-ventilated area, away from direct sunlight or heat. Giving it a full day to dry is a good rule of thumb. Reinstalling a damp filter can lead to mold growth or can cause water to be drawn into your compressor, which could damage it.
Reinstallation and Final Checks
Once your filter is clean and dry, it’s time to put everything back together.
- Place the Clean Filter: Carefully insert the cleaned (or new, if replaced) filter back into its housing. Ensure it fits snugly and correctly, just as you found it.
- Secure the Housing: Reattach any clips, screws, or latches to secure the filter housing. Make sure it’s tight to prevent air leaks.
- Reconnect Power: Plug your air compressor back into the power source.
- Test Run: Turn on your compressor and let it build up pressure. Listen for any unusual noises or air leaks around the filter housing. If everything sounds normal, you’re good to go!
When to Replace Your Air Compressor Filter
Sometimes, cleaning isn’t enough. Knowing when to replace your filter can extend the life of your compressor.
Signs Your Filter is Beyond Cleaning
Even with regular cleaning, filters don’t last forever. Look for these indicators that it’s time for a new one:
- The filter material is torn, punctured, or significantly deformed.
- The filter remains discolored or clogged even after thorough cleaning.
- There are visible signs of oil saturation (for some filter types).
- The filter housing doesn’t seal properly around the old filter.
- The manufacturer’s recommended service interval has passed (check your manual!).
Finding the Right Replacement Filter
When it’s time for a replacement, be sure to get the correct filter for your specific compressor model. We found that using the wrong filter can lead to poor performance or even damage. Check your compressor’s owner’s manual for the exact part number. You can usually find these filters at hardware stores, online retailers, or direct from the compressor manufacturer.
Conclusion
Keeping your air compressor filter clean is a simple task that pays off big time. You’ve learned how a clean filter protects your equipment, maintains airflow, and helps prevent costly repairs. By identifying your filter type and following our step-by-step cleaning guides, you can significantly extend the life and efficiency of your compressor. Remember to clean regularly and replace your filter when necessary.
Take a few minutes today to check your filter. Your air compressor will thank you for it with years of reliable performance.
Frequently Asked Questions
How often should I check my air compressor filter?
We recommend a quick visual check before each major project, especially if you work in a dusty environment. This only takes a moment and can prevent performance issues down the road.
Can I use household cleaning products other than mild dish soap for washable filters?
It’s best to stick to mild dish soap or a cleaner specifically designed for foam filters. Stronger detergents or solvents can degrade the foam material, reducing its effectiveness and lifespan.
What happens if I don’t clean my air compressor filter?
Neglecting your filter can lead to reduced airflow, your compressor working harder and hotter, and ultimately, premature wear or failure of internal components. You’ll also experience less efficient tool operation.
Is it better to just replace my filter instead of cleaning it?
While cleaning extends the life of washable filters, they eventually need replacement. Paper filters are generally not designed for washing and should be replaced when dirty. Always replace a filter if it’s damaged or won’t come clean.
Where can I find my air compressor’s filter housing?
The filter housing is usually a visible component on the side of your compressor’s pump, often near the air intake. If you’re unsure, check your compressor’s owner’s manual; it will clearly show its location.
