
How to Set Air Compressor Pressure Switch?
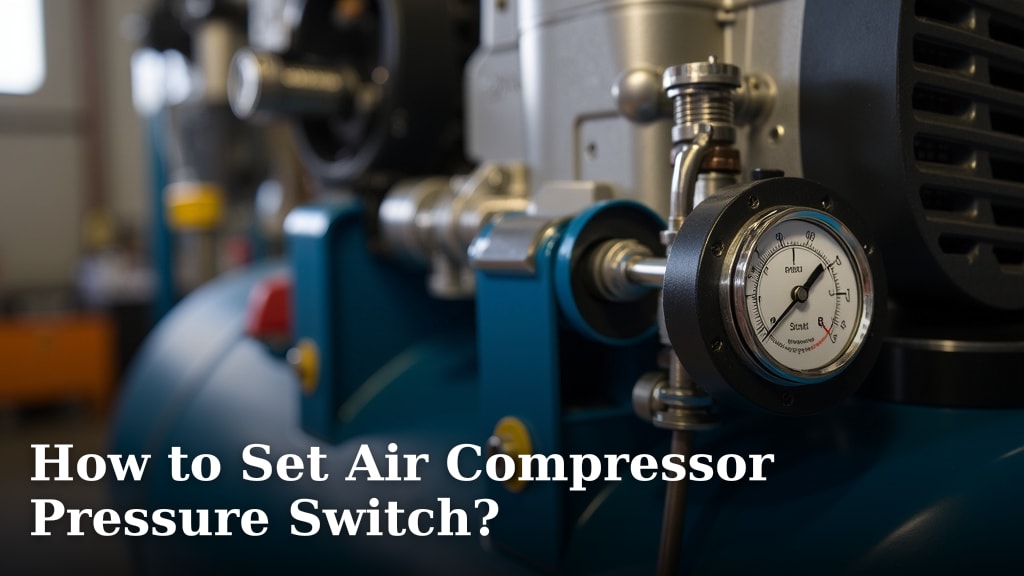
To set your air compressor pressure switch, you typically adjust a large spring for the cut-out pressure and a smaller spring for the differential. This lets you control when your compressor starts and stops automatically, maintaining your desired air pressure.
Having the correct pressure settings is super important for your tools to work right. If the pressure is too low, your tools won’t perform. Too high, and you risk damaging your equipment or even safety issues.
- Understand your pressure switch’s two springs.
- Locate the main pressure adjustment spring.
- Find the differential pressure adjustment spring.
- Make small, careful adjustments.
- Test the new settings safely.
Ready to get your compressor humming just right? We’ll guide you through setting your air compressor pressure switch, step by step.
Understanding Your Air Compressor Pressure Control
Setting your air compressor’s pressure switch is all about telling it when to start and stop. Think of it like a smart thermostat for your air tank. You’re essentially programming it to keep the air pressure within a specific range so your tools always have enough juice.
Why is this so important? Because different tools need different pressures. A paint sprayer might need lower, consistent pressure, while an impact wrench demands a higher burst. Getting it right prolongs tool life and makes your work much more efficient.
Safety First: Before You Begin
Working with electricity and pressurized air can be tricky. Before you even think about touching that switch, safety has to be your top priority. We can’t stress this enough.
- Unplug your compressor: This is non-negotiable. Make sure it’s completely disconnected from power. You don’t want it accidentally kicking on while your hands are near wiring.
- Bleed the air tank: Release all the pressurized air from the tank. You can usually do this by opening the drain valve at the bottom or using an air nozzle. This ensures there’s no stored energy.
- Wear safety glasses: Always protect your eyes. Small parts can fly or tools can slip.
- Read your compressor’s manual: Every compressor is a little different. Your manual will have specific instructions and diagrams for your model. It∼s like a personalized roadmap for your machine.
Many industrial safety guidelines, like those from OSHA, routinely emphasize the critical nature of lockout/tagout procedures and depressurizing systems before maintenance (OSHA Publication 3120).
Locating Your Pressure Switch Components
Alright, with safety handled, let’s find the parts we need to adjust. Your pressure switch is usually a small, rectangular box mounted directly on the air tank or connected via a small pressure line.
The Main Pressure Adjustment Spring (Cut-Out Pressure)
This is the big kahuna. The main spring controls your maximum air pressure, also known as the “cut-out” pressure. When the tank reaches this pressure, the switch tells the motor to turn off.
Identifying the Main Spring
You’ll typically find this spring under a protective cover on the pressure switch. It’s usually the larger of the two springs you’ll see. It might have a screw or nut on top that you turn to adjust its tension.
Think of it like tightening a lid on a jar. The more you tighten the spring, the more pressure is needed to compress it, thus raising the cut-out pressure.
The Differential Pressure Adjustment Spring (Cut-In Pressure)
This smaller spring is just as important. It controls the “differential” — the difference between when the compressor stops and when it starts again. It dictates your “cut-in” pressure.
Identifying the Differential Spring
Look for a smaller, often thinner spring, usually next to or inside the main spring assembly. It might have its own smaller adjustment screw. This spring only affects the lower end of your pressure range.
When you loosen this spring, you increase the pressure difference. This means the compressor will run longer before shutting off, and then wait for the tank pressure to drop lower before starting up again. Tightening it will reduce the difference.
Making the Adjustments: Step-by-Step
Now for the actual tweaking! Remember, these adjustments are often very sensitive. A small turn can make a big difference, so take it slow and be patient.
Setting Your Cut-Out Pressure (Max Pressure)
- Loosen the lock nut: If present, you’ll need to loosen a lock nut that holds the main spring adjustment screw in place.
- Turn the main adjustment screw:
- Clockwise: This will compress the spring, increasing the cut-out pressure. Your compressor will fill to a higher maximum PSI before stopping.
- Counter-clockwise: This will loosen the spring, decreasing the cut-out pressure. Your compressor will stop at a lower maximum PSI.
- Make small adjustments: We recommend turning the screw no more than a quarter or half turn at a time.
- Test the setting: Plug in your compressor, let it fill completely, and note the pressure gauge reading when it shuts off. If it’s not right, unplug, bleed the tank, and adjust again.
- Tighten the lock nut: Once your cut-out pressure is where you want it, secure the lock nut to prevent the setting from drifting.
Imagine you’re tuning a guitar. You make small turns and then pluck the string to hear the note. Same concept here.
Setting Your Differential Pressure (Cut-In Pressure)
This adjustment often happens after you’ve fine-tuned your cut-out pressure.
- Locate the differential screw: This is the smaller adjustment.
- Turn the differential screw:
- Clockwise: This will decrease the differential, meaning the compressor will kick back on sooner (at a higher cut-in pressure). The pressure range will be tighter.
- Counter-clockwise: This will increase the differential, meaning the compressor will wait longer to kick back on (at a lower cut-in pressure). The pressure range will be wider.
- Test the setting: After setting your cut-out, use some air from the tank and watch your pressure gauge. Note when the compressor motor kicks back on. Repeat until your cut-in pressure is satisfactory.
A wider differential means your compressor runs for longer cycles, but starts less often. A narrower differential means shorter cycles, but more frequent starts. Many prefer a wider differential to reduce wear and tear on the motor.
Troubleshooting Common Pressure Switch Issues
Sometimes, despite your best efforts, things don’t go perfectly. Don’t worry; this is common. Here are a few things that might crop up.
Compressor Runs Continuously
If your compressor keeps running and running without shutting off, even when the pressure gauge shows a high reading, you likely have a problem. It could be:
- Misadjusted cut-out: The main spring might be too loose, preventing it from ever reaching the “off” point you expect.
- Leaky check valve: Air might be escaping back through the pump when the motor stops, preventing pressure from building up fully.
- Pressure switch failure: The internal contacts might be stuck, or the diaphragm could be damaged.
Compressor Cycles On and Off Too Frequently
This is often a sign that your differential is set too tight, or you might have a small air leak.
- Tight differential: The compressor is shutting off, then almost immediately starting again because the pressure only drops slightly. Try widening the differential.
- Air leaks: Even a tiny leak in a hose, fitting, or valve can cause the pressure to drop quickly, triggering the compressor to cycle on repeatedly. Check all connections with soapy water to find bubbles.
Compressor Won’t Start
If your compressor is full of air and won’t start when you draw down the pressure, check these:
- Power supply: Is it plugged in? Is the circuit breaker tripped?
- Pressure switch contact issues: The switch itself might not be making proper contact to tell the motor to start.
- Motor problems: While less common after a pressure switch adjustment, it’s still a possibility.
We found that regular maintenance, including checking for leaks and keeping the switch clean, drastically reduces these kinds of issues for many compressor owners.
Your Air Compressor Pressure Switch Adjustment Checklist
Here’s a quick recap to help you stay on track during your pressure switch adjustment process:
- Power off and unplug the compressor.
- Bleed all air from the tank completely.
- Locate the main (cut-out) pressure spring and adjustment screw.
- Locate the differential (cut-in) pressure spring and adjustment screw.
- Make small, precise adjustments to cut-out, then test.
- Make small, precise adjustments to differential, then test.
- Ensure all lock nuts are tightened once settings are final.
By following these steps, you’ll have your compressor operating exactly how you need it, giving your tools the perfect air supply every time.
Conclusion
You’ve now got the knowledge and steps to confidently set your air compressor’s pressure switch. By understanding the roles of the main and differential springs, and following safety guidelines, you can ensure your tools always receive the right air pressure. Remember to make small adjustments, test carefully, and avoid common pitfalls like air leaks. Taking the time to properly calibrate your compressor will lead to better tool performance, increased efficiency, and ultimately, a more productive workflow.
Frequently Asked Questions
What PSI is ideal for most air tools?
While specific tools vary, many common air tools like impact wrenches, air ratchets, and grinders operate efficiently between 90 and 100 PSI. Always check your tool’s manual for its recommended operating pressure to ensure optimal performance and longevity.
Could a faulty pressure switch damage my air compressor?
Yes, a malfunctioning pressure switch can definitely cause damage. If it fails to shut off, the compressor could over-pressurize the tank, which is a serious safety hazard. If it fails to turn on, your compressor might struggle or not run at all, leading to undue strain.
How often should I check my air compressor’s pressure settings?
It’s a good practice to periodically check your pressure settings, especially if you notice a change in tool performance or compressor behavior. A quick check every few months, or before a big project, can help catch any drift in settings and ensure everything is still calibrated correctly.
Can I adjust the pressure switch if my compressor has a constant air leak?
While you can adjust the switch, it won’t fix the underlying leak. Adjusting the switch to cycle more frequently might temporarily mask the issue, but the leak will continue to waste air and force your compressor to work harder. Always fix leaks before fine-tuning your pressure settings.
Is it possible to convert an old manual cut-off compressor to an automatic one with a pressure switch?
Potentially, yes, if the compressor is designed to accept a pressure switch and has the necessary electrical connections. However, this is a more advanced task that might involve wiring and plumbing modifications. Consulting your compressor’s manufacturer or an experienced technician is recommended for such conversions.
