
How to Seat a Tubeless Tire with an Air Compressor?
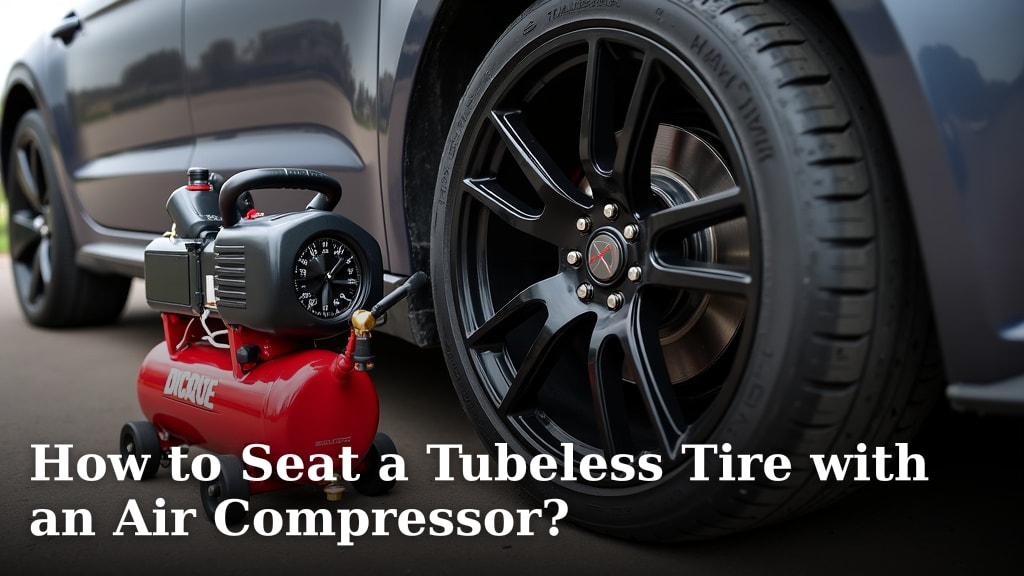
The easiest and most effective way to seat a tubeless tire with an air compressor is to use a quick, powerful blast of air. This sudden rush of air helps push the tire bead firmly against the rim, creating an airtight seal. You’ll often hear a satisfying pop when it seats correctly.
Seating tubeless tires can sometimes feel like a wrestling match, but an air compressor makes it much simpler. We found that a good compressor provides the necessary air volume and pressure to get the job done quickly. This method prevents frustrating air leaks and ensures a secure setup for your rides.
- Get your tire, rim, and sealant ready.
- Connect your air compressor to the valve stem.
- Give a strong, sudden burst of air.
- Listen for the “pop” as the tire seats.
- Check the seal and add sealant if needed.
Ready to get those tires seated without a fuss? Let’s walk through exactly how to seat a tubeless tire with an air compressor, step by step.
Getting Your Tubeless Tires Seated with Air Pressure
Seating tubeless tires doesn’t have to be a headache. An air compressor is your best friend here, providing that essential burst of air we talked about. This method makes the process much more reliable and less messy.
Gathering Your Gear: What You’ll Need
Before you get started, it’s wise to have everything laid out. Think of it as preparing your workstation. Having the right tools at hand saves time and frustration.
The Essentials for Tubeless Tire Seating
We found that having these items ready makes a huge difference. You’ll need more than just your tire and rim, but not by much.
- Your tubeless tire and rim. Ensure they are compatible – this is key!
- An air compressor with a gauge.
- A high-volume air nozzle or an adapter for your compressor. Some nozzles are designed for seating tubeless tires.
- Tubeless sealant. Have it nearby and ready to go.
- A valve core removal tool. You might need to remove the valve core for a faster air blast.
- Soapy water in a spray bottle. This helps tremendously with sealing.
- A clean rag or towel for any spills.
Prepping Your Wheel and Tire
Proper preparation can make the seating process much smoother. It’s like setting the stage for a perfect performance.
Inspecting Your Rim and Tire
First, take a good look at your rim. Is the tubeless rim tape properly installed and free of wrinkles or tears? We found that a well-sealed rim bed is non-negotiable for a good seal (CyclingTips).
Check your tire as well. Look for any damage or debris inside. A clean tire helps achieve an airtight seal more easily.
Installing Your Tubeless Valve Stem
Make sure your tubeless valve stem is correctly installed and tightened. Hand-tight is usually fine, but don’t overtighten it. A loose valve stem will leak air, preventing the tire from seating.
The Soapy Water Trick
This step is often overlooked but extremely helpful. Mix some ordinary dish soap with water in a spray bottle.
Spray the tire beads and the rim’s sidewalls generously. The soapy water acts as a lubricant, helping the tire bead slide more easily into place. It also helps detect leaks once you add air.
Connecting Your Air Compressor
Now it’s time to bring in the star player: your air compressor. You’ll want to ensure a good connection to get that burst of air.
Attaching the Nozzle
Connect your compressor’s air nozzle to the valve stem. If your compressor has a standard chuck, ensure it creates a tight seal around the valve stem. Any air escaping here means less power to seat the tire.
Considering Valve Core Removal
For a truly powerful, fast blast of air, you might consider removing the valve core. This removes any restriction, allowing air to flow into the tire much faster.
We found that many people prefer to do this, especially with stubborn tires. Just remember to put the valve core back in before adding sealant or fine-tuning pressure.
The Moment of Truth: Inflating Your Tubeless Tire
This is where the magic happens. You’re aiming for a quick, high-volume shot of air.
The Sudden Blast of Air
Open the compressor valve quickly and fully. You want a sudden rush of air, not a slow trickle. This blast forces the tire beads outward to meet the rim’s sidewalls.
Listen for those satisfying “pops” as the beads seat. It might be one pop, or a series of them. We often describe it as the sound of success!
What to Do If It Doesn’t Pop
Sometimes, it takes a few tries. Don’t get discouraged. If the tire doesn’t seat on the first attempt, try these steps:
- Add more soapy water to the beads.
- Try bouncing the wheel gently while inflating. This can help the beads find their spot.
- Increase the air pressure slightly, but be mindful of your tire and rim’s maximum recommended pressures (usually printed on the sidewall).
- Ensure the valve core is removed for maximum airflow.
Checking for a Secure Seal
Once you hear the pops, inspect the tire. Look around the entire circumference on both sides. The tire bead should be evenly seated against the rim.
The soapy water can also help here. If you see persistent bubbles forming, you have a leak. This might mean you need to reseat that section or check your rim tape.
Adding Your Tubeless Sealant
Now that your tire is seated, it’s time to add the sealant. This is what makes your tubeless setup truly effective against punctures.
Through the Valve Stem
If you removed your valve core, this is the easiest way. Use a sealant injector to push the recommended amount of sealant directly into the valve stem.
Once the sealant is in, re-install your valve core and inflate the tire to your desired pressure. Give the wheel a good shake and spin to distribute the sealant evenly.
Other Sealant Methods
Some people prefer to “burp” a small section of the tire off the rim and pour the sealant directly into the tire. We often find that injecting through the valve stem is cleaner and less of a gamble, especially for beginners.
| Step | Description | Purpose |
|---|---|---|
| 1. Prepare | Gather all tools; inspect rim and tire. | Ensure efficiency and prevent issues. |
| 2. Lubricate | Apply soapy water to tire beads and rim. | Aids seating, identifies leaks. |
| 3. Connect | Attach compressor nozzle, remove valve core. | Maximizes airflow for seating. |
| 4. Inflate | Blast air into the tire until it “pops.” | Forces beads against rim for seal. |
| 5. Inspect | Visually check bead seating and for leaks. | Confirms successful initial seal. |
| 6. Seal | Inject sealant through valve, re-inflate. | Puncture protection, finalizes seal. |
Finalizing Your Tubeless Setup
After adding sealant and reinflating, do a quick spin of the wheel. Listen for any strange noises and watch for sealant bubbling out. A few small bubbles might be the sealant doing its job, but large, continuous bubbling means a bigger leak.
We found that letting your tire sit for a bit, or even riding it immediately, helps spread the sealant. This can seal any tiny porous spots in the tire or along the bead.
Your Tubeless Tire Seating Checklist
Here’s a quick recap of the key actions to ensure success:
- Did you check your rim tape for integrity?
- Is the valve stem tightened properly?
- Did you generously apply soapy water?
- Was the air blast quick and powerful?
- Did you hear the reassuring “pops”?
- Is enough sealant now inside your tire?
Conclusion
You’ve now got a solid roadmap for seating your tubeless tires with an air compressor. We’ve seen how crucial that quick, powerful blast of air is, along with proper preparation and the trusty soapy water trick. By following these steps, you’ll avoid common frustrations and achieve a reliable, airtight seal.
Remember, practice makes perfect, and soon you’ll be seating tires like a pro. So grab your gear, confidently apply these techniques, and get ready for smoother, puncture-resistant rides ahead!
Frequently Asked Questions
What if my tubeless tire isn’t seating even with an air compressor?
If your tire just won’t pop into place, revisit your setup. Ensure the valve core is removed for maximum airflow and try more soapy water around the tire beads. Also, check that your rim tape is perfectly sealed and free of wrinkles; even a small imperfection can prevent a good seal.
Can I use a CO2 cartridge instead of an air compressor for tubeless setup?
While a CO2 cartridge can provide a quick burst for seating, we generally don’t recommend it as a primary method. The sudden, cold blast can sometimes cause sealants to coagulate prematurely, making them less effective. An air compressor allows for more control and consistent pressure.
How much pressure do I need from my air compressor to seat a tubeless tire?
The exact pressure isn’t as important as the sudden volume of air. Most standard bike pumps or home compressors can provide enough oomph. Aim for a quick blast that rapidly fills the tire, forcing the beads outward. Always respect your tire and rim’s maximum pressure limits afterwards.
Is it really necessary to use soapy water when seating tubeless tires?
Yes, absolutely! Soapy water acts as a lubricant, helping the tire bead slide smoothly onto the rim. It also creates a visual indicator for leaks, bubbling up where air is escaping. This simple step significantly increases your chances of a successful, airtight seal on the first try.
How do I know if my tubeless tire is properly seated?
You’ll hear distinct “pops” as the tire beads snap into the rim’s channels. Visually inspect the tire’s sidewall; there should be an even, consistent line (often a molding line on the tire) that indicates the bead is fully seated all the way around the rim on both sides. No part of the bead should appear sunken or uneven.
