
How to Use a Tire Chuck on an Air Compressor?
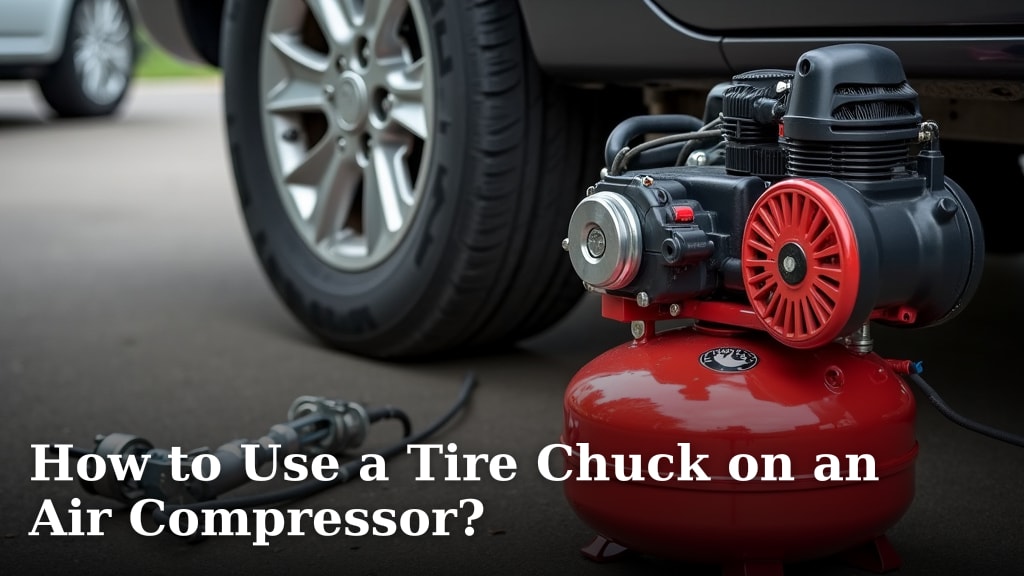
To use a tire chuck on an air compressor, simply press the chuck firmly onto your tire’s valve stem until it clicks or locks into place. This creates a seal, allowing air from your compressor to flow into the tire. You’ll then monitor the pressure and remove the chuck once done.
Getting your tire pressure just right is key for safety and fuel efficiency. We found that a good tire chuck makes this job surprisingly easy, whether you’re topping off car tires or inflating bike tubes. It’s a small tool that makes a big difference in tire maintenance.
TL;DR:
- Connect the chuck to the air hose.
- Press the chuck onto the tire valve.
- Listen for the air flowing in.
- Check tire pressure with a gauge.
- Remove the chuck when finished.
Let’s walk through exactly how to use a tire chuck with your air compressor, step by step, so you can keep your tires perfectly inflated.
Prepping Your Air Compressor for Tire Inflation
Before you even think about attaching that chuck to your tire, a little preparation goes a long way. It ensures a smooth, efficient, and safe inflation process. Think of it like a quick pit stop before the main race.
Gathering Your Essential Tools
What do you need for this mission? Not much, really. But the right tools make all the difference. You’ll want your air compressor, of course, and the star of our show, the tire chuck. Don’t forget a If you’re looking for a portable solution, our guide to the best mini air compressor can help you choose the right model.reliable tire pressure gauge. Some chucks have one built-in, which is super convenient!
You might also want a pen and paper. Why? To jot down your target tire pressure. This way, you won’t forget it, especially if you’re doing all four tires. We found that this small step helps prevent over or under-inflation.
Checking Your Compressor’s Readiness
Is your air compressor ready for action? First, ensure it’s plugged into a proper power source. Then, check the air tank pressure. Most compressors have a gauge right on the tank. You want to make sure it’s sufficiently pressurized to inflate your tires. A low tank means a longer wait time, or worse, not enough air for all your tires. We found that compressors perform best when the tank is at least half full of compressed air.
Also, give your compressor a quick visual once-over. Are there any obvious leaks? Is the hose in good condition? A cracked hose can lead to air loss and frustration. A little preventative check saves a lot of hassle later on.
Understanding Your Tire Chuck Types
Not all tire chucks are created equal. They come in a few main varieties, and knowing yours helps with proper use. We found that the most common types are clip-on and dual-head push-on chucks. Each has its own little personality.
Clip-On Tire Chucks
These are often the easiest to use. A clip-on chuck typically has a lever that you push down to open the jaws. Once you place it on the valve stem, you release the lever, and it “clips” or locks into place. It’s hands-free, which is a big plus when you’re watching the pressure gauge. We found these great for longer inflation times, like with larger SUV tires.
Dual-Head Push-On Tire Chucks
A dual-head chuck usually has two openings at different angles. This design is helpful for those tricky valve stems, like on dually trucks or bicycles with hard-to-reach valves. You simply push it onto the valve stem. These chucks often require you to hold them in place while air flows. They provide a very direct connection, which is beneficial for a quick, accurate fill.
Connecting the Tire Chuck to Your Air Hose
This might seem straightforward, but a secure connection is key to preventing air leaks and getting the job done efficiently. Think of it like connecting a garden hose to a spigot; you want it tight.
Identifying the Right Connector
Most air hoses and chucks use a standard quick-connect fitting. These fittings typically have a collar that you pull back. This allows the chuck’s male end to snap into the hose’s female end. Listen for that satisfying “click” – it tells you it’s properly seated.
If your chuck or hose has a threaded connection, you’ll simply twist it on. Make sure it’s snug, but don’t overtighten it. Hand-tight is usually sufficient. Overtightening can damage the threads over time. We found that a good connection ensures maximum air flow.
Testing for Air Leaks
Once connected, it’s a good idea to test for leaks before going to your tire. Turn on your air compressor and listen closely. Do you hear any hissing from the connection point? If so, the connection might not be fully seated or tightened. Re-check it. Sometimes, a tiny bit of Teflon tape on threaded connections can help create a better seal, we found.
A simple trick is to spray a little soapy water on the connection. If bubbles form, you’ve got a leak. This test is especially useful if the leak is subtle. Fixing leaks now saves you from wasting air and time later.
Attaching the Tire Chuck to the Tire Valve Stem
Now for the main event! This step is where the magic happens and air transfers from your compressor to your tire. It needs to be done correctly to avoid air loss and get an accurate reading.
Preparing the Tire Valve Stem
Before attaching the chuck, make sure the tire valve stem is clean. Remove the valve cap. Sometimes, dirt or debris can build up around the valve, which can prevent a good seal. A quick wipe with a cloth is all it takes. This small action helps ensure a leak-free connection.
Also, check the valve stem itself. Is it bent or damaged? A compromised valve stem can lead to air leaks even with a perfect chuck connection. If it looks damaged, it might be time for a professional to inspect it.
Making the Connection: Push-On vs. Clip-On
This is where your chuck type comes into play. For a push-on chuck, firmly press it straight onto the valve stem. You’ll hear a slight hiss at first, then the hiss should quiet down as the chuck seals. You’ll need to maintain steady pressure to keep it sealed while inflating.
With a clip-on chuck, push the lever down to open the jaws. Push the chuck fully onto the valve stem, then release the lever. You should hear it “snap” into place, creating a hands-free seal. Give it a gentle tug to ensure it’s securely attached before you start inflating.
| Chuck Type | How to Attach | Advantages | Disadvantages |
|---|---|---|---|
| Clip-On | Push lever, attach, release lever | Hands-free, strong seal | Can be bulkier, mechanism might fail over time |
| Push-On (Single) | Press firmly onto valve stem | Compact, good for quick checks | Requires constant pressure, hands-on |
| Push-On (Dual-Head) | Choose angle, press firmly onto valve stem | Versatile angles for tricky valves | Requires constant pressure, hands-on |
Inflating Your Tire to the Correct Pressure
Once the chuck is securely attached, it’s time to add some air! This step requires a bit of attention to ensure you hit that sweet spot of proper inflation. We often underestimate how much of a difference proper tire pressure makes for vehicle handling and safety (NHTSA).
Monitoring the Pressure Gauge
As air flows into the tire, watch your pressure gauge. If your chuck has a built-in gauge, fantastic! If not, you’ll use a separate one. Inflate the tire in short bursts, then check the pressure. It’s easier to add a little more air than to let air out. Many experts recommend checking tire pressure when tires are “cold” – meaning they haven’t been driven for a few hours (Tire Industry Association).
What’s the right pressure? You’ll find the recommended PSI (pounds per square inch) on a sticker inside your car’s driver-side door jamb. It’s rarely on the tire sidewall, which shows the maximum safe pressure, not the recommended operating pressure. We found that knowing your car’s specific PSI is the most important piece of information here.
Reaching the Target PSI
Slowly add air until you reach your target PSI. If you accidentally overinflate, don’t worry! Most chucks or gauges have a small bleeder valve. You can press this to release a little air. Release small amounts at a time and recheck the pressure until it’s just right. Precision here leads to better fuel economy and longer tire life.

Removing the Tire Chuck and Final Checks
You’ve done the hard part! Now, removing the chuck correctly and performing a final check ensures all your efforts pay off. This last step is just as important as the first.
Detaching the Chuck Safely
For a clip-on chuck, simply push the lever again to release the jaws, then pull the chuck straight off the valve stem. For a push-on chuck, pull it straight off. You’ll hear a brief hiss as residual air escapes from the chuck and hose, which is normal. Don’t yank it off at an angle, as this could damage the valve stem.
Once the chuck is off, immediately replace the valve cap. The cap protects the valve stem from dirt and moisture, and it provides a secondary seal against air leaks. It’s a small but mighty protector for your tire’s vital entry point.
Performing Post-Inflation Checks
After all tires are inflated, take a moment for a final walkthrough. First, double-check the pressure in all tires one last time with your separate, trusted gauge. This confirms your work. We often found slight variations between gauges, so using one consistent gauge helps.
Visually inspect each tire. Do they all look evenly inflated? Is there anything unusual? Then, put all your tools away. Disconnect the chuck from the air hose and store everything properly. A well-maintained compressor and chuck will be ready for your next tire-inflation task.
Tire Chuck Usage Checklist
- Gather all necessary tools (compressor, chuck, gauge).
- Ensure compressor tank has sufficient air pressure.
- Connect chuck securely to air hose.
- Clean tire valve stem and remove cap.
- Attach chuck firmly to tire valve stem.
- Inflate tire gradually while monitoring pressure.
- Remove chuck gently and replace valve cap.
Conclusion
You now have all the know-how to confidently use a tire chuck with your air compressor. We’ve covered everything from prepping your tools and understanding different chuck types to making secure connections and achieving that perfect PSI. Keeping your tires properly inflated isn’t just about avoiding a flat; it’s about ensuring your safety, improving fuel economy, and extending the life of your tires.
Taking a few minutes for regular tire maintenance makes a big difference. Go ahead, gather your compressor and chuck, and give your tires the attention they deserve. You’ll feel more secure on the road, knowing you’ve got optimal pressure.
Frequently Asked Questions
How often should I check my tire pressure?
Most experts recommend checking your tire pressure at least once a month, and always before long trips. Temperature changes can also affect tire pressure, so it’s a good idea to check more frequently during seasonal shifts. Regular checks help maintain optimal driving conditions.
Can I use any tire chuck with any air compressor?
Generally, yes. Most tire chucks use standard quick-connect fittings that are compatible with the air hoses found on common air compressors. However, always double-check the connection type to ensure a secure, leak-free fit. Some older compressors or specialized tools might require an adapter.
What’s the difference between a tire chuck and a tire inflator?
A tire chuck is the part that connects directly to the tire valve stem, allowing air to flow. A tire inflator is typically a device that combines a chuck, a pressure gauge, and sometimes a trigger to control airflow, often used without a separate compressor. Essentially, a chuck is a component, while an inflator is a complete tool.
Why does my tire chuck hiss when I attach it?
A slight hiss when you first attach the chuck is normal. It’s just a small amount of air escaping before a seal is made. If the hiss continues loudly after it’s attached, the chuck might not be fully seated or there could be debris on the valve stem preventing a good seal. Re-adjust the chuck to ensure it’s firm.
Is it okay to use a tire chuck with a built-in gauge?
Yes, tire chucks with built-in gauges are very convenient for quick checks and inflation. We found them to be quite accurate for general use. However, for the most precise readings, it’s a good practice to occasionally cross-reference with a separate, high-quality pressure gauge. This helps ensure consistent accuracy.
