
How to Clean a Spray Gun After Use?
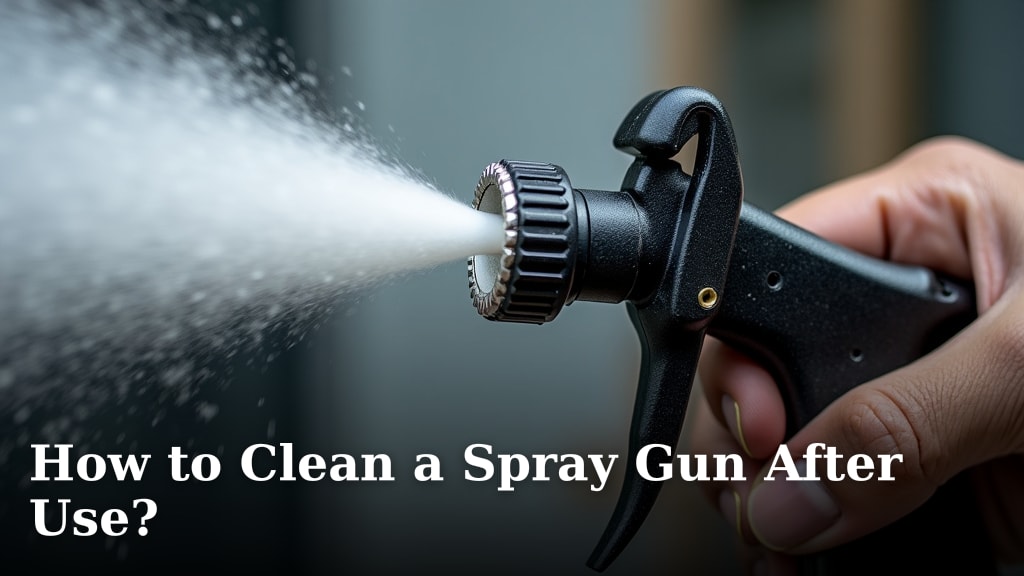
The easiest way to clean a spray gun after use is to immediately flush it with the correct cleaning solution for your paint type. This prevents paint from drying inside and causing clogs. A quick, thorough cleaning immediately after each use saves you headaches later.
You’ve just finished a painting project, and your spray gun did a fantastic job, right? Now, it’s tempting to just set it aside, but proper cleaning is non-negotiable for tool longevity. We found that skipping this step leads to frustrating performance issues and can even ruin your equipment. Think of it as giving your spray gun the spa treatment it deserves after a hard day’s work.
TL;DR:
- Clean immediately after use.
- Use the right solvent for your paint.
- Disassemble for a deeper clean.
- Never let paint dry inside.
- Proper cleaning extends tool life.
So, ready to keep your spray gun in top-notch condition for years to come? Let’s walk through exactly how to clean a spray gun after use, step by step. For future projects, consider reviewing our recommendations for the best air compressor for painting to ensure optimal performance.
Preparing for Post-Painting Spray Gun Cleaning
Before you even begin spraying, it’s smart to think about the cleanup. This proactive approach saves time and keeps your equipment pristine. We found that a little preparation makes a big difference.
Having your cleaning supplies ready means you won’t scramble later. It prevents paint from drying inside your gun. A smooth cleaning process starts with good planning.
Gathering Your Cleaning Essentials
What do you need for a spotless spray gun? The right tools make the job easy. You probably have most items around your workshop already.
- Appropriate cleaning solution: This is key. Water for water-based paints, mineral spirits or lacquer thinner for oil-based.
- Cleaning brushes: Small nylon brushes are great for tiny passages.
- Old rags or paper towels: For wiping up paint and solvent.
- Empty containers: For flushing and catching dirty solvent.
- Personal protective equipment (PPE): Gloves and safety glasses are a must.
- Toothpicks or wire picks: For clearing stubborn clogs in nozzles.
Matching Cleaner to Paint Type
Using the correct cleaner is non-negotiable. The wrong choice can damage your gun or leave residue. Always check your paint’s label for solvent recommendations.
For water-based paints like latex or acrylic, plain old water works best. Sometimes a little soap helps. For oil-based paints, enamels, or lacquers, you’ll need mineral spirits, paint thinner, or lacquer thinner. Never mix cleaner types, as we found this can create a mess (Environmental Protection Agency).
Safety First: Protecting Yourself
Cleaning solutions can be harsh. They can irritate your skin and eyes. Some give off strong fumes that are not good to breathe.
Always wear safety glasses to protect your eyes from splashes. Nitrile gloves keep chemicals off your skin. Work in a well-ventilated area, maybe with a fan, to disperse fumes.
The Immediate Flush: Your First Line of Defense
As soon as you finish spraying, start the initial flush. This is the most crucial step. It removes most of the wet paint before it can harden.
Don’t let the paint sit for even a few minutes. We’ve seen how quickly paint can dry inside. A quick flush prevents many future headaches.
Step-by-Step Immediate Cleaning
This process is fast and simple. You can do it right at your work area. It gets your gun ready for a deeper clean.
- Empty excess paint: Pour any remaining paint from the cup back into its original can.
- Add cleaning solution: Fill the paint cup with your chosen cleaning solution. About halfway full is usually enough.
- Swirl and spray: Swirl the cleaner in the cup, then spray it through the gun into an empty container or old rag. Do this until the spray runs clear.
- Repeat if necessary: For thicker paints, you might need to repeat steps 2 and 3 a few times.
- Wipe exterior: Use a rag soaked in cleaner to wipe down the outside of the gun.
This quick rinse gets most of the paint out. It’s like giving your gun a quick shower. Now you’re ready for the more detailed cleaning.
Disassembly and Deep Cleaning for Longevity
After the initial flush, it’s time for a thorough cleaning. This involves taking your spray gun apart. Don’t worry, it’s easier than it sounds.
This deep clean removes all remaining paint residue. It ensures your spray gun performs like new every time. Regular deep cleaning extends the life of your equipment significantly.
Taking Apart Your Spray Gun
Each spray gun is a little different, but the main parts are similar. Consult your gun’s manual if you’re unsure. We found that manuals often have helpful diagrams.
- Remove the air cap: Twist and pull off the air cap.
- Unscrew the fluid nozzle: Use a wrench if needed, but be gentle.
- Remove the paint cup: If it’s still attached, take it off now.
- Carefully extract the needle: Loosen the packing nut at the back of the gun, then gently pull out the needle.
Lay out the parts in order. This helps when you put them back together. Think of it like a puzzle you’re solving backwards first.
Cleaning Individual Components
Now, each piece gets its own special treatment. This is where those small brushes come in handy. Don’t rush this part.
- Air Cap: Soak it in cleaner for a few minutes. Use a small brush or toothpick to clear all the tiny air holes. Make sure they are totally clear.
- Fluid Nozzle: Soak and brush the inside and outside. Ensure the fluid opening is free of any dried paint.
- Needle: Wipe the needle clean with a rag soaked in cleaner. Be gentle with the tip; it’s delicate.
- Gun Body: Use a brush to clean the fluid passages and needle channel. Wipe down the exterior.
- Paint Cup: Wash thoroughly with cleaner, scrubbing any dried paint.
Why bother with all the little holes? Because even a tiny speck of dried paint can cause a bad spray pattern. Many experts agree that clear orifices are key (Graco Instruction Manuals).
Reassembly and Final Checks
Once everything is sparkling clean, it’s time to put your spray gun back together. This is usually the reverse of disassembly. Be careful not to overtighten parts.
A properly reassembled gun means it’s ready for its next job. Incorrect reassembly can lead to leaks or poor performance. Take your time.
Putting Your Spray Gun Back Together
Reverse the steps you took to take it apart. Remember how you laid out the parts? That helps now.
- Insert the needle: Gently slide the needle back into the gun body. Tighten the packing nut just enough so the needle moves freely but doesn’t wobble.
- Screw on the fluid nozzle: Hand-tighten, then use a wrench for a snug fit. Don’t overtighten.
- Attach the air cap: Twist it back into place.
- Reattach the paint cup: Make sure it’s secure.
Once assembled, do a quick visual check. Does everything look right? Does the trigger pull smoothly? These small checks can prevent big problems.
Lubrication and Storage
Your spray gun needs a little TLC after cleaning. A touch of lubrication keeps it operating smoothly. Proper storage protects it until next use.
Apply a drop or two of spray gun lubricant (often petroleum jelly or a special oil) to the needle packing and trigger pivot points. This prevents friction and wear. Don’t use too much, as it can attract dust.
Store your clean, lubricated gun in a dry, dust-free place. Hanging it up is a good idea to prevent damage. We’ve found that a dedicated toolbox or cabinet works wonders for protection.
Common Cleaning Mistakes to Avoid
Even with the best intentions, mistakes can happen. Knowing what to avoid saves you time and prevents damage. We’ve compiled some common pitfalls.
Bypassing steps, using wrong cleaners, or neglecting safety can all lead to problems. Your spray gun is an investment; treat it well. Avoid these mistakes for a longer-lasting tool.
Pitfalls to Sidestep
These are the “don’ts” of spray gun cleaning. Keep them in mind to prevent future frustration.
- Don’t delay cleaning: Paint dries fast, making cleanup much harder.
- Don’t use metal picks: They can scratch precision parts, leading to poor spray patterns. Use plastic or wood picks instead.
- Don’t soak the entire gun: Some parts, especially seals and O-rings, can swell or degrade when soaked for too long in harsh solvents.
- Don’t forget your PPE: Exposure to solvents is harmful.
- Don’t overtighten parts: You can strip threads or crack components.
- Don’t skip lubrication: Moving parts need grease to function smoothly.
What happens if you skip cleaning? We’ve seen guns with completely blocked nozzles. The paint dries hard as concrete. This leads to costly repairs or even needing a new gun.
| Cleaning Component | What to Use | What NOT to Use |
|---|---|---|
| Water-Based Paint | Water, mild soap | Mineral spirits, lacquer thinner |
| Oil-Based Paint/Lacquer | Mineral spirits, lacquer thinner | Water |
| Air Cap & Nozzle Holes | Soft brush, toothpick, plastic pick | Metal wire, drill bits |
| External Wiping | Clean rags, paper towels | Abrasive pads |
| O-rings/Seals | Petroleum jelly, specific gun lubricant | Harsh solvents (prolonged soaking) |
This table summarizes key cleaning decisions. Always refer to it if you’re unsure. The right cleaner and tools protect your spray gun’s delicate parts.
Conclusion
You’ve learned that keeping your spray gun clean is not just about tidiness; it’s about preserving your investment and ensuring flawless results every time. By immediately flushing, thoroughly disassembling, and carefully cleaning each part, you prevent clogs and extend its lifespan. We’ve found that a little consistent effort after each project pays off immensely in smooth operation and avoiding costly replacements.
So, make post-project cleaning a non-negotiable habit. Your well-maintained spray gun will thank you with reliable performance on every future project.
Frequently Asked Questions
What happens if I don’t clean my spray gun right away?
If you don’t clean your spray gun immediately, paint will dry and harden inside its delicate passages and on precision parts. This causes clogs, inconsistent spray patterns, and can even permanently damage components, leading to expensive repairs or replacement. Dried paint can be extremely difficult to remove.
Can I use universal cleaning solutions for all paint types?
No, it’s crucial to match your cleaning solution to your paint type. Water-based paints require water (and sometimes mild soap), while oil-based paints, lacquers, and enamels need specific solvents like mineral spirits or lacquer thinner. Using the wrong cleaner can be ineffective or even damage your spray gun’s internal components.
How often should I deep clean my spray gun?
You should perform a deep clean, involving disassembly, after every single use, especially if you’re using oil-based paints or lacquers. For water-based paints, an immediate flush followed by a thorough disassembly and cleaning is still recommended after each session to prevent any residue buildup.
Is it okay to soak my entire spray gun in cleaner overnight?
It’s generally not recommended to soak the entire spray gun, especially for prolonged periods like overnight. Harsh solvents can cause O-rings, seals, and other plastic or rubber components to swell, degrade, or become brittle. It’s better to clean individual parts thoroughly rather than letting them soak for extended times.
How do I know if my spray gun is truly clean?
Your spray gun is truly clean when no visible paint residue remains on any internal or external part, and the cleaning solution runs completely clear when flushed through. All air holes in the air cap should be free of obstructions, and the needle should move smoothly without any resistance. A final visual inspection of all components is key.
