
How Much PSI Does a Paint Sprayer Need?
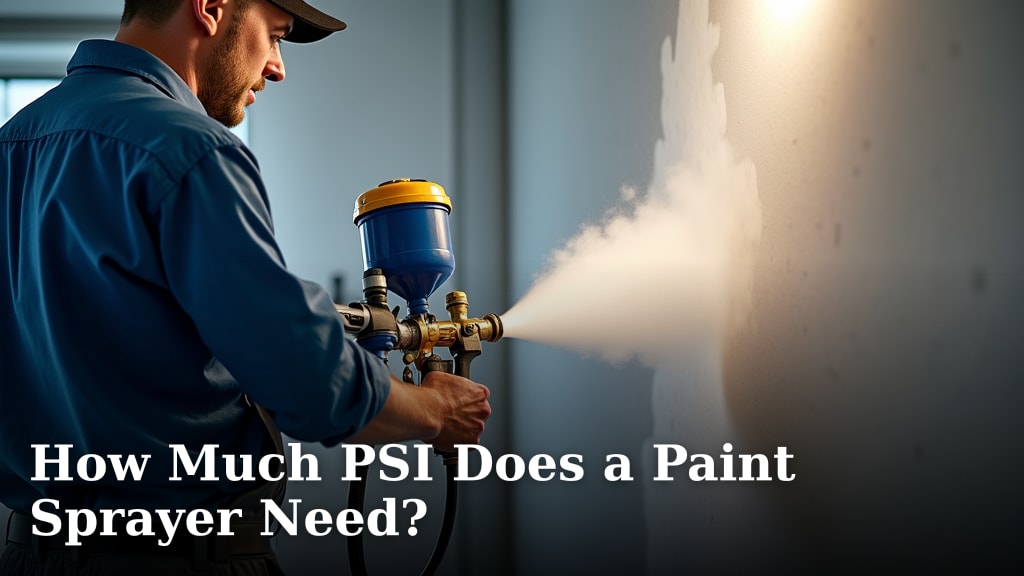
Most paint sprayers require between 1500 and 3000 PSI to operate effectively, but the ideal number depends on your sprayer type and the job. For typical home projects, you’ll likely need a machine within this standard range. We found that knowing the correct PSI ensures a smooth, even finish without damaging your equipment.
The pressure you need is directly tied to whether you have an airless paint sprayer or a different model like an HVLP gun. Airless systems, which use a pump, generally operate at the higher end of the pressure spectrum. Getting this number right is the first step to avoiding frustrating splatters or a weak, uneven coat.
- The average DIY airless sprayer needs 1500 to 2000 PSI for latex paint.
- Professional or commercial jobs may require up to 3000 PSI for thick coatings.
- Smaller HVLP sprayers work best at much lower pressures, around 10 to 50 PSI.
- Always check your sprayer’s manual for the manufacturer’s recommended PSI range.
- Using the wrong pressure can lead to a messy finish or even equipment failure.
Below, we’ll break down everything you need to know about choosing the right PSI for your specific paint sprayer and project type.
Understanding PSI Requirements for Your Paint Sprayer
Let’s get straight to the point. The pressure you need depends on two main things: the type of sprayer you own and the paint you’re spraying. Most home airless sprayers run between 1500 and 3000 PSI. That’s the sweet spot for pushing thick latex paint through the tip to get a smooth, professional-looking coat on your walls or fence.
Think of PSI like water pressure from a hose. Too low, and you get a dribble. Too high, and you cause damage or make a mess. Your sprayer’s pump is the engine creating this pressure. Getting it right ensures the paint atomizes properly, turning from liquid into a fine, even mist.
Airless Sprayers: The High-Pressure Workhorses
Airless sprayers are what most DIYers and pros use for large projects. They use a powerful pump to force paint through a tiny spray tip without compressed air. This design requires significant pressure.
Typical Pressure Ranges
For standard interior latex paint, we found most home-use airless sprayers operate best between 1500 and 2000 PSI. This range provides enough power to atomize the paint effectively while keeping control. Professional models for thicker coatings or bigger jobs can ramp up to 3000 PSI or slightly more.
Always start at the lower end of your sprayer’s recommended range. You can increase pressure slowly until the spray fan looks even, without heavy tails or spitting.
Other Sprayer Types and Their Low-Pressure Needs
Not all sprayers are airless. If you’re using an HVLP (High Volume, Low Pressure) gun or a small detail sprayer, the PSI is drastically lower. These tools rely on high air volume at low pressure to control overspray.
| Sprayer Type | Typical PSI Range | Best For |
|---|---|---|
| Airless Sprayer | 1500 – 3000 PSI | Large surfaces, house exteriors, thick paints. |
| HVLP Spray Gun | 10 – 50 PSI | Cabinets, trim, detail work, less overspray. |
| LVLP Gun | 5 – 15 PSI | Even more control, small projects, fine finishes. |
Using 2000 PSI with an HVLP gun would be disastrous. It would flood the surface and create a dangerous mess. Conversely, trying to use 30 PSI with an airless sprayer won’t even move the paint.
How Paint Type and Thickness Affect PSI
Your paint’s consistency is a major factor. Thicker material needs more pressure to push it through the spray tip and break it into droplets.
Thin vs. Thick Coatings
Thin paints, like stains or sealers, require less PSI. For these, staying in the 1500-2000 PSI range is usually sufficient. For thick latex or elastomeric coatings, you may need to increase pressure closer to 3000 PSI to prevent the tip from clogging.
A helpful rule of thumb we’ve seen is: if the paint feels like whole milk, it’s thin. If it’s like heavy cream or yogurt, it’s thick. Thicker paint needs more force.
Finding the Perfect PSI: A Step-by-Step Guide
You don’t just set it and forget it. Finding the right pressure is a hands-on process. Here’s a practical method.
- Consult Your Manual First. This is the most critical step. Manufacturers specify a safe operating range for each model.
- Start Low. Begin at the bottom of the recommended PSI range.
- Make a Test Spray. Spray a piece of cardboard or scrap wood. Look at the pattern.
- Adjust Gradually. If the pattern is heavy on the edges or drips, increase pressure slightly. If it spits or is weak, decrease it.
You’re looking for a fine, even mist that covers uniformly. Once you see that perfect fan pattern, lock the pressure and start your project.
What Happens With the Wrong PSI? Troubleshooting Issues
Getting the pressure wrong leads to obvious and frustrating problems. Recognizing these issues helps you adjust quickly.
Symptoms of Too-Low Pressure
If your PSI is too low, the paint won’t atomize. You’ll see heavy droplets, uneven stripes, and a finish that looks like orange peel. It’s like trying to water your garden with a kink in the hose.
Symptoms of Too-High Pressure
Excessive pressure creates a fine, hard-to-control mist that leads to massive overspray. You’ll waste paint, create a fog, and may even damage the sprayer by running it outside its design limits. The finish may be dry or textured.
Safety and Equipment Longevity Considerations
Operating your sprayer outside the recommended PSI isn’t just about a bad finish; it’s a safety and maintenance issue. High-pressure paint injection is a serious injury risk if a hose or fitting fails. The CDC notes that these high-pressure injuries can cause severe tissue damage and require immediate medical care.
Consistently running a sprayer at maximum pressure can also wear out pumps, seals, and hoses prematurely. Following the manufacturer’s guidelines protects your investment.
PSI Verification Checklist
Before you start spraying, run through this quick check. It can save you hours of cleanup and frustration.
- Manual Review: Confirm the recommended PSI range for your specific sprayer model.
- Paint Prep: Strain thick paint to remove clumps that can clog the tip and cause pressure spikes.
- Tip Size Match: Ensure your spray tip size (e.g., .015, .017) is appropriate for your paint and pressure.
- Test Board: Always do a test spray on a scrap piece to dial in the perfect pattern.
- PPE On: Wear a respirator, goggles, and gloves to protect from atomized paint and overspray.
Final Thoughts on Dialing In Your Pressure
There’s no single universal PSI number. The correct pressure is the one that makes your sprayer and your specific paint work together beautifully. For most airless sprayers, that means finding the balance in the 1500 to 3000 PSI range. For other tools, it’s a much gentler touch.
We recommend keeping your owner’s manual handy and always doing a test spray. A few minutes of setup time is worth a flawless finish. With a little attention, you’ll get pro-level results and keep your sprayer running smoothly for years.
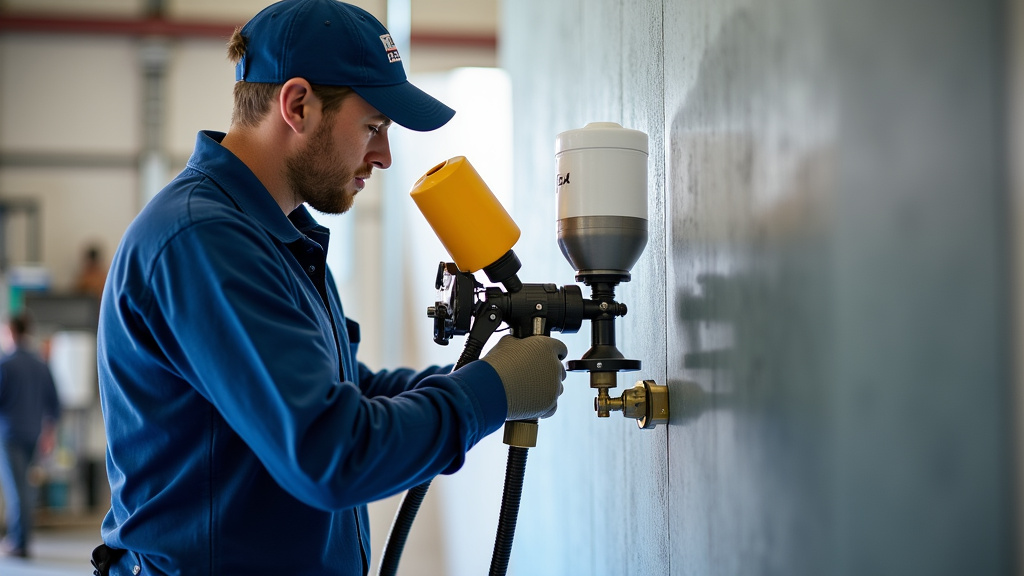
Conclusion
Choosing the right PSI isn’t about a single magic number. It’s about matching your sprayer’s power to your paint’s thickness. We found the sweet spot for most airless sprayers is between 1500 and 3000 PSI, while HVLP guns need far less. Your final, perfect finish depends on this balance. Before you open a single can of paint, we recommend you find your owner’s manual and do a test spray on a scrap board. A few minutes of setup ensures a flawless, professional result.
Frequently Asked Questions
Can I use a regular air compressor with my paint sprayer?
It depends on the sprayer. HVLP and some LVLP sprayers are designed to work with an air compressor. Airless sprayers, however, have their own built-in pump and do not use an external air compressor. Always check your sprayer’s specifications to confirm what kind of power source it requires.
How do I check the PSI on my paint sprayer if it doesn’t have a gauge?
If your model lacks a built-in pressure gauge, you can purchase an inline gauge to attach between the sprayer and the hose. The most practical method, however, is the test spray technique. Start low and adjust until you achieve an even fan pattern, as described in our step-by-step guide.
What happens if I spray latex paint at 1000 PSI with an airless sprayer?
The pressure is likely too low to properly atomize the thick latex paint. You will experience poor spray patterns with heavy tails, uneven coverage, and a finish that resembles orange peel. The sprayer may also struggle, leading to potential clogs and a frustrating experience.
Does thinning my paint change the PSI I need?
Yes, it can. Thinning paint reduces its viscosity, meaning it flows more easily. This typically allows you to use a lower PSI setting while still achieving good atomization and coverage. Thinned paint is less demanding on the sprayer’s pump.
Why does my sprayer spitting even at the recommended PSI?
Sputtering often points to an air leak in the system, a clogged filter, or a worn spray tip. It can also mean the pressure is set too low for the paint’s current thickness. First, try a slightly higher PSI. If that fails, check your filters and tip for blockages or damage.
