How To Use Air Compressor Attachments?
Using air compressor attachments means connecting the right tool, setting the correct air pressure, and following safety guidelines for each specific task. You typically attach them to an air hose using quick-connect couplers, then adjust your compressor’s regulator to the attachment’s recommended PSI.
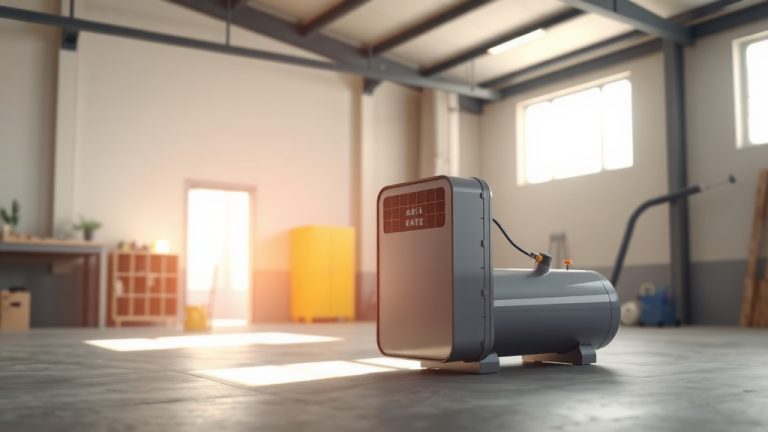
Air compressor attachments extend your compressor’s usefulness across countless projects, from inflating tires to tackling heavy-duty construction tasks. Understanding how to properly connect and operate these tools is key to successful and safe operation.
Here’s a quick overview of what you’ll find in this guide:
- Discover how to securely connect various air tool attachments.
- Learn the optimal pressure settings for common air tools.
- Understand essential safety tips before you start any project.
- Find practical advice on maintaining your tools for long-term use.
- Get answers to frequently asked questions about attachment usage.
How To Use Air Compressor Attachments?
Using air compressor attachments is straightforward once you grasp the basics of connection, pressure settings, and safety. You simply connect the tool to your air hose, dial in the proper PSI, and you’re ready to work.
Your air compressor is a versatile power source, a real workhorse for many tasks. From inflating car tires to powering impact wrenches, it offers a world of possibilities. Think of your compressor as the engine, and the attachments are the specific tools that get the job done.
You’re not just buying a machine; you’re investing in a whole system. Knowing how to properly use each piece helps you tackle projects with confidence. It also ensures your tools last longer and perform better. Let’s get you started on your journey to mastering these handy tools.
Prioritizing Safety When Using Attachments
Before you even think about connecting an attachment, make safety your top priority. Air compressors operate under high pressure, so caution is always a must. Many experts say that proper personal protective equipment (PPE) is non-negotiable (OSHA guidelines).
Always wear safety glasses or goggles to protect your eyes from flying debris. Gloves can protect your hands, especially when handling tools or materials. Ear protection is also wise, as compressors and some tools can be quite loud. You want to avoid any accidents, right?
Remember to disconnect the air supply and relieve pressure before changing attachments. This simple step prevents accidental tool activation. It’s a good habit to always double-check these things.
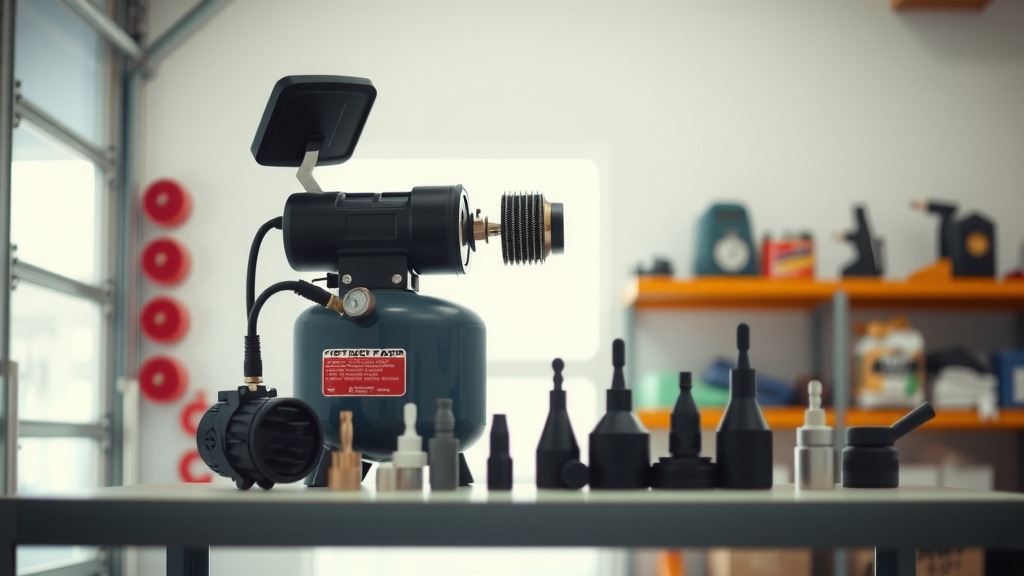
Connecting Your Air Compressor Attachments
Connecting attachments is generally quite simple, thanks to standardized fittings. Most air tools use either quick-connect couplers or threaded connections. Let’s look at both types.
Understanding Quick-Connect Couplers
These are the most common and convenient type of connection for air tools. You’ll find them on most air hoses and many attachments. They allow for fast and easy tool changes without needing wrenches.
To connect, pull back the collar on the air hose coupler. Then, simply insert the attachment’s plug. Release the collar, and you should feel it lock securely into place. Give it a gentle tug to confirm it’s seated properly. If you hear air leaking, something isn’t quite right.
Working with Threaded Connections
Some attachments, especially those for permanent setups or specific uses, might use threaded connections. These require a wrench to tighten them. Always use thread sealant tape (Teflon tape) for a good seal. Wrap the tape clockwise around the male threads. This prevents air leaks and ensures a strong connection.
Popular Air Compressor Attachments and Their Uses
Now that you know how to connect them, let’s talk about some of the most useful attachments. Each one opens up new possibilities for your projects. Which one will you try first?
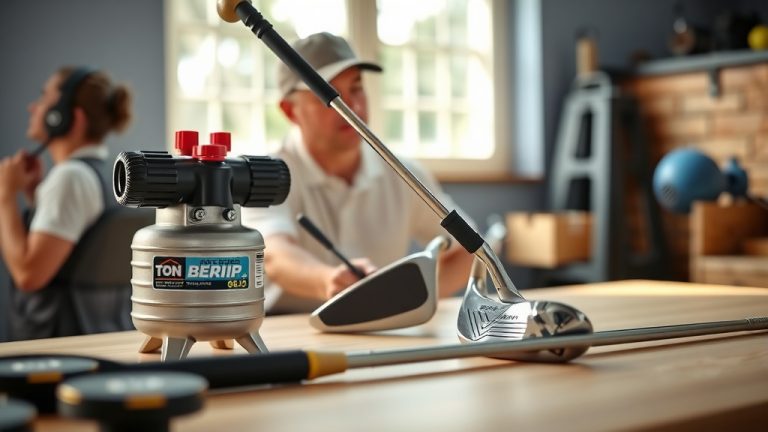
The Versatile Blow Gun
A blow gun is perhaps the simplest and most frequently used attachment. It’s fantastic for clearing debris, drying surfaces, or cleaning tight spaces. Think about blowing dust off your workbench or drying car parts after washing. Always direct the air away from yourself and others, and wear eye protection!
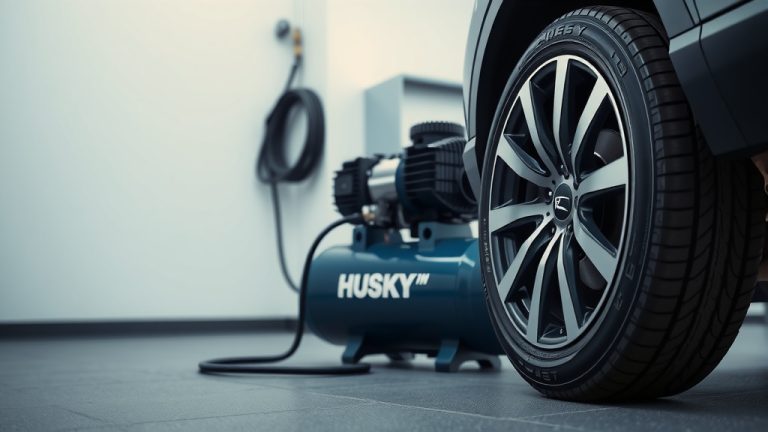
Tire Inflators and Pressure Gauges
This attachment makes keeping your tires at the correct pressure a breeze. It usually combines an inflator chuck with a built-in pressure gauge. You just attach it to the tire valve, check the pressure, and add air as needed. Maintaining proper tire pressure improves fuel efficiency and tire longevity.
Paint Spray Guns for a Smooth Finish
Air-powered paint spray guns provide a smooth, even finish for painting projects. They range from small detail guns to larger models for furniture or vehicles. You’ll need to adjust air pressure and paint viscosity for the best results. Practice on scrap material first to get a feel for it.
Impact Wrenches: Power for Tough Fasteners
An impact wrench delivers powerful rotational force, perfect for tightening or loosening stubborn nuts and bolts. It’s a lifesaver for changing car tires or working on heavy machinery. Always use impact-rated sockets with these tools to prevent damage. Remember, power is great, but control is essential.
Nail Guns for Fastening Wood
From brad nailers for trim work to framing nailers for construction, these tools drive nails with impressive speed. They save your arm from repetitive hammering and make projects go much faster. Always ensure the nails are compatible with your gun and wear eye protection. Work smarter, not harder!
Air Ratchets for Tight Spots
Similar to an impact wrench but designed for lighter tasks and tighter spaces, an air ratchet is perfect for engine bay work or assembly. It offers speed and convenience where a manual ratchet would be slow. They’re excellent for removing or installing fasteners quickly in confined areas.
Matching the Right Attachment to Your Project
Choosing the correct attachment is half the battle. Think about the task at hand. Is it inflation, cleaning, fastening, or painting? We found that knowing your tool’s purpose saves time and frustration.
| Attachment | Primary Use | Recommended PSI Range |
|---|---|---|
| Blow Gun | Cleaning, drying | 30-50 PSI |
| Tire Inflator | Inflating tires | Dependent on tire (e.g., 30-35 PSI for cars) |
| Paint Spray Gun | Painting surfaces | 20-60 PSI (varies by gun/paint) |
| Impact Wrench | Tightening/loosening nuts | 90 PSI |
| Nail Gun | Driving nails/staples | 70-120 PSI (varies by gun/nails) |
| Air Ratchet | Fastening in tight spots | 90 PSI |
Setting the Correct Air Pressure (PSI)
This is a critical step for both tool performance and safety. Each attachment has a recommended operating pressure, usually listed in its manual. You adjust this using the regulator knob on your air compressor. Too much pressure can damage tools or the workpiece, while too little means poor performance.
Many experts suggest starting at a lower PSI and gradually increasing it until the tool performs effectively. It’s like finding the sweet spot for your task. A good practice is to always consult the attachment’s manual for its specific requirements.
Maintaining Your Compressor and Attachments
Proper maintenance ensures your tools last longer and work reliably. It’s an easy way to protect your investment. A little care goes a long way, don’t you agree?
Lubricating Air Tools
Many pneumatic tools require regular lubrication. This typically involves adding a few drops of pneumatic tool oil into the air inlet before each use. This oil keeps internal parts moving smoothly and prevents corrosion. Check your tool’s manual for specific lubrication needs. It’s a small step that makes a big difference.
Proper Storage Practices
When you’re done for the day, disconnect attachments and store them properly. Keep them in a clean, dry place to prevent rust and damage. Coiling air hoses neatly also helps prevent kinks and extends their life. Think of it as putting your tools to bed.
Your Quick Attachment Checklist
Before you power up your compressor for any task, run through this quick checklist:
- Read the Manual: Understand your compressor and attachments.
- Wear PPE: Always use safety glasses, ear protection, and gloves.
- Check Connections: Ensure all hoses and attachments are secure.
- Set PSI: Adjust the regulator to the attachment’s recommended pressure.
- Inspect Tools: Look for any damage or wear before starting.
- Clear Work Area: Remove clutter and potential hazards.
Conclusion
Mastering the use of air compressor attachments truly unlocks the full potential of your compressor. You’ve learned how to connect tools safely, set the right pressure, and maintain them for lasting performance. From simple blow guns to powerful impact wrenches, each attachment offers unique capabilities for your projects.
Remember, safety is always first, and understanding your tools is key. Don’t be afraid to experiment and discover new ways to use your air compressor. With a little practice, you’ll be tackling tasks with efficiency and confidence. Go ahead, make your next project easier!
Frequently Asked Questions About Air Compressor Attachments
What kind of air compressor do I need for attachments?
The type of air compressor you need depends on the attachments you plan to use and how often. For occasional light tasks like inflating tires or using a blow gun, a small portable compressor with a 1-6 gallon tank is often sufficient. For heavier tasks like running impact wrenches or paint sprayers, you’ll need a larger compressor with higher CFM (Cubic Feet per Minute) and a larger tank to sustain airflow (research suggests larger tanks are better for continuous use).
Can I use any attachment with any air compressor?
Not necessarily. While many attachments use standard quick-connect fittings, the crucial factor is your compressor’s ability to supply the required CFM and PSI for the tool. A small compressor might not generate enough airflow or sustained pressure to operate a large framing nailer or sandblaster effectively. Always check the attachment’s CFM requirements against your compressor’s output.
How do I know what PSI to set for my attachment?
Each air tool or attachment will have a recommended operating PSI (pounds per square inch) listed in its user manual. It’s important to consult this manual. Typically, most tools operate efficiently around 90 PSI, but some might be lower (like a blow gun) or require specific ranges (like a paint sprayer). Setting the correct PSI prevents tool damage and ensures optimal performance.
Do air compressor attachments need maintenance?
Yes, air compressor attachments do require maintenance to prolong their lifespan and ensure optimal performance. Many pneumatic tools, especially those with moving parts like impact wrenches or nail guns, need regular lubrication with specific pneumatic tool oil. You should also keep them clean, inspect for wear or damage, and store them in a dry environment to prevent rust and corrosion.
What should I do if my air tool attachment is leaking air?
If your air tool attachment is leaking air, first check the connection point. Ensure the quick-connect coupler is fully engaged or threaded connections are tightly sealed with thread sealant tape. If the leak persists, inspect the attachment itself for any visible cracks or worn seals (O-rings). Sometimes, a simple replacement of a worn O-ring can fix the issue. Disconnect the air supply before attempting any repairs.