How to Build a DIY Air Line System in a Garage?
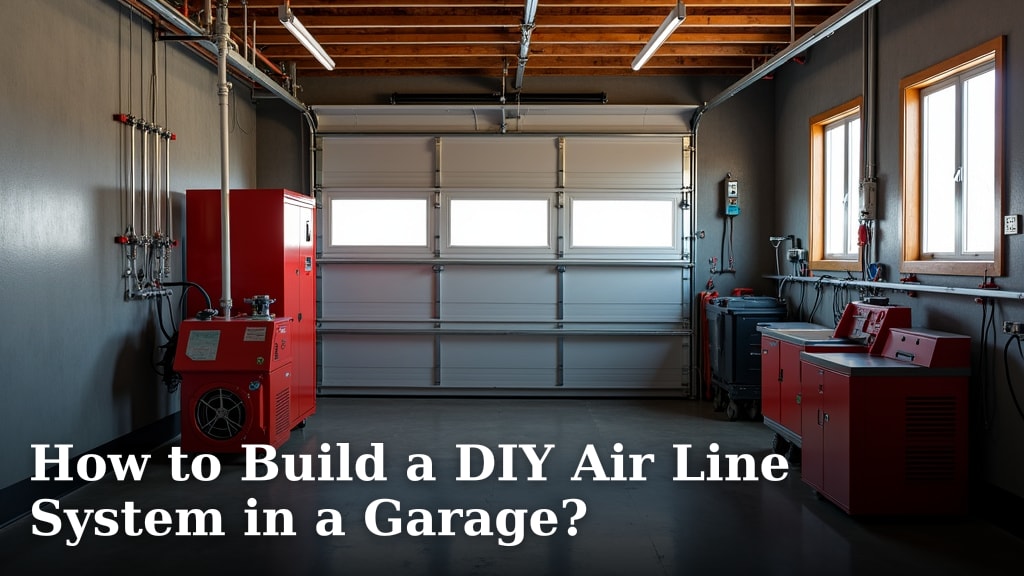
Yes, you can absolutely build your own DIY air line system for your garage! It’s a fantastic way to get reliable compressed air where you need it for tools. We found that setting up your own system can be more affordable than buying pre-made kits.
This project involves running pipes or hoses through your garage space. You’ll connect them to your air compressor. Proper planning ensures a leak-free system that works efficiently for all your pneumatic tools. Many DIYers find this a rewarding weekend project.
- Determine your needs.
- Choose the right piping.
- Install your air drops.
- Test for leaks thoroughly.
Let’s walk through exactly how to build your DIY garage air line system step by step.
Setting Up Your Garage Air Line System: A Step-by-Step Guide
You’ve got the air compressor, but now you want air where you need it. Running your own air lines is a smart and budget-friendly choice. It lets you power all your pneumatic tools without dragging hoses around. We found that most DIYers can complete this project in a weekend. Let’s get started on building a reliable air system for your garage.
Planning Your Garage Air Distribution System
Before you buy any supplies, take a moment to plan your layout. Think about where you use your air tools most often. Do you need air at a workbench, a tire inflation station, or near your vehicle lifts? Mapping out these locations will help you determine the best way to run your lines and how many air drops you’ll need. This step is key to avoiding costly mistakes later.
Determining Your Airflow Needs
Your tools dictate the airflow requirements. Small tools like inflators or brad nailers don’t need much. Larger tools, such as impact wrenches or sanders, demand more. Check the CFM (cubic feet per minute) rating on your tools. Your compressor should be able to meet the highest CFM demand of any single tool, plus a little extra. Many experts suggest adding 50% to your highest tool’s CFM for reserve (Gage Busters).
Choosing the Right Piping Material
There are a few popular options for garage air lines. Each has its pros and cons. Understanding these will help you pick the best fit for your budget and needs.
Aluminum Piping Systems
Aluminum lines are lightweight and easy to work with. They offer excellent corrosion resistance. Fittings often use O-rings for a secure, leak-free seal. Many professional systems use aluminum. It’s a bit pricier upfront, but its durability is a big plus. We found that installation is typically faster than with steel.
Copper Piping
Copper is a classic choice. It’s durable and doesn’t rust. However, it requires soldering or compression fittings. Soldering can be tricky for beginners. Compression fittings are easier but can sometimes be prone to leaks if not tightened correctly. Copper is a long-lasting material.
PEX Tubing
PEX is a flexible plastic tubing. It’s very easy to install, often using simple crimp or push-to-connect fittings. It’s also affordable and corrosion-resistant. However, PEX is not as rigid as metal. You might need more support for long runs. It’s a great option for a budget-friendly system.
Rubber or PVC Hoses (Not Recommended for Permanent Lines)
While you might use flexible hoses for short connections, permanent lines are best made from rigid or semi-rigid materials. Standard garden hoses or basic PVC pipe aren’t designed for continuous air pressure. They can degrade, crack, or burst. For safety and reliability, stick to materials rated for compressed air.
Selecting Essential Components
Beyond the pipe, you’ll need several other parts. You’ll need a master shut-off valve near the compressor. This allows you to safely isolate the system. Regulators control air pressure to your tools. Lubricators add oil to air lines for pneumatic tools that require it. Filters remove moisture and debris. You’ll also need connectors, elbows, tees, and mounting hardware.
Installing Your Garage Air Lines
Now for the hands-on part! Installing your air lines involves careful planning and precise execution. Take your time, and measure twice, cut once. Safety first, always!
Mounting the Main Air Line
Decide where your main line will run. Will it go along the ceiling, up high on the walls, or buried in a trench (if you’re feeling ambitious)? Running lines overhead is common and keeps them out of the way. Use appropriate mounting brackets or pipe hangers. Ensure they are spaced adequately to support the weight of the pipe and prevent sagging. Many experts suggest spacing hangers every 4-6 feet for aluminum or copper.
Connecting to the Compressor
Start at your air compressor. You’ll need a fitting to transition from your compressor’s outlet to your chosen piping material. Install your main shut-off valve here. This is a critical safety feature. If a fitting ever leaks or you need to work on the system, this valve lets you shut off the air supply without turning off the compressor.
Running Branch Lines and Air Drops
From your main line, you’ll branch off to the locations where you need air. Use Tee fittings to split the line. For each air drop point, install a connector or a quick-coupler. You can also add a regulator and moisture filter at each drop if you need different pressure levels or want cleaner air for specific tools. For each air drop point, install a connector or a quick-coupler, and we review the best air compressor fittings.
The Importance of Drains
Moisture is the enemy of an air system. It can rust pipes and damage tools. You need to collect and drain this moisture. Install drain valves at the lowest points of your system. This includes at the compressor tank and at the end of any long runs or dead ends. Automatic drain traps are available and can be a great convenience.
Properly Joining Pipes and Fittings
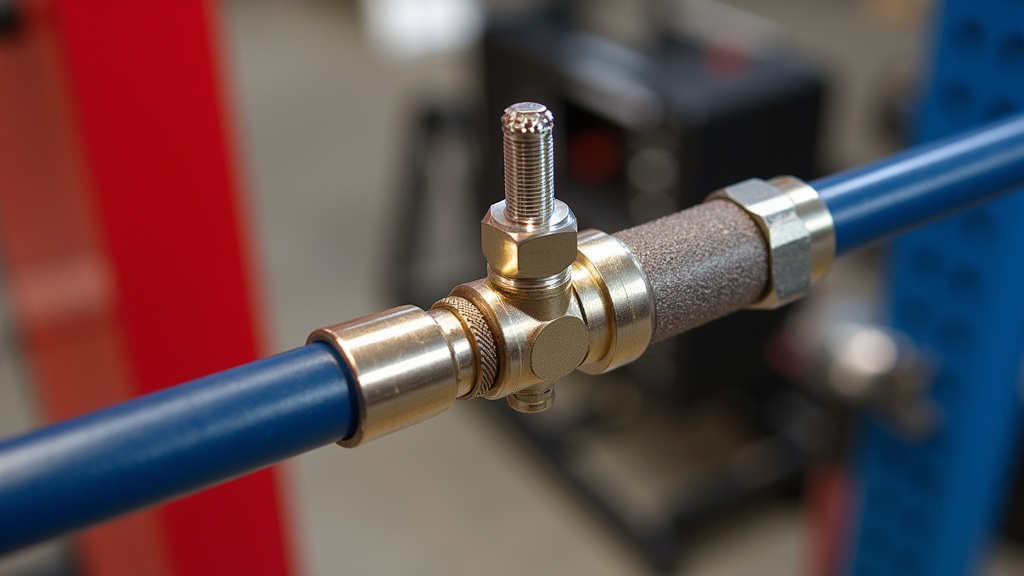
The method for joining pipes depends on your material. Aluminum systems often use push-to-connect fittings or fittings that seal with O-rings and set screws. Copper might require soldering or compression fittings. PEX uses crimp rings or push-to-connect fittings. Whichever system you choose, follow the manufacturer’s instructions precisely. A good seal is vital for a leak-free system. Whichever system you choose, follow the manufacturer’s instructions precisely for a good seal.
Testing and Maintaining Your Air Line System
Once everything is connected, it’s time for the most important step: testing. A leaky air line wastes energy and money. Plus, it can be frustrating!
Leak Detection
The best way to find leaks is with soapy water. Mix dish soap and water in a spray bottle. Pressurize your system to normal working pressure. Then, spray every joint, fitting, and connection. Look for bubbles forming. Bubbles mean air is escaping. Mark any leaky spots with chalk or tape.
Repairing Leaks
After identifying leaks, depressurize the system. Then, tighten the fitting if it’s a compression or screw-type. For push-to-connect fittings, ensure the pipe is fully seated. If a joint continues to leak, you may need to disassemble and reassemble it. Sometimes, replacing a faulty O-ring or fitting is necessary. We found that taking the time to fix every small leak makes a huge difference in system efficiency.
Regular Maintenance Schedule
Keep your system running smoothly with a few simple checks. Periodically drain the moisture traps. Inspect all fittings for signs of wear or leaks. Check your air filters and replace them as needed. If you use lubricated air tools, ensure your lubricator is topped up. Following a routine maintenance schedule helps prevent problems.
Checklist for Your DIY Air Line Project
Here’s a quick rundown to keep you on track:
- Map out your garage and tool locations.
- Choose your piping material (aluminum, copper, PEX).
- Gather all necessary fittings, valves, and regulators.
- Plan your air drop points and connector types.
- Install main line, branches, and air drops securely.
- Thoroughly test for and repair all leaks.
Conclusion
You’ve now got a clear roadmap to building your own garage air line system. Remember, proper planning is your best friend here. Choosing the right materials and taking your time during installation will pay off. You’ll have reliable compressed air for all your tools, saving you money and hassle. Don’t forget that thorough leak testing and regular maintenance are key to a long-lasting, efficient system. So, gather your supplies, pick a weekend, and get ready to enjoy the convenience of your new air supply. Your next project awaits!
Frequently Asked Questions
What’s the best piping material for a DIY garage air line system?
We found that aluminum piping is a top choice for its durability and ease of installation. PEX tubing is also a great, budget-friendly option for its flexibility and simple fittings. Copper is a solid, long-term choice but can be more challenging to install for beginners.
How many CFM do I need for my air compressor?
To figure this out, add up the CFM requirements of your most air-hungry tools. Experts often suggest adding about 50% more CFM than your highest tool’s demand. This ensures your compressor can keep up, especially when running multiple tools.
Do I really need to install drain valves?
Yes, absolutely. Moisture is a major enemy of air systems, causing rust and tool damage. Installing drain valves at low points in your system, including the compressor tank and dead ends, is essential for removing condensation safely.
How often should I check for air leaks?
We recommend performing a quick leak check with soapy water after initial installation and then at least every few months. Regularly inspecting and repairing leaks will save you energy and ensure your tools perform at their best.
Can I use regular PVC pipe for my air lines?
We strongly advise against using standard PVC pipe or garden hoses for permanent air lines. These materials are not designed for the consistent pressure of a compressed air system and can become brittle, crack, or burst, posing a safety risk.
