How To Use Porter Cable 6 Gallon Air Compressor?
To use your Porter Cable 6 Gallon Air Compressor, first ensure it’s on a stable, level surface, then connect your air hose and chosen tool securely. Next, plug in the compressor, turn it on, and allow it to build up to its maximum pressure before adjusting the regulator for your specific task.
This compact and versatile air compressor is perfect for many home and workshop projects, offering reliable power for tasks from inflating tires to powering nail guns. Proper setup and safety checks are key to getting the most out of your tool.
Here’s a quick summary of what you’ll learn about using your Porter Cable 6 Gallon Air Compressor:
- You’ll master the simple steps to set up your compressor for first use.
- Discover essential safety practices to keep your workspace secure.
- Learn how to connect various air tools and adjust pressure settings.
- Understand common tasks you can tackle, like nailing and inflating.
- Get practical tips for basic maintenance to keep your compressor running smoothly.
How To Use Porter Cable 6 Gallon Air Compressor?
Using your Porter Cable 6 Gallon Air Compressor is straightforward when you follow a few basic steps for setup, operation, and safety. This reliable unit is designed for ease of use, making your projects much simpler.
Unboxing and Initial Setup
When you first get your Porter Cable compressor, take a moment to inspect everything. Are all the parts there? Check for any shipping damage before you begin.
Place the compressor on a flat, stable surface. This helps prevent tipping and ensures safe operation. It needs good air circulation, so avoid cramped spaces.
Attaching the Air Filter
Many models require you to attach the air filter. It’s usually a small plastic piece that screws into the compressor’s pump housing. This filter protects the internal components from dust and debris.
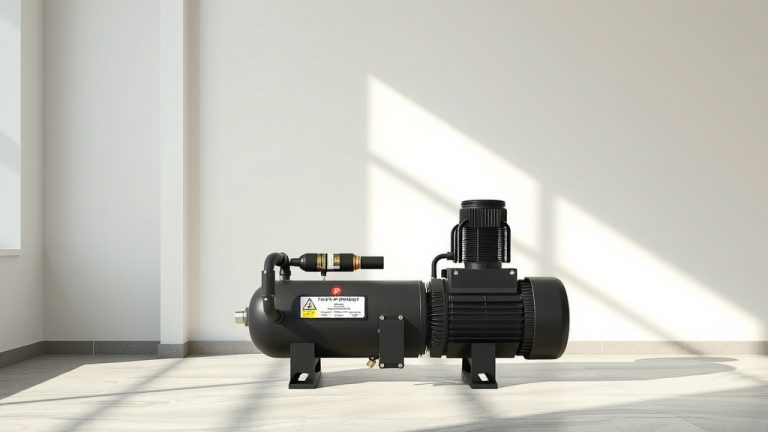
Understanding Compressor Components
Before you power it up, let’s quickly review the main parts. You’ll see a pressure gauge, a regulator knob, an air outlet, and a drain valve. Knowing these helps you operate it effectively and safely.
The Power Switch and Cord
Locate the power switch. It’s typically a toggle or rocker switch. Make sure the power cord is in good condition, without any fraying or damage, and ready for a proper outlet.
Connecting Your Air Hose and Tools
This is where your compressor comes to life! You’ll need an air hose and your chosen air tool. The compressor usually has a universal quick-connect coupler.
To connect the hose, pull back the collar on the coupler, push the hose fitting in, and then release the collar. It should snap firmly into place. Give it a gentle tug to ensure it’s secure. Safety first, always confirm the connection.
- Check all connections are tight.
- Ensure the air hose is rated for the compressor’s pressure.
- Never use damaged hoses or fittings.
Powering On and Building Pressure
Now, plug your compressor into a grounded electrical outlet. Flip the power switch to the “ON” position. You’ll hear the motor start and the tank begin to fill with air. It might be a bit loud, which is normal.
Allow the compressor to run until it reaches its maximum pressure, usually around 150 PSI. It will then automatically shut off. This means it’s ready for use! Patience is key here.
Adjusting the Pressure Regulator
Different tools require different air pressures. This is where the regulator knob comes in. Turn the knob clockwise to increase pressure or counter-clockwise to decrease it.
Watch the output pressure gauge as you adjust. We found that most air tools have a recommended operating pressure listed in their manual. Always check your tool’s requirements to avoid damage or poor performance.
Performing Common Tasks
Your Porter Cable 6 Gallon Air Compressor is a versatile powerhouse. What project are you tackling today? Let’s look at some popular uses.
Nailing and Stapling
For brad nailers or finish nailers, you’ll typically set the regulator between 70-90 PSI. Connect your nailer, load it with fasteners, and ensure proper safety eyewear is on. Many experts say this range provides optimal penetration without oversinking (Power Tool Institute).
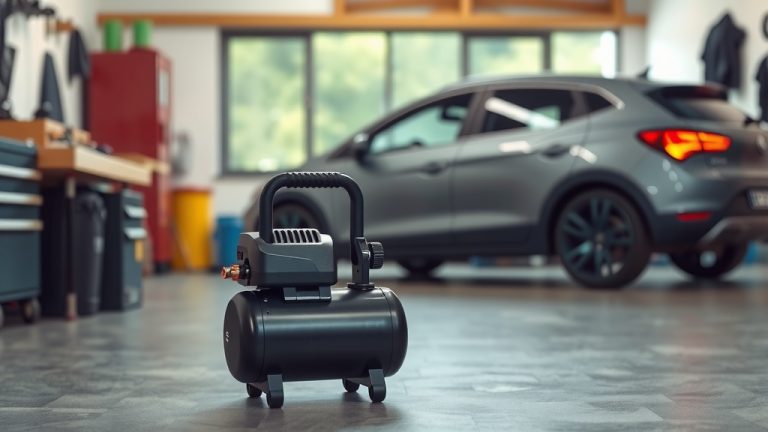
Inflating Tires and Sports Equipment
Inflating is one of the easiest tasks. Use an inflation gun attachment. Car tires usually need 30-35 PSI, while bicycle tires or sports balls need less. Always check the item’s sidewall or instructions for the correct pressure rating.
Air Blow Guns for Cleaning
A blow gun is fantastic for clearing dust and debris from workspaces or tools. Set the pressure lower, around 30-50 PSI. Be very careful, as pressurized air can cause injury if not handled correctly. Wear eye protection!
Understanding Pressure Settings for Tools
Here’s a quick guide to common pressure settings for various applications:
| Application | Recommended PSI Range |
|---|---|
| Brad/Finish Nailer | 70-90 PSI |
| Tire Inflation (Car) | 30-35 PSI |
| Air Blow Gun | 30-50 PSI |
| Stapler | 70-100 PSI |
Shutting Down and Storing Safely
When you’re done, turn off the power switch and unplug the compressor. Remove your air tool from the hose. Then, you must drain the air from the tank.
Locate the drain valve at the bottom of the tank. Slowly open it to release the air and any accumulated moisture. Close it when the tank is empty. This prevents rust and extends the life of your compressor. We found this step crucial for longevity.
Essential Maintenance Tips
A little care goes a long way in keeping your compressor running strong. Regular maintenance ensures its efficiency and safety.
Draining the Tank Regularly
As mentioned, draining the tank after each use is vital. Condensation builds up inside, and if left, it will lead to corrosion. A rusty tank is a serious safety hazard and shortens the compressor’s lifespan.
Checking the Air Filter
Periodically check the air filter for dirt or debris. If it looks dirty, clean it or replace it according to the manufacturer’s instructions. A clean filter helps the compressor breathe easier and run more efficiently.
Inspecting Hoses and Fittings
Before each use, quickly check your air hose and fittings for cracks, leaks, or damage. A leaky hose wastes air and reduces performance. Replace any damaged parts immediately. Small checks prevent big problems.
Safety First: Your Checklist
Working with compressed air requires respect for the tool. Here’s a quick checklist to keep you safe:
- Always wear safety glasses or goggles.
- Ensure the compressor is on a stable surface.
- Keep children and pets away from the operating area.
- Never point an air nozzle at yourself or others.
- Drain the air tank after every use.
- Read your compressor’s owner’s manual carefully.
Conclusion
Learning how to use your Porter Cable 6 Gallon Air Compressor correctly can truly transform your DIY projects and workshop tasks. By following these simple steps—from proper setup and understanding its components to adjusting pressure and performing routine maintenance—you’ll ensure a safe and efficient experience. Remember, respect for the tool and adherence to safety guidelines are your best allies. With consistent care, your compressor will be a reliable workhorse for many years to come.
How often should I drain the tank on my Porter Cable 6 Gallon Air Compressor?
It’s best practice to drain the tank after every single use, or at least at the end of each day you’ve operated the compressor. This simple step prevents moisture buildup, which can cause rust and significantly reduce the tank’s lifespan and overall safety.
Can I use an extension cord with my air compressor?
While it’s generally best to plug your compressor directly into a wall outlet, if you must use an extension cord, ensure it’s a heavy-duty, outdoor-rated cord with the correct gauge (e.g., 12 or 10 gauge) and length to handle the compressor’s power requirements without overheating. Using an improper cord can lead to voltage drops, motor damage, or fire hazards.
What kind of oil does a Porter Cable 6 Gallon Air Compressor need?
Many Porter Cable 6 Gallon Air Compressors are oil-free, meaning they don’t require oil for the pump, which simplifies maintenance significantly. Always check your specific model’s manual to confirm if it’s an oil-free design. If it does require oil (which is less common for this size), the manual will specify the correct type and weight.
Why does my air compressor keep cycling on and off?
Your air compressor is designed to cycle on and off automatically to maintain tank pressure. It turns on when the pressure drops below a certain point and shuts off when it reaches maximum pressure. If it’s cycling much more frequently than usual, you might have an air leak in your hose, connections, or the tank itself. Check all fittings for tightness.
Is it normal for the compressor to get hot during use?
Yes, it’s completely normal for the compressor motor and pump assembly to get warm or even hot during operation, especially during extended use or when filling the tank from empty. These components generate heat as they work. However, if it feels excessively hot or smells like burning, shut it off immediately and consult your manual or a service professional.