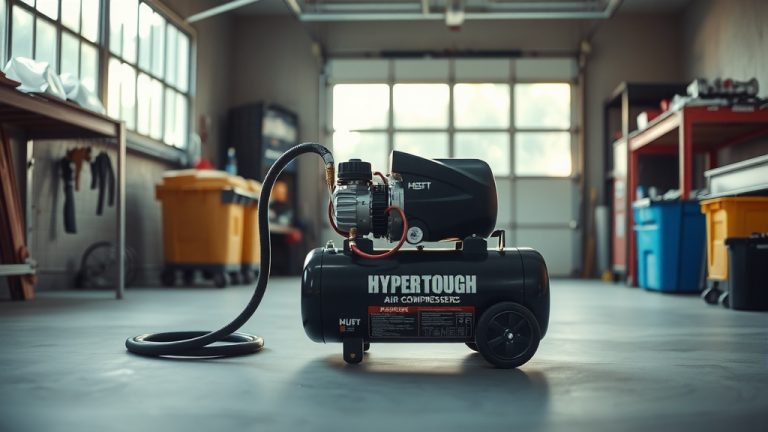
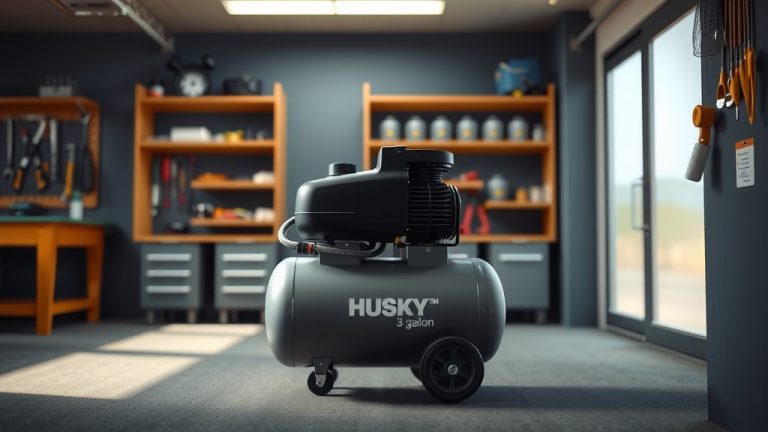
How To Use Porter Cable Air Compressor 150 PSI?
To use a Porter Cable air compressor 150 PSI, first connect your air tool to the quick-connect coupler, ensuring a secure fit.
Next, plug in your compressor, turn it on, and let it build up to its maximum 150 PSI pressure before you begin any project.
Here’s a quick summary for getting started with your Porter Cable 150 PSI air compressor:
- Always consult your compressor’s manual for specific safety steps and usage details.
- Ensure all air connections are secure before powering on your unit to prevent leaks.
- Adjust the pressure regulator to match the PSI requirements of your air tool.
- Regularly drain the air tank to remove moisture and keep your compressor working well.
- Prioritize safety by wearing appropriate gear like eye and ear protection during operation.
How To Use Porter Cable Air Compressor 150 PSI?
Using your Porter Cable 150 PSI air compressor means connecting the right tools, setting correct pressure, and following key safety steps. This guide helps you get the most from your reliable workshop partner.
First Things First: Safety is King!
Before you even think about plugging in your Porter Cable air compressor, let’s talk safety. Think of it like cooking: you wouldn’t start chopping veggies without a clean board, right? Air compressors, especially powerful 150 PSI models, need a similar respect.
Always work in a well-ventilated area. This helps prevent any fumes from building up, although electric compressors typically produce fewer. Keep your workspace clean and free of clutter. This prevents tripping hazards or accidental knocks to the compressor.
Gather Your Essential Gear
We found that many experts, including those at OSHA, recommend specific safety items for air compressor use. It’s like wearing a helmet on a bike – it just makes good sense.
- Safety Glasses or Goggles: Protect your eyes from flying debris.
- Hearing Protection: Compressors can be noisy; earmuffs or earplugs are a must.
- Work Gloves: Keep your hands safe from pinches and cuts.
Unboxing and Setup: Your First Steps
So, you’ve got your new Porter Cable air compressor. That’s exciting! Take a moment to inspect it for any shipping damage. Sometimes, a rough journey can cause a dent or two. Make sure everything looks sturdy.
Find a stable, level surface for your compressor. You don’t want it rocking and rolling while it’s running. Many models have rubber feet to help reduce vibration, which is a nice touch.
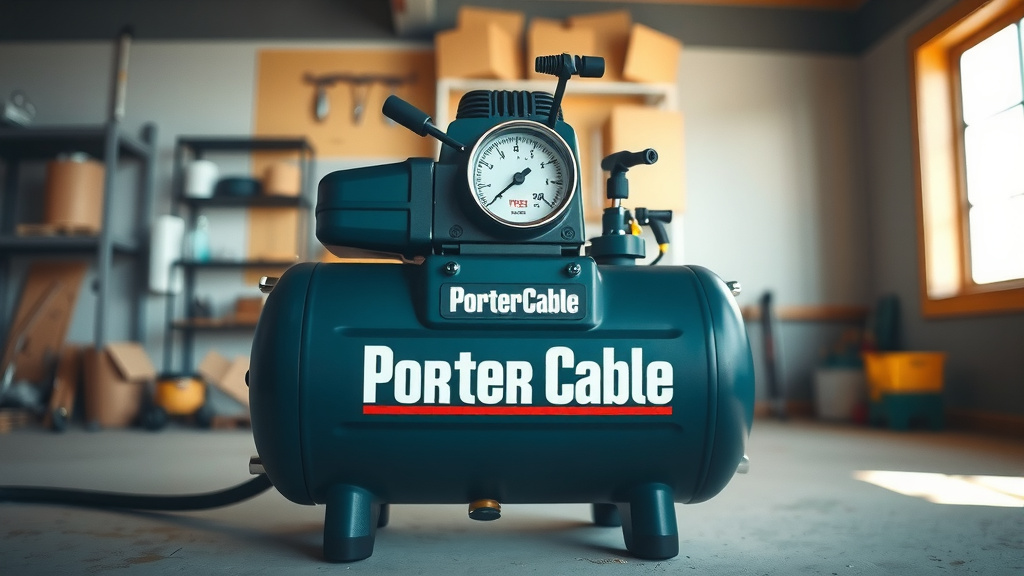
Understanding the Controls
Your compressor probably has a few key parts. There’s the pressure gauge, which shows the tank pressure. Another gauge shows your regulated output pressure. Then you have the regulator knob, and of course, the on/off switch. Knowing these parts helps you control your machine.
Connecting Your Air Tool
This is where the real fun begins! You’ll notice your air compressor has a quick-connect coupler. This handy part lets you attach and remove tools with ease, much like a garden hose nozzle. Push the collar back on the coupler, insert your air tool’s plug, then release the collar. Give it a gentle tug to ensure it’s locked in place. A secure connection is important to prevent air leaks.
Choosing the Right Air Hose
Think of your air hose as the bridge between your compressor and your tool. A longer hose offers more reach, but it can also lead to a slight pressure drop. For most general tasks, a 3/8-inch diameter hose is a good balance. Ensure your hose is rated for 150 PSI or higher.
Powering Up and Building Pressure
Before plugging it in, ensure the on/off switch is in the “off” position. Then, plug your compressor into a suitable outlet. Turn the switch to “on.” You’ll hear the motor kick in. It will start building pressure. Let it run until it reaches its maximum 150 PSI and automatically shuts off. This usually takes a few minutes, depending on the tank size.
Setting the Working Pressure (PSI)
Each air tool needs a specific amount of pressure to work correctly. Too much, and you risk damaging the tool or your project. Too little, and it won’t perform efficiently. We found that most air tool manufacturers list their recommended PSI right on the tool itself or in the manual. Simply turn the regulator knob to adjust the output pressure to match your tool’s requirement. Watch the output pressure gauge as you adjust.
Starting Your Project: Tips for Success
With your tool connected and pressure set, you’re ready to go! Whether you’re using a nail gun for a DIY project, inflating tires, or even powering a small paint sprayer, the principles remain the same. Always test your setup on scrap material first, if possible. This helps you get a feel for the tool and ensure your pressure settings are just right. Remember, practice makes perfect!
Here’s a quick reference for common air tool PSI settings:
| Air Tool Type | Typical PSI Range | Common Uses |
|---|---|---|
| Brad Nailer | 70-90 PSI | Trim work, small crafts |
| Stapler | 60-100 PSI | Upholstery, insulation |
| Tire Inflator | 20-100 PSI | Vehicle tires, sports equipment |
| Blow Gun | 50-90 PSI | Cleaning, drying surfaces |
| Small Paint Sprayer | 25-60 PSI | Crafts, touch-up painting |
Maintenance Matters: Keep It Running Smoothly
Just like your car needs oil changes, your air compressor needs regular care. Proper maintenance ensures a longer lifespan for your machine. It also keeps it working at its best for all your future projects. Many experts agree that simple steps can make a big difference (Consumer Reports).
Regular Tank Draining
This is probably the most important maintenance task. When the compressor runs, moisture from the air collects in the tank. If left there, it can cause rust, which can weaken the tank over time. We found that draining the tank after each use or at least weekly is ideal. Simply open the drain valve located at the bottom of the tank. You’ll hear a hiss and see water spray out. Close it once the water stops.
Here’s a quick checklist for routine Porter Cable air compressor care:
- Drain the air tank completely after each use.
- Check the air filter regularly and clean or replace if dirty.
- Inspect the air hose for any cracks or leaks before each use.
- Ensure all fittings and connections are tight.
- Store your compressor in a dry, safe place away from moisture.
Troubleshooting Common Issues
What if your compressor isn’t acting quite right? Sometimes, you might notice a pressure drop during use. This could mean a leak in your air hose or connections. It might also mean your tool is using more air than the compressor can keep up with. Or, if the compressor cycles on and off too often, it could be a small leak somewhere in the system. Often, a quick check of connections can solve these issues.
Conclusion
Your Porter Cable 150 PSI air compressor is a robust tool, ready to assist with many tasks, from inflating tires to powering nail guns. By following these simple steps—prioritizing safety, understanding the controls, connecting tools correctly, and performing routine maintenance—you’ll ensure it operates effectively and safely for years. Remember, taking a few minutes for setup and care can make all the difference. Enjoy your projects!
Can I use any air tool with a Porter Cable 150 PSI compressor?
Yes, you can generally use most standard air tools with your Porter Cable 150 PSI compressor, as long as the tool’s maximum PSI requirement is 150 PSI or less. Always check your tool’s manual for its specific pressure needs. You adjust the output pressure using the regulator knob on the compressor.
How often should I drain the air tank on my compressor?
Many experts recommend draining your air tank after every use, or at least once a week if you use it regularly. This prevents moisture from building up inside the tank, which can cause rust and reduce the compressor’s lifespan. Draining it is a quick and simple process.
What causes my air compressor to cycle on and off frequently?
Frequent cycling often indicates a small air leak in the system, such as a loose fitting, a cracked hose, or a faulty drain valve. The compressor keeps trying to maintain pressure. Check all connections and hoses carefully for any leaks. Sometimes, a faulty pressure switch can also be the reason.
Is it okay to store my Porter Cable air compressor outdoors?
No, it is not ideal to store your air compressor outdoors. Exposure to rain, extreme temperatures, and humidity can cause rust and damage to internal components. Always store your compressor in a dry, protected environment like a garage or shed to extend its life.
What kind of oil does a Porter Cable air compressor use?
Many Porter Cable air compressors are “oil-free,” meaning they don’t require oil for lubrication. However, if your specific model is an oil-lubricated type, it will typically use a specific grade of compressor oil, often a non-detergent SAE 30 weight oil. Always check your compressor’s user manual to confirm the correct oil type and maintenance schedule for your exact model.