How To Regrip Golf Clubs With Air Compressor?
You can effectively regrip golf clubs with an air compressor by using compressed air to create a cushion between the grip and the shaft, allowing the grip to slide on and off smoothly without messy solvents. This method provides a clean, quick, and efficient way to refresh your clubs, ensuring a better feel and control on the course.
Using an air compressor for regripping golf clubs offers a less messy alternative to traditional solvent methods, letting you get back on the green faster.
- Regripping golf clubs with an air compressor is a clean and quick method, avoiding messy solvents.
- You’ll need a good air compressor, a suitable air nozzle, and a vice to secure your club.
- The process involves using air pressure to expand the grip slightly, making it easier to slide onto the shaft.
- This method allows for immediate use of your newly gripped clubs, as there’s no drying time.
- It’s a skill that improves with practice, offering a professional finish once mastered.
How To Regrip Golf Clubs With Air Compressor?
Regripping golf clubs with an air compressor involves using a blast of air to slide new grips onto your club shafts, eliminating the need for adhesives or drying time. This process is surprisingly straightforward once you get the hang of it, and it can save you both time and mess.
Why Choose Air Compressor Regripping?
Many golfers are discovering the benefits of using an air compressor for regripping. We found that this method stands out for its cleanliness and speed. Unlike traditional solvent methods, you won’t deal with sticky residue or wait hours for grips to set, allowing you to play almost immediately (Golf Digest).
Less Mess, More Play
Imagine no more solvent spills or lingering fumes in your garage. With an air compressor, your workspace stays tidy, and your hands stay clean. It’s a game-changer for those who prefer a hassle-free approach to club maintenance.
Instant Gratification
The best part? Once you’ve air-gripped your club, it’s ready to go. There’s no waiting period. Just slide it on, and you’re set for your next round, which is a huge plus for eager golfers.
What You’ll Need For Air Regripping
Before you start, gather your tools. You’ll need a few specific items to make the process smooth and successful. Having everything ready saves time and prevents interruptions.
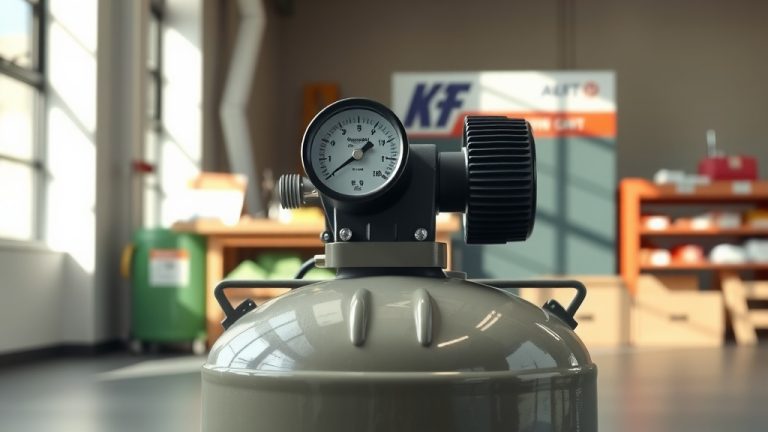
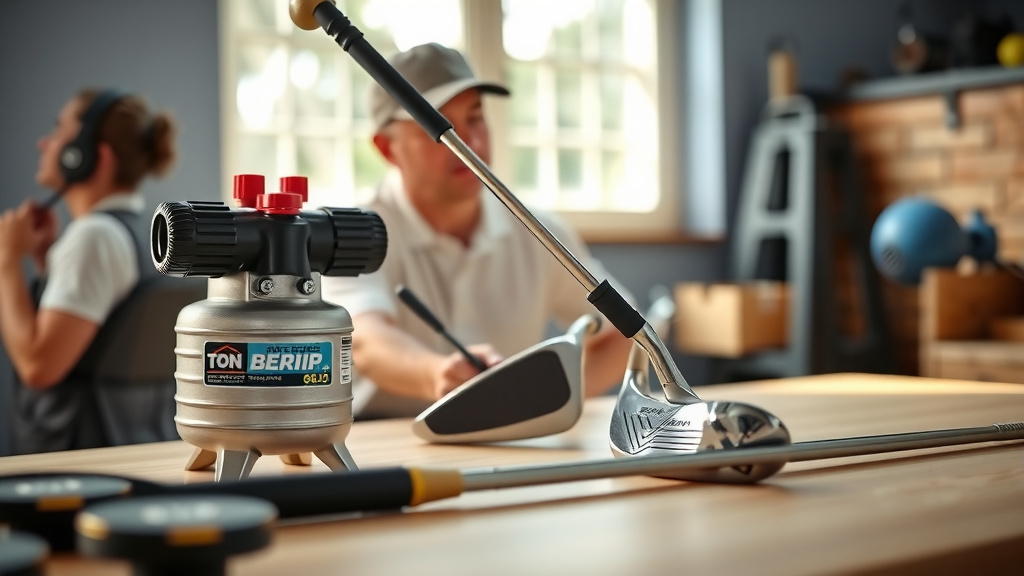
- Air Compressor: A small shop compressor, even a pancake style, usually works fine.
- Air Nozzle: A rubber-tipped or tapered nozzle is crucial for a good seal.
- New Golf Grips: Choose your preferred style and size.
- Shaft Vice Clamp: Essential for securing the club without damaging the shaft.
- Utility Knife or Hook Blade: For safely removing old grips.
- Protective Tape: To protect the shaft from scratches.
- Grip Tape (optional): Some prefer a layer for extra adhesion, but often not needed.
Preparing Your Golf Club for Regripping
Preparation is key for any successful DIY project. Taking the time to properly prepare your golf club will make the regripping process much smoother and ensure a professional finish.
Remove the Old Grip
First, carefully remove the old grip using your utility knife. Always cut away from your body. We found that a hook blade works best for this, minimizing the risk of scratching the shaft. Peel off any old grip tape completely.
Clean the Shaft
Once the old grip and tape are gone, clean the shaft thoroughly. Use a little rubbing alcohol or mineral spirits to remove any residual adhesive. A clean shaft helps the new grip slide on easier and prevents debris from causing issues later. This step ensures a smooth, clean surface for your new grip.
Secure the Club
Place your club in a shaft vice clamp, ensuring it’s held firmly but gently. You don’t want to bend or scratch the shaft. Make sure the club face is square to your body, as this helps you align the new grip correctly. A stable base makes all the difference when you’re working with air pressure.
The Air Compressor Regripping Process: Step-by-Step
Now for the main event! With everything prepared, you’re ready to slide on those new grips. This method might feel a little different at first, but with a few tries, you’ll be a pro.
Here’s your checklist to make sure you’re all set:
- Club secured in vice?
- Shaft clean and dry?
- New grip ready and accessible?
- Air compressor connected and ready?
- Air nozzle tip inserted into the grip?
Position the New Grip
Hold the new grip over the shaft, aligning it roughly where it will sit. Many experts recommend having the butt end of the grip about half an inch above the end of the shaft initially. This gives you a little wiggle room for adjustment.
Apply Air Pressure
Insert the rubber-tipped air nozzle firmly into the small vent hole at the butt end of the grip. Make sure you have a good seal. Slowly apply compressed air, typically between 60-80 PSI (Pounds per Square Inch). You’ll feel the grip slightly expand and loosen its hold on the shaft.
Slide the Grip On
While maintaining air pressure, gently push the grip down the shaft. It should slide relatively easily. Keep the air flowing until the grip is fully seated in its correct position. You might need to adjust your grip angle as you slide it down to ensure proper alignment with the club face. This step often requires a steady hand and smooth motion.
Final Adjustments and Release
Once the grip is in place, release the air pressure. The grip will immediately shrink back to its original size, creating a tight seal on the shaft. Make any final alignment adjustments quickly before it fully settles. You want to make sure the grip is straight and the logo, if any, faces correctly.
Troubleshooting Common Air Regripping Issues
Even with the best intentions, things can sometimes go awry. Don’t worry, many common issues have simple fixes. Understanding these can save you frustration and keep your project on track.
Grip Won’t Slide
If the grip is stubborn, you might not have enough air pressure, or your nozzle isn’t creating a good seal. Try increasing the PSI slightly (within safe limits for the grip) or adjusting the nozzle to ensure no air escapes. A tiny bit of talcum powder inside the grip can also help reduce friction, as we found in our research.
Grip is Crooked
A crooked grip is usually due to improper alignment during the slide. The key is to start with the grip properly oriented and keep it aligned as you push it down. Some golfers prefer to mark the shaft lightly with a pencil to guide alignment. Remember, you have a brief window to adjust before the air is released.
Air Regripping vs. Traditional Solvent Methods
Let’s look at how the air compressor method stacks up against the classic solvent and tape approach. Both have their merits, but you might find one better suits your style.
| Feature | Air Compressor Method | Traditional Solvent Method |
|---|---|---|
| Mess Factor | Very Low (no liquids) | Moderate (solvents, tape residue) |
| Drying Time | None (instant use) | 24+ hours |
| Skill Level | Medium (requires practice) | Easy (beginner-friendly) |
| Equipment | Compressor, special nozzle, vice | Solvent, double-sided tape, vice |
| Portability | Less portable due to compressor | Highly portable |
Pro Tips for Perfect Air Regrips
With a little experience, you’ll find what works best for you. However, some general tips can really help elevate your regripping game. Think of these as little secrets to a flawless finish.
Use Just Enough Air
Too much air pressure can stretch some grips, while too little won’t create enough cushion. Many reputable sources suggest staying within the 60-80 PSI range. Test on an old grip first if you’re unsure.
Keep it Clean
Always ensure both the inside of the new grip and the shaft are completely free of dust or debris. Even a tiny particle can cause a bump or tear, impacting the feel of your grip. A quick wipe down with a microfiber cloth does wonders.
Practice Makes Perfect
If you’re new to this, don’t start with your favorite driver. Try regripping an old club or a less frequently used iron first. Getting comfortable with the technique will build your confidence for your main clubs. It’s a bit like learning a new golf swing; repetition is key.
Conclusion
Regripping golf clubs with an air compressor is a truly efficient and clean alternative to traditional methods. While it requires specific tools and a bit of practice, the rewards—like instant playability and a mess-free process—are well worth it. You’ll enjoy the satisfaction of maintaining your own equipment and stepping onto the course with fresh, perfectly aligned grips. Isn’t that a great feeling?
FAQs
Is using an air compressor for regripping bad for the grip?
No, using an air compressor correctly is not bad for golf grips. The compressed air temporarily expands the grip, allowing it to slide on without stretching or damaging the material, provided you use the recommended PSI and a proper nozzle.
Can I reuse golf grips with the air compressor method?
Yes, one of the significant advantages of the air compressor method is that it allows for the reuse of grips, especially if they are still in good condition. Since no solvent is used, the grip isn’t damaged during removal, making it easy to put back on or transfer to another club.
What PSI is best for air compressor regripping?
For most standard golf grips, a pressure between 60 to 80 PSI is generally recommended. Too little pressure won’t expand the grip enough, while excessive pressure might over-stretch it. Always start on the lower end and gradually increase if needed.
Do I still need grip tape when using an air compressor?
Generally, no. The air compressor method creates a tight seal between the grip and the shaft without adhesive tape. However, some golfers prefer a single layer of double-sided tape for an extra secure feel or to build up grip size slightly. It’s mostly a matter of personal preference.
How long does it take to regrip a golf club with an air compressor?
Once you are familiar with the process, regripping a single golf club with an air compressor can take as little as 1 to 2 minutes from start to finish, not including the removal of the old grip. This speed is a major benefit compared to the drying time required for solvent-based methods.