How To Use A Craftsman 135 PSI Air Compressor?
Using a Craftsman 135 PSI air compressor involves connecting the air hose and tool, powering it on, and setting the correct pressure for your task. This versatile machine is excellent for everything from tire inflation to powering pneumatic tools around your home or workshop.
Here’s the TL;DR for mastering your Craftsman 135 PSI air compressor:
- Safety First: Always wear eye protection and check your equipment before starting.
- Setup Steps: Place on a level surface, connect hoses and tools securely.
- Pressure Control: Adjust the regulator to match your tool’s PSI requirements.
- Regular Maintenance: Drain the tank after each use to prevent rust.
- Versatile Power: Inflate tires, use nail guns, or even paint with the right attachments.
How To Use A Craftsman 135 PSI Air Compressor?
To use a Craftsman 135 PSI air compressor, you simply connect your air tool to the hose, plug in the compressor, turn it on, and adjust the pressure regulator to match your tool’s needs. It’s a straightforward process for many household and workshop tasks.
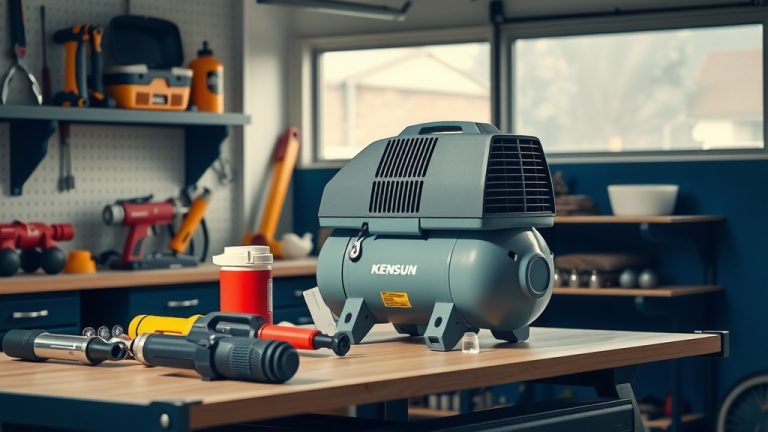
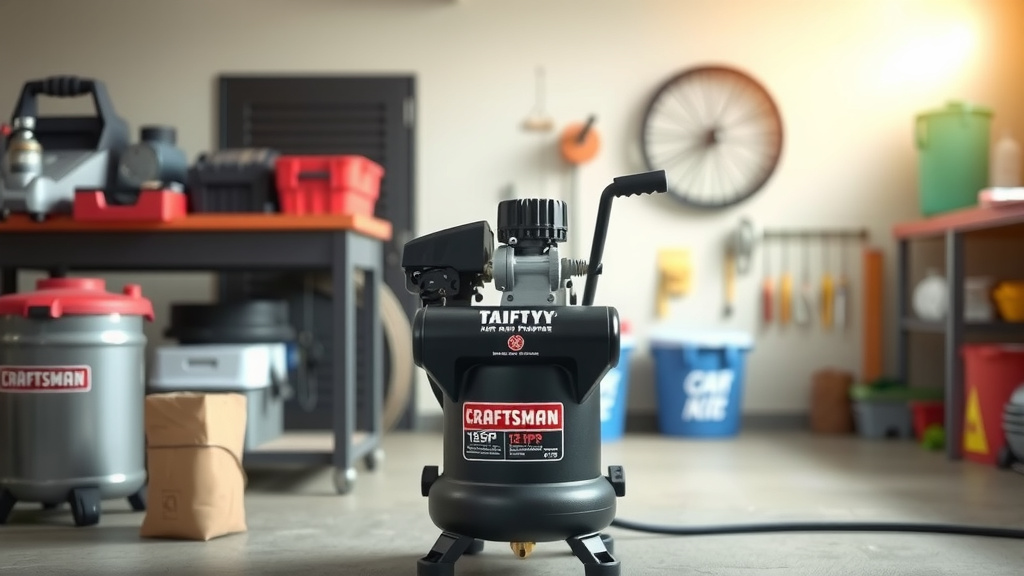
Understanding Your Craftsman 135 PSI Compressor
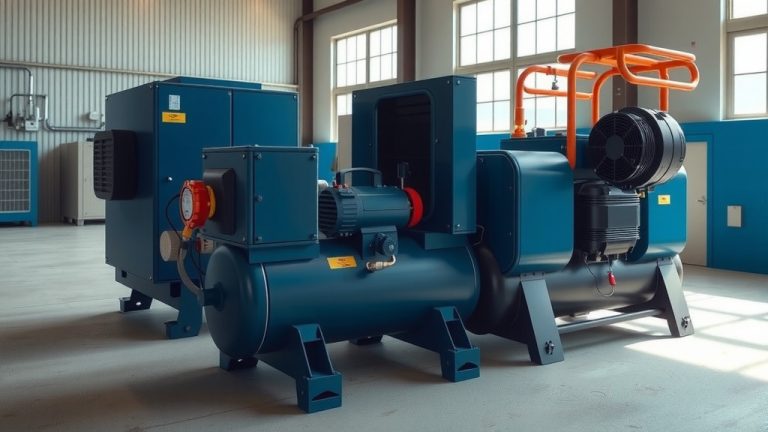
Your Craftsman 135 PSI air compressor is a powerful and reliable tool designed for various applications. Understanding its capabilities means knowing it provides sufficient pressure for most common air tools. This includes anything from inflating car tires to operating nail guns.
This type of compressor compresses air and stores it in a tank. When you attach an air tool, the compressed air is released. This release provides the energy needed to perform tasks. Many homeowners and DIY enthusiasts find this model a great balance of power and portability, we found through customer reviews.
Safety Before Startup: Your Pre-Use Checklist
Before you even think about plugging in your compressor, safety must be your top priority. Air compressors are safe when used correctly, but they handle high pressure. A few moments of preparation can prevent accidents and ensure smooth operation.
Always read your Craftsman owner’s manual thoroughly. It contains specific safety guidelines and warnings for your model. Remember, eye protection is non-negotiable whenever you’re using air tools. Hearing protection is also a good idea, as compressors can be quite loud.
Essential Safety Checklist
- Wear Eye Protection: Safety glasses are crucial; stray particles or air blasts can cause injury.
- Check Your Hoses: Inspect for cracks, cuts, or loose fittings that could leak or burst.
- Clear the Area: Make sure your workspace is free of clutter and trip hazards.
- Ventilation is Key: Operate in a well-ventilated area to prevent motor overheating.
- Secure Connections: Ensure all air tool connections are tight before starting work.
Setting Up Your Compressor for Action
Once safety checks are done, it’s time to set up your compressor. Proper setup ensures efficient performance and longevity. It’s not complicated, but paying attention to details helps a lot.
Place the compressor on a firm, level surface. This prevents it from tipping over during operation. Make sure there’s enough space around it for good airflow. This helps prevent the motor from overheating.
Power and Placement Tips
Plug your compressor into a grounded outlet. Avoid using extension cords unless absolutely necessary, and if you do, ensure it’s a heavy-duty, appropriate gauge cord. A weaker cord can lead to voltage drops, potentially damaging the motor over time.
Consider placing your compressor closer to the work area. This reduces the need for excessively long air hoses. Longer hoses can sometimes lead to a slight drop in air pressure at the tool, especially with high CFM demands.
Attaching Hoses and Tools
Connecting your air hose to the compressor is usually quite simple. Most Craftsman compressors use a quick-connect coupler. Simply pull back the collar on the coupler and push the hose fitting in. Release the collar to lock the hose securely in place.
Attach your desired air tool to the other end of the hose in the same manner. Always double-check that connections are snug. A loose connection can cause air leaks, reducing efficiency, and can also be a safety hazard if it suddenly disconnects.
Operating Your Craftsman 135 PSI Compressor
Now that everything is set up, it’s time to power up and get to work. Operating your compressor is intuitive, but understanding the controls will give you better results and tool performance. You’re in charge of the air power!
Turn the power switch to the “On” position. The compressor will start to build pressure. You’ll hear it running, and the pressure gauge will rise. It will automatically shut off once it reaches its maximum preset pressure, usually around 135 PSI for your model.
Adjusting Air Pressure with the Regulator
Most air tools require a specific operating pressure, often lower than the tank pressure. This is where your regulator comes in. The regulator dial lets you control the outgoing air pressure to your tool.
Locate the pressure regulator dial, usually near the gauges. Turn it clockwise to increase pressure and counter-clockwise to decrease it. Always check your tool’s manual for its recommended PSI. Setting the correct pressure ensures the tool operates safely and effectively.
Connecting Air Tools for Use
With the pressure set, connect your air tool to the hose. Some tools might require a small amount of pneumatic tool oil before use. This helps to lubricate internal parts and prolong tool life, we found through maintenance guidelines.
Always hold the tool firmly and be aware of its operation. For instance, a nail gun will only fire when pressed against a surface. Take a few test shots on scrap material to get a feel for the tool and check your pressure settings.
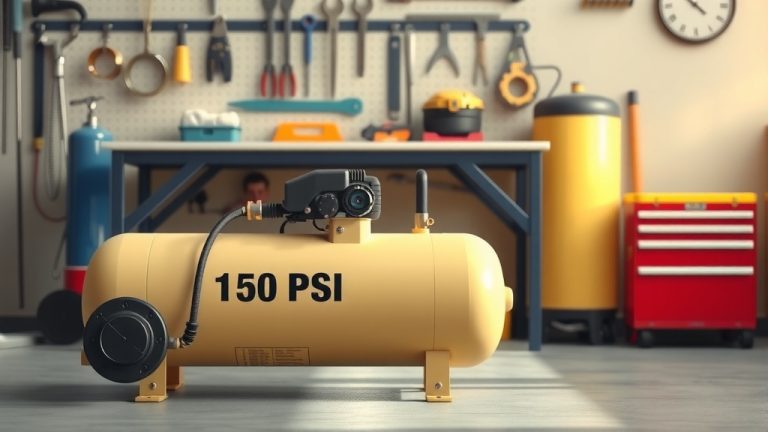
Understanding PSI and CFM
When using air tools, you’ll often hear about PSI and CFM. PSI (Pounds per Square Inch) measures the force of the air pressure. Your Craftsman compressor provides 135 PSI, which is ample for many tasks.
CFM (Cubic Feet per Minute) measures the volume of air delivered. Different tools require different CFM at a given PSI. It’s important to match your compressor’s CFM output to your tool’s requirements for continuous, effective operation. Many experts say that higher CFM tools need more powerful compressors (Pneumatic Tool Association).
| Term | What It Means | Why It Matters |
|---|---|---|
| PSI (Pounds per Square Inch) | Measures air pressure strength. | Determines force for tasks (e.g., inflating tires, driving nails). |
| CFM (Cubic Feet per Minute) | Measures air volume delivered per minute. | Indicates if your compressor can keep up with a tool’s demand. |
Common Uses for Your Craftsman 135 PSI Compressor
Your Craftsman 135 PSI air compressor is a versatile workhorse around the home or shop. From simple inflation jobs to serious DIY projects, it opens up a world of possibilities. What will you tackle first?
Tire Inflation and Sports Equipment
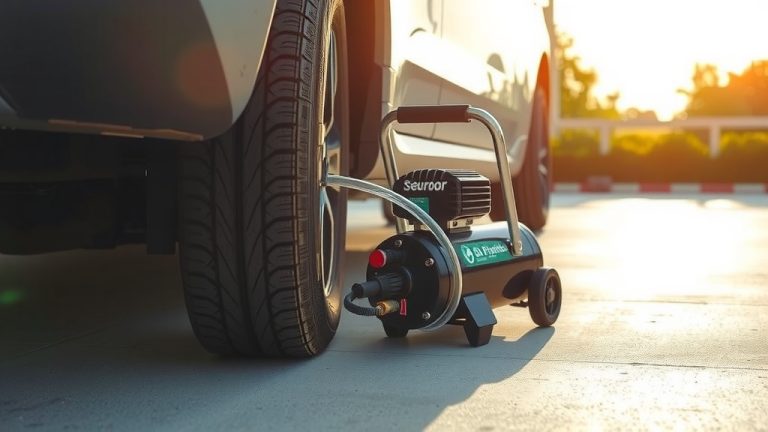
One of the most common uses is inflating tires – for your car, bicycle, or even a wheelbarrow. Attach an inflation gun with a gauge to your air hose. Set the regulator to the tire’s recommended PSI, then simply fill.
You can also quickly inflate sports balls, air mattresses, or pool toys with the right nozzle attachments. It’s much faster and more efficient than a manual pump, saving you time and effort for weekend adventures or chores.
Powering Nail Guns and Staplers
For woodworking projects or home renovations, a pneumatic nail gun or stapler is a game-changer. Your 135 PSI compressor has plenty of power for these tools. You can tackle framing, trim work, or upholstery with ease.
Ensure your nail gun is loaded correctly and the pressure is set to its specification. Typically, 70-90 PSI is common for many nailers. Always wear eye protection and gloves when operating these powerful tools, many guidelines point to this as a good first step (OSHA).
Painting and Airbrushing Projects
With an appropriate spray gun, your compressor can handle various painting tasks. From painting furniture to touch-ups on fences, an air compressor can provide a smooth, even finish. Smaller airbrushing tasks are also possible.
Always ensure you are in a well-ventilated area and wear appropriate respiratory protection. The air compressor provides the consistent airflow needed for a professional-looking coat of paint. We found that proper thinning of paint is also crucial.
Cleaning and Blowing Dust
An air blow gun attachment is incredibly useful for cleaning. You can blast dust and debris from workspaces, tools, or even car interiors. It’s fantastic for reaching tight spots that a brush or vacuum might miss, giving a thorough clean.
Use caution when blowing air, as debris can fly. Always wear eye protection. This application is often overlooked but provides quick and easy cleanup for your workshop after a messy project. It truly makes a difference in keeping things tidy.
Maintaining Your Compressor for Longevity
Regular maintenance is key to keeping your Craftsman compressor running efficiently for years. A little care goes a long way in preventing costly repairs. Think of it like taking care of your car – small tasks save big headaches.
Draining the Tank Regularly
This is perhaps the most important maintenance step. Air compression generates condensation. This water collects in the tank. If not drained, it can lead to rust inside the tank, which eventually weakens the metal and can cause catastrophic failure. We found that draining after every use is best practice.
Locate the drain valve at the bottom of the air tank. Open it slowly to release the water and air. Close it tightly once all the water is out. This simple step extends the life of your compressor significantly.
Filter Checks and Replacements
Your compressor has an air intake filter. This filter prevents dust and debris from entering the pump, which could damage internal components. Regularly inspect this filter. If it looks dirty or clogged, clean or replace it. A clean filter ensures optimal air intake and efficiency.
Proper Storage Practices
When not in use, store your compressor in a clean, dry area. Protect it from extreme temperatures and moisture. Disconnect all hoses and tools, and ensure the tank is drained. Proper storage helps to maintain the integrity of components and prevents dust buildup.
Troubleshooting Common Issues
Even the most reliable tools can have minor hiccups. Don’t worry if your compressor acts a little strange. Many common issues have simple solutions you can tackle. Most problems relate to power, air leaks, or pressure settings.
If your compressor isn’t building pressure, first check the power supply. Is it plugged in securely? Is the circuit breaker tripped? Next, listen for air leaks around connections and fittings. Even a small leak can prevent proper pressure buildup. Sometimes, a worn-out pressure switch might be the culprit, but that’s less common.
Conclusion
Your Craftsman 135 PSI air compressor is a versatile, powerful tool that can greatly simplify many tasks around your home and workshop. By understanding its basic operation, prioritizing safety, and committing to regular maintenance, you’ll ensure it remains a reliable companion for years to come. Whether you’re inflating tires, tackling a renovation project with a nail gun, or adding a fresh coat of paint, your compressor is ready to assist. Use it wisely, care for it properly, and enjoy the power it brings to your DIY endeavors. It’s truly an investment that pays off in convenience and capability.
How do I set the correct PSI for my air tool?
You set the correct PSI by turning the regulator dial on your compressor. First, consult your air tool’s instruction manual to find its recommended operating pressure. Then, with the compressor running, turn the regulator knob clockwise to increase pressure or counter-clockwise to decrease it, watching the output gauge until you reach the desired PSI.
Can I use any air tool with a 135 PSI compressor?
Most common household and workshop air tools, such as nail guns, staplers, tire inflators, and blow guns, will work well with a 135 PSI compressor. However, always check the specific PSI and CFM requirements of your tool. Some heavy-duty tools or those requiring high continuous airflow might need a compressor with a larger tank or higher CFM output.
How often should I drain the air tank?
It is highly recommended to drain the air tank after every single use. This prevents moisture buildup, which can cause rust and corrosion inside the tank, potentially leading to tank failure over time. Even if you use it briefly, a quick drain releases accumulated water and prolongs your compressor’s lifespan.
What kind of maintenance does an air compressor need?
Key maintenance for your air compressor includes regularly draining the air tank, checking and cleaning or replacing the air intake filter, and inspecting hoses for damage. If your compressor is oil-lubricated, you’ll also need to check and change the oil according to the manufacturer’s schedule. Proper storage in a clean, dry environment also contributes to its longevity.
Is it normal for an air compressor to be loud?
Yes, it is normal for most air compressors, especially piston-driven models, to produce a significant amount of noise during operation. This is due to the motor running and air being compressed. Always wear hearing protection when operating your compressor for extended periods or in enclosed spaces to protect your hearing.