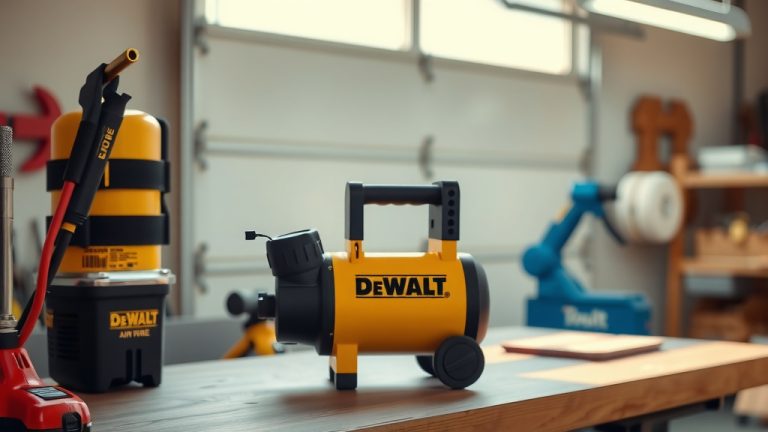
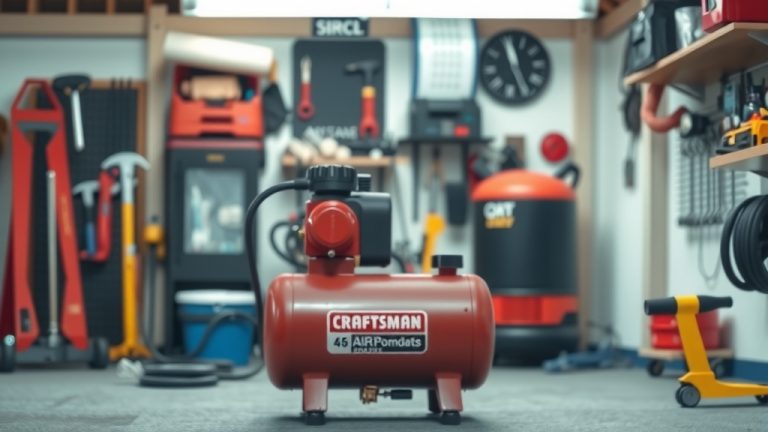
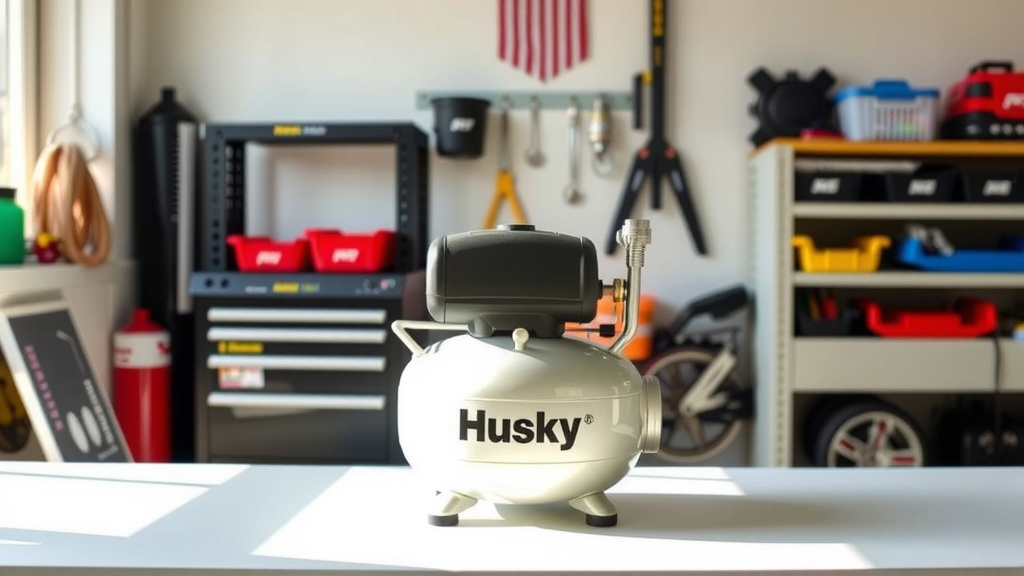
How To Use Husky 2 Gallon Air Compressor?
The Husky 2 Gallon Air Compressor is straightforward to use for various light-duty tasks around your home or workshop. You’ll typically connect your air hose and tool, then set the appropriate pressure for the job.
Proper setup involves securing connections, powering on the unit, and always draining the tank after each use to ensure longevity and safe operation.
- The Husky 2 Gallon Air Compressor is perfect for small jobs due to its portability and ease of use.
- Always prioritize safety by reading the manual and performing a quick visual check before starting any project.
- Setting up involves connecting the air hose and tool, then carefully adjusting the pressure for your specific task.
- Regular maintenance, especially draining the air tank, significantly extends the life and performance of your compressor.
How To Use Husky 2 Gallon Air Compressor?
Using your Husky 2 Gallon Air Compressor involves a few simple steps, focusing on safety, setup, and correct operation for your desired task. This guide will walk you through everything.
Why Choose a Husky 2 Gallon Compressor?
Many homeowners and DIY enthusiasts often ask why a smaller compressor like the Husky 2-gallon model is a good choice. We found that its compact size and light weight make it incredibly portable. It’s perfect for quick jobs like inflating tires or powering smaller nail guns.
This compressor is ideal for tasks where you need air on the go without the bulk of larger units. Its convenience often outweighs the need for continuous high-volume air, making it a favorite for many.
Unboxing and First Impressions
When you first get your Husky 2 Gallon Air Compressor, you’ll notice how neatly everything is packaged. Take a moment to remove all packing materials. It’s exciting to get a new tool, and getting it ready correctly makes all the difference.
Safety First: Your Essential Check-up
Before you even plug in your compressor, safety must be your top priority. Air compressors operate under high pressure, so understanding potential risks is key. Many experts say that a brief safety check can prevent accidents and ensure smooth operation (OSHA guidelines).
Always wear safety glasses to protect your eyes from debris, especially when using air tools. Make sure your workspace is clear and well-ventilated to avoid any trip hazards or exhaust buildup.
Reading the Manual
Yes, we know, reading manuals isn’t everyone’s idea of fun. But with an air compressor, the manual is your friend! It contains vital information specific to your Husky 2-gallon model, like correct break-in procedures and maintenance schedules. Take a few minutes; it’s worth it.
Setting Up Your Compressor
Getting your compressor ready is straightforward. Let’s break it down into easy steps.
Finding the Right Location and Plugging In
Place your compressor on a flat, stable surface. This prevents tipping and ensures proper ventilation. Plug the power cord into a grounded electrical outlet. Always check that the outlet matches the voltage requirements listed on your compressor, which is typically 120V for this model.
Attaching Air Hoses and Quick Connects
Most Husky compressors come with a universal quick-connect coupler. This makes attaching your air hose simple. Push the hose fitting into the coupler until it clicks securely. Give it a gentle tug to confirm it’s fastened. A good connection prevents air leaks and maintains pressure.
Powering On and Initial Fill
Locate the power switch, usually a red or black toggle, and flip it to the “ON” position. You’ll hear the motor start and the tank begin to fill with air. This process might take a few minutes for the tank to reach its maximum pressure, usually around 100-125 PSI. The compressor will shut off automatically once full.
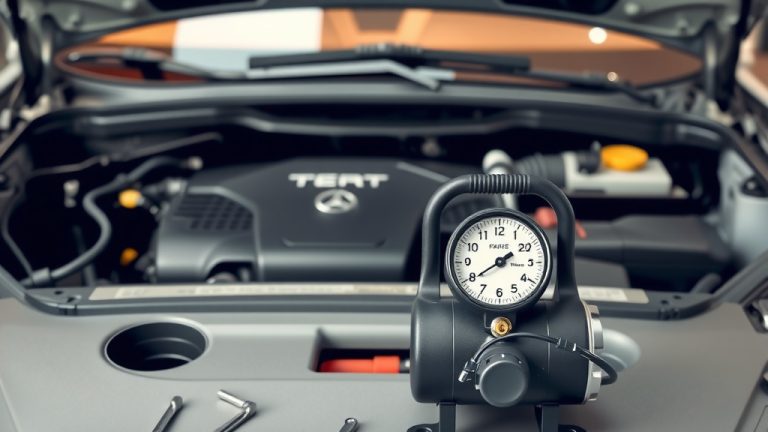
Understanding the Controls
Your compressor has a few key controls you need to know. It’s like learning the dashboard of a new car – simple but important.
- Pressure Gauge: This shows the current air pressure inside the tank.
- Regulator Knob: This allows you to adjust the air pressure sent to your tools. Turn it clockwise to increase pressure, counter-clockwise to decrease.
- Drain Valve: Located at the bottom of the tank, this is crucial for releasing moisture.
Initial Start-Up and Break-In
For its very first use, we found that letting the compressor run for about 10-15 minutes with the drain valve open helps break in the motor. This allows internal components to seat properly without pressure buildup, ensuring a longer lifespan for your unit (manufacturer recommendations).
After this initial run, close the drain valve, let the tank fill, and then you’re ready to use it for your projects.
Connecting Your Air Tools
Connecting your air tools is where the fun begins! Most air tools connect directly to your air hose using quick-connect fittings. Always ensure your tool is rated for the pressure your compressor can provide. Trying to use a high-CFM tool with a small compressor might lead to disappointment.
Here are some common tools you might connect:
- Tire inflator chuck for car or bike tires.
- Blow gun for dusting off workspaces.
- Brad nailer or stapler for woodworking.
- Airbrush for painting or crafts.
Adjusting Air Pressure for Tasks
Different tools and tasks require different air pressures. A tire inflator might need 30-40 PSI, while a brad nailer could require 70-90 PSI. Use the regulator knob to dial in the exact pressure. We found that starting lower and slowly increasing is often the safest approach to prevent damage to your tool or project.
Common Uses for Your Husky 2 Gallon Compressor
This little workhorse is surprisingly versatile. You’ll find yourself reaching for it more often than you think!
| Task Type | Recommended PSI Range | Typical Tool Needed |
|---|---|---|
| Inflating Tires (Car/Bike) | 30-45 PSI | Tire Inflator Chuck |
| Dusting/Cleaning | 30-50 PSI | Air Blow Gun |
| Brad Nailing/Stapling | 70-90 PSI | Brad Nailer/Stapler |
| Airbrushing (Crafts) | 15-30 PSI | Airbrush Gun |
Daily Maintenance for Longevity
A little care goes a long way in extending the life of your Husky compressor. Think of it like brushing your teeth – small daily habits make a big difference.
Draining the Tank: A Must-Do
After every use, you must drain the air tank. Why? Because as air compresses, moisture condenses inside the tank. If left, this water can cause rust, compromising the tank’s integrity and potentially leading to dangerous failures. Simply open the drain valve, let the water out, and then close it tightly.
Cleaning the Air Filter
Periodically check your air filter, often located near the motor. A dirty filter can reduce efficiency and put strain on the motor. We found that a quick clean with a soft brush or a blast of air can keep it working like new. Replace it if it looks severely clogged or damaged.
Troubleshooting Minor Issues
Sometimes things don’t go exactly as planned. Don’t worry, many common issues have simple solutions.
If your compressor isn’t building pressure, check for loose hose connections or a partially open drain valve. If the motor runs but no air comes out, the pressure switch might need a reset. Always refer to your manual for specific troubleshooting steps. Here’s a quick checklist:
- Is the power cord securely plugged in?
- Is the power switch in the “ON” position?
- Are all air hose connections tight?
- Is the tank drain valve fully closed?
- Is the pressure regulator knob set correctly?
Conclusion
The Husky 2 Gallon Air Compressor is a fantastic tool for a wide array of home and workshop projects. By following these straightforward steps for setup, operation, and maintenance, you’ll ensure your compressor runs efficiently and safely for years to come. Remember, a little care and understanding go a long way in maximizing your tool’s potential.
Can I paint with a Husky 2 Gallon Air Compressor?
Yes, you can use a Husky 2 Gallon Air Compressor for light painting tasks, especially with an airbrush or small touch-up gun. However, due to its smaller tank and lower CFM output, it’s not ideal for continuous, large-scale painting projects that require a constant, high volume of air. It will cycle frequently.
How loud is the Husky 2 Gallon Air Compressor?
Many users report that the Husky 2 Gallon Air Compressor operates at a moderate noise level, similar to a vacuum cleaner, around 80-90 decibels. It’s not typically considered a “quiet” compressor, so hearing protection is often recommended, especially during prolonged use.
What kind of oil does a Husky 2 Gallon Air Compressor use?
Most Husky 2 Gallon Air Compressors are oil-free, meaning they do not require oil for lubrication. This design simplifies maintenance significantly, as you won’t need to check or change oil. Always verify your specific model in the user manual to confirm if it’s an oil-free unit.
How often should I drain the tank on my Husky 2 Gallon Air Compressor?
You should drain the tank of your Husky 2 Gallon Air Compressor after every single use. This prevents moisture buildup inside the tank, which can cause rust and degrade the tank over time, potentially leading to dangerous failures. It’s a quick and essential maintenance step.
Can a Husky 2 Gallon Air Compressor run an impact wrench?
A Husky 2 Gallon Air Compressor is generally not suitable for running an impact wrench. Impact wrenches require a much higher Cubic Feet per Minute (CFM) air volume than a 2-gallon compressor can consistently provide. You would likely experience very limited power and frequent compressor cycling, making it inefficient for the task.