How To Use Husky Air Compressor 20 Gallon?
Using your Husky Air Compressor 20 Gallon typically involves connecting it to power, attaching your air tool with the correct coupler, setting the desired pressure, and engaging the tool. Always prioritize safety by wearing protective gear and inspecting your equipment.
To operate your Husky 20-gallon compressor, simply plug it in, allow it to build pressure, connect an air hose to the quick coupler, and then attach your air-powered tool, ensuring the pressure regulator is set for your task.
TL;DR: Quick Guide to Your Husky 20 Gallon Air Compressor
- Unpack and inspect your compressor for any shipping damage.
- Place it on a level surface in a well-ventilated area for safe operation.
- Connect your air hose and preferred pneumatic tool before powering up.
- Adjust the air pressure regulator to match your tool’s specific requirements.
- Always remember to drain the air tank after each use to prevent rust and ensure longevity.
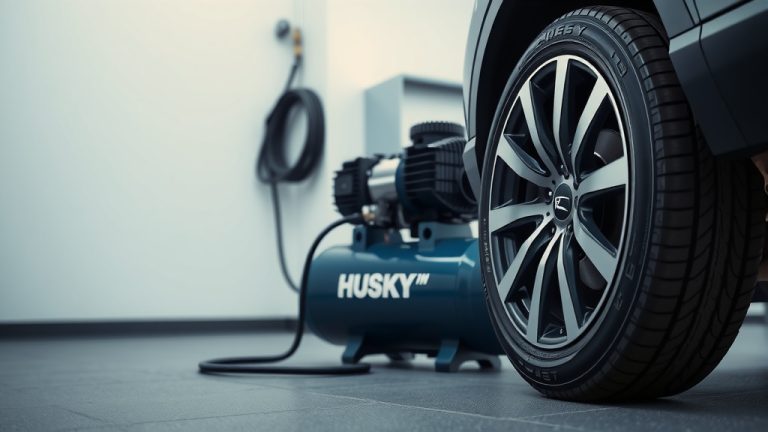
So, you’ve got a shiny new Husky Air Compressor 20 Gallon. Maybe you’re looking to inflate tires, power a nail gun, or tackle some painting projects. That’s fantastic! This powerful machine can be a real workhorse for your garage or workshop.
But how do you get started? It can feel a little intimidating at first, right? Don’t worry, we’re here to walk you through every step. Think of us as your friendly guide, helping you get the most out of your compressor safely and effectively.
How To Use Husky Air Compressor 20 Gallon?
To use your Husky 20 Gallon Air Compressor, you first need to ensure it’s on a stable surface, connect it to power, and then attach your air hose and tool, adjusting the pressure as needed.
Getting Your Compressor Ready: The First Steps
Before you even think about plugging anything in, let’s make sure everything is in its right place. A little preparation goes a long way in keeping things smooth and safe.
Unboxing and Inspection
When your Husky 20-gallon compressor arrives, take a moment to carefully unbox it. Look for any visible damage from shipping. Are all the wheels attached? Is the tank free of dents? We found that a quick visual check can prevent headaches later.
Also, locate the owner’s manual. It contains specific details about your model. Many experts say that referring to your manual is always a smart move for any new equipment.
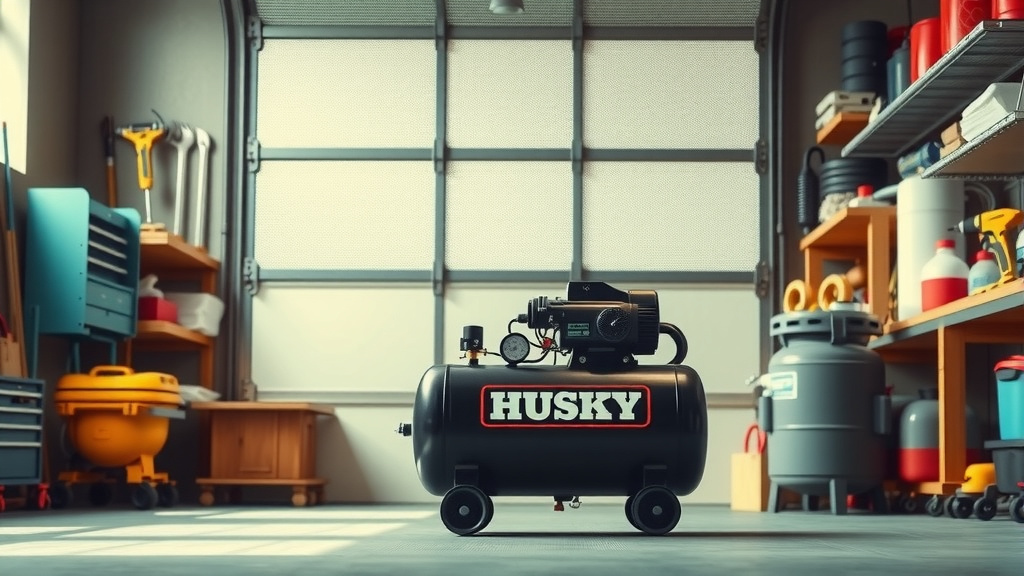
Finding the Right Spot
Where should your compressor live? You’ll want a level surface. This helps with stability and proper oil circulation if your model is oil-lubricated. Good ventilation is also a must. Air compressors generate heat, so they need room to breathe; avoid cramped spaces.
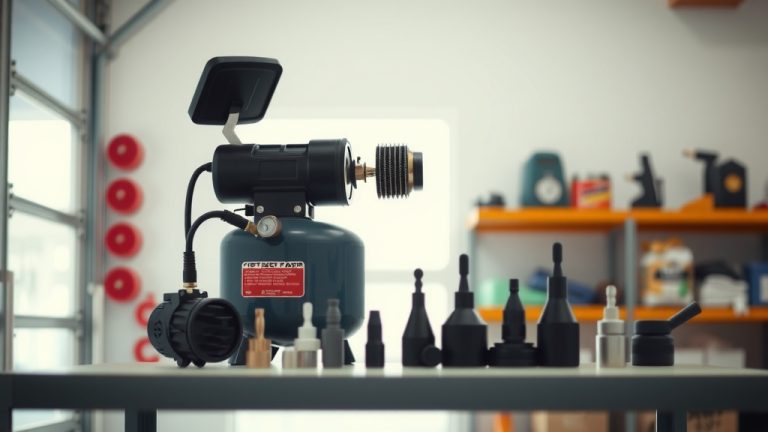
Understanding Basic Components
Take a moment to familiarize yourself with the parts. You’ll see the air tank, the motor, the pump, and the control panel. The control panel usually includes a pressure gauge, regulator, and On/Off switch. Getting to know these parts helps you understand how it all works.
Safety First: Your Number One Priority
Working with compressed air involves power, so safety is absolutely paramount. It’s like driving a car; you wouldn’t hit the road without buckling up, would you?
Always Wear Personal Protective Equipment (PPE)
Before turning anything on, grab your safety glasses. Flying debris is a real possibility with air tools. We also recommend ear protection, especially if you’ll be running the compressor for extended periods. Air compressors can be noisy. Heavy-duty gloves can also be helpful, especially when handling tools or hoses.
Electrical Connections
Ensure your power outlet matches the compressor’s requirements, usually 120V. Use a heavy-duty extension cord if needed, but keep it as short as possible. We found that longer, thinner cords can cause voltage drops and strain the motor.
Powering Up and Building Pressure
Now that safety is covered, let’s get this beast humming!
Connecting the Air Hose
Grab your air hose. Attach one end to the compressor’s quick-connect coupler. Ensure it’s a secure fit. You’ll usually hear a satisfying click. A good connection prevents air leaks, which wastes power and slows down your work.
Turning it On
Flip the On/Off switch to the “On” position. You’ll hear the motor kick in. The compressor will start to build pressure inside the tank. Watch the tank pressure gauge climb. It will continue until it reaches its maximum cut-out pressure, then the motor will stop automatically.
This “cut-out” is normal. The compressor will cycle on again when the tank pressure drops below a certain point. It’s like a refrigerator cycling on and off to maintain its temperature.
Adjusting Air Pressure for Your Tools
Different air tools need different amounts of pressure. Think of it like a faucet; you wouldn’t use full blast to rinse a delicate glass.
Using the Regulator
Look for the pressure regulator knob on your control panel. This lets you adjust the outlet air pressure that goes to your tools. Consult your tool’s manual for its recommended operating pressure (PSI).
Turn the knob clockwise to increase pressure and counter-clockwise to decrease it. Most regulators also have a small pull-out or push-in lock to prevent accidental changes. Many experts suggest setting your pressure before connecting your tool.
Connecting Your Air Tool
With the hose connected to the compressor and the pressure set, attach your chosen air tool to the free end of the air hose. Again, make sure it’s a secure, quick-connect fit. You’re almost ready to go!
Working with Various Air Tools
Your Husky 20-gallon compressor is versatile! Here’s how it might pair with common tools:
| Tool Type | Typical Use | Recommended PSI Range |
|---|---|---|
| Tire Inflator | Inflating vehicle tires, sports equipment | 30-100 PSI (check tire/item) |
| Blow Gun | Cleaning workspaces, drying parts | 40-90 PSI |
| Brad/Finish Nailer | Trim work, light carpentry | 70-100 PSI |
| Impact Wrench | Removing lug nuts, heavy fastening | 90 PSI constant (check tool) |
| Paint Sprayer (HVLP) | Applying paint, finishes | 20-40 PSI at gun (check manual) |
Essential Maintenance for Longevity
Just like your car needs oil changes, your air compressor needs a little TLC to keep it running smoothly for years. Neglecting maintenance is like skipping your dentist appointments – it leads to bigger problems down the road.
Draining the Air Tank Daily
This is probably the most critical maintenance task. Compressed air creates condensation inside the tank. If left there, it causes rust, weakening the tank over time. This is a serious safety hazard. We found that neglecting this step is a common mistake.
At the bottom of the tank, you’ll find a drain valve. With the compressor off and depressurized (pull the safety valve ring to release air), open this valve slowly. Let all the accumulated moisture drain out. Close it tightly afterward. Research often connects regular draining with significantly extending a compressor’s lifespan.
Checking and Changing Oil (If Applicable)
Some Husky 20-gallon models are oil-lubricated. If yours is, check the oil level regularly using the dipstick or sight glass. Low oil can cause premature wear. Change the oil according to your manual’s recommendations, typically after a certain number of hours or annually.
General Compressor Health Checklist
- Inspect air filter: Clean or replace if dirty.
- Check for air leaks: Listen for hissing sounds.
- Examine power cord: Look for fraying or damage.
- Clean the exterior: Keep it free from dust and debris.
- Test the safety relief valve: Briefly pull the ring to ensure it opens and closes.
Troubleshooting Common Issues
Even the best tools can have a hiccup now and then. Here are a couple of common issues you might encounter:
Compressor Not Starting
First, check the power cord and outlet. Is it plugged in firmly? Is the circuit breaker tripped? Sometimes, the motor might be overheated. Allow it to cool down; many models have thermal overload protection that will reset automatically.
Air Leaks
A persistent hiss can mean air is escaping. Check all hose connections and fittings. A simple spray bottle with soapy water can help locate leaks; bubbles will form where air is escaping. Tighten connections or replace faulty seals or O-rings.
Conclusion
Using your Husky Air Compressor 20 Gallon effectively really comes down to a few straightforward steps: proper setup, unwavering safety practices, and consistent maintenance. This machine is designed to make your projects easier and more efficient.
By taking the time to understand its functions and care for it correctly, you’re ensuring that your compressor remains a reliable workhorse for years to come. So, go ahead, confidently tackle those projects; your Husky is ready when you are!
Frequently Asked Questions About Husky 20 Gallon Air Compressors
Can I use my Husky 20-gallon air compressor indoors?
While possible, it’s generally recommended to use air compressors in well-ventilated areas. They can be noisy, and some models (especially oil-lubricated) might emit odors. Ensure adequate airflow to prevent overheating and disperse any fumes.
What is the maximum PSI for a Husky 20-gallon air compressor?
Most Husky 20-gallon air compressors have a maximum pressure rating around 150 PSI. However, always refer to your specific model’s manual for the exact maximum pressure and never exceed it for safety reasons.
How often should I drain the tank on my Husky 20-gallon air compressor?
For optimal performance and to prevent rust build-up, you should drain the air tank after every single use. If you use it briefly, a quick drain is still advisable. Consistent draining significantly extends the life of your compressor.
Do Husky 20-gallon air compressors require oil?
Some Husky 20-gallon air compressors are oil-lubricated, while others are oil-free. Check your specific model’s manual to determine if it requires oil. Oil-lubricated models need regular oil checks and changes, while oil-free models do not.
What size breaker do I need for a Husky 20-gallon air compressor?
A Husky 20-gallon air compressor typically requires a dedicated 15-amp or 20-amp 120V circuit. Check the electrical requirements listed in your compressor’s owner’s manual to ensure you use the correct circuit and prevent tripping breakers.