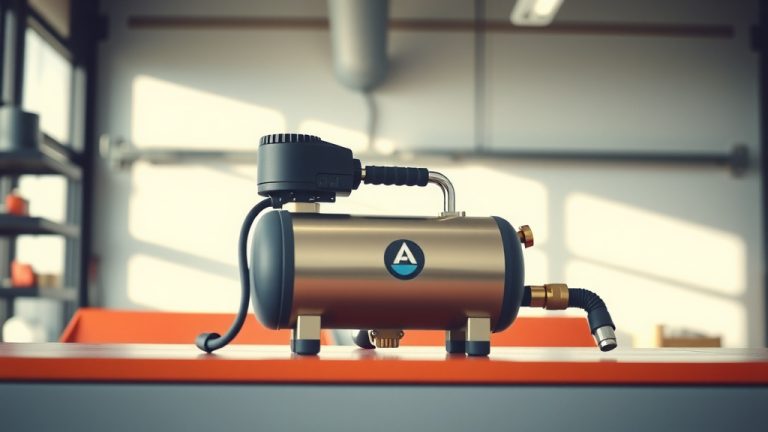
How To Use Milwaukee Air Compressor?
To use a Milwaukee air compressor, first connect your air tool to the universal quick coupler and ensure all connections are secure.
Then, plug in the compressor, turn it on, and allow it to build sufficient pressure before operating your pneumatic tools.
- Power up your Milwaukee compressor by plugging it in and switching it on.
- Connect your chosen air tool firmly to the quick coupler.
- Wait for the tank to reach its optimal pressure for efficient operation.
- Regularly drain condensation from the tank to maintain performance.
- Always wear safety gear like eye and ear protection when operating.
How To Use Milwaukee Air Compressor?
Using your Milwaukee air compressor correctly ensures safety and gets the job done right. We’ll guide you through each simple step to maximize your tool’s performance.
Getting Started: Unboxing Your Powerhouse
You’ve got a powerful tool in your hands. First, carefully unbox your Milwaukee air compressor. Remove all packaging materials and check for any visible damage. It is a good idea to familiarize yourself with the manual included (Many manufacturers suggest this for proper setup).
Safety First: Your Personal Protective Equipment
Before doing anything else, let’s talk safety. Air compressors are robust tools, and taking precautions is smart. Always wear safety glasses or goggles to protect your eyes from debris. Ear protection, like earmuffs or earpl, is also important to shield your hearing from the noise (OSHA guidelines support this for extended use).
Gloves can also be helpful for a better grip and to protect your hands. Think of it like wearing a seatbelt; it is a small effort for a big safeguard.
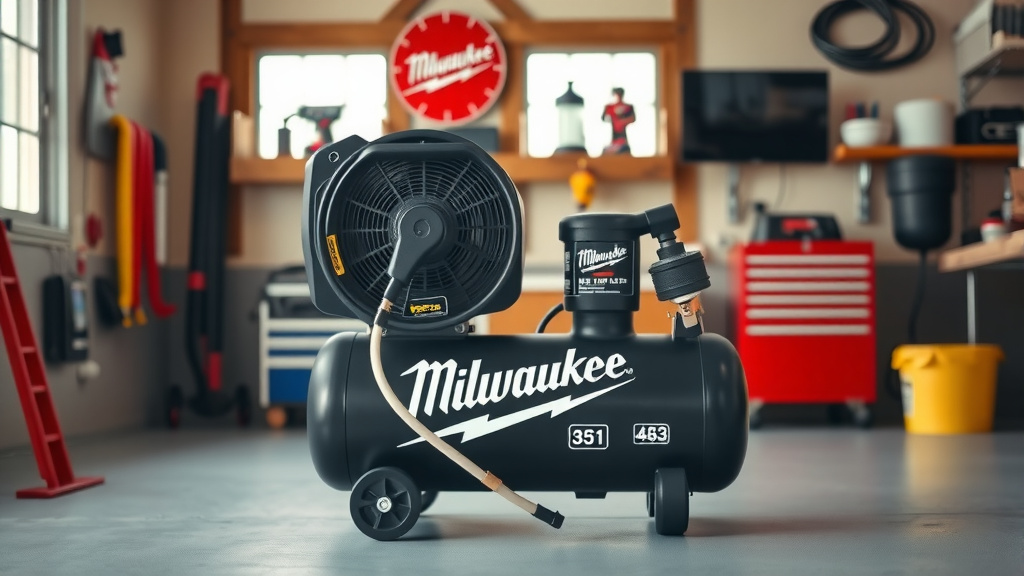
Understanding Your Milwaukee Compressor’s Controls
Your Milwaukee compressor has several key parts you’ll want to understand. Don’t worry, they are quite intuitive. Let’s walk through them.
The Power Switch: On and Off
This is your starting point. The power switch typically has a clear “on” and “off” position. You’ll use this to energize the unit. Ensure it’s in the off position before plugging the compressor into an outlet.
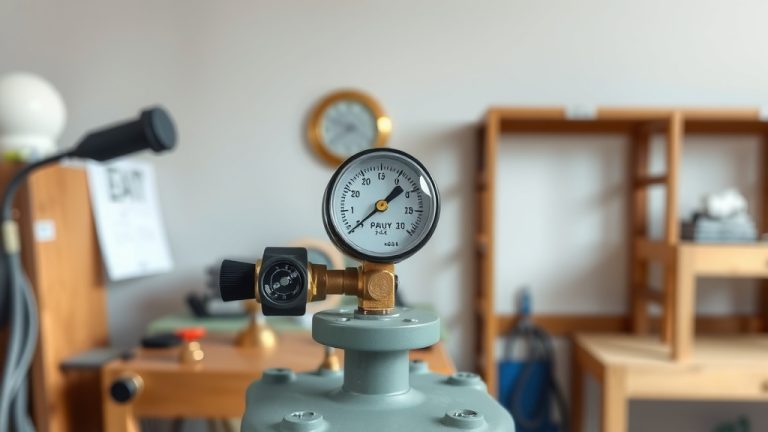
Pressure Gauge: Reading the PSI
The pressure gauge displays the internal tank pressure in Pounds per Square Inch (PSI). This tells you how much air is stored. You’ll want to keep an eye on this to know when your compressor is ready. Many experts say to let it reach full pressure before starting tasks (tool manufacturers often specify this).
Regulator Knob: Adjusting Airflow
This knob allows you to control the air pressure delivered to your tools. Different tools need different pressures. For example, a nail gun might need less pressure than an impact wrench. Turn it clockwise to increase pressure and counter-clockwise to decrease it.
Quick Coupler: Connecting Your Tools
The quick coupler is where your air hose and tools connect. It’s designed for fast and easy changes. You simply pull back the collar, insert the fitting, and release. A secure connection is vital for efficient operation.
Pre-Operation Checklist: Don’t Skip These Steps
Before you power up, a quick check can prevent headaches. This simple list will help ensure everything is set for a smooth experience:
- Check the power cord for any damage or fraying.
- Inspect your air hose for cracks or leaks.
- Ensure the tank drain valve is fully closed.
- Confirm your air tool is compatible with the compressor’s pressure output.
- Verify you have all necessary safety gear on and ready.
Connecting Your Air Tools: A Snug Fit
Connecting your air tool is straightforward. First, attach your air hose to the compressor’s quick coupler. Then, connect your desired air tool to the other end of the hose. Make sure both connections are firm and leak-free. A leaking connection wastes air and reduces efficiency.
Choosing the Right Air Tool for the Job
Thinking about your project helps select the correct tool. Are you framing a wall with a nail gun, or inflating a tire? Each tool has a specific air requirement. We found that matching the tool to the compressor’s capability is a key to optimal results.
Powering Up and Building Pressure
With everything connected and checked, you’re ready to power on. Plug your Milwaukee air compressor into a suitable electrical outlet. Then, flip the power switch to the “on” position. The compressor motor will start, and the tank will begin to fill with air.
You’ll hear the motor working, which is normal. The pressure gauge will slowly climb. Wait until it reaches the set cut-off pressure – the point where the compressor automatically stops filling. This means your tank is full and ready for use.
Operating Your Tools Safely and Efficiently
Once your compressor builds pressure, adjust the regulator to the PSI recommended for your specific tool. Now, you can begin your work. Hold your air tool firmly and always point it away from yourself and others. Remember to keep an eye on the pressure gauge as you work; the compressor will cycle on and off to maintain pressure.
Post-Use Maintenance: Keep Your Compressor Healthy
After you finish your task, proper shutdown and maintenance extend the life of your Milwaukee compressor. First, turn off the power switch. Then, unplug the unit. Remove the air hose and tools. The most crucial step is to drain the tank.
Open the drain valve, usually located at the bottom of the tank, to release any accumulated condensation. This water, if left inside, can cause rust and damage the tank (Many experts agree this is essential maintenance). Once drained, close the valve.
Regular Maintenance Schedule
A little routine care goes a long way for your air compressor. Here’s a simple schedule we’ve found helpful:
| Maintenance Task | Frequency | Notes |
|---|---|---|
| Drain Air Tank | Daily (after each use) | Prevents rust and corrosion. |
| Inspect Air Filter | Weekly / Monthly | Clean or replace if dirty. |
| Check Hoses & Fittings | Monthly | Look for leaks or damage. |
| Motor & Fan Cleaning | Every 3-6 Months | Remove dust and debris. |
Conclusion
Using your Milwaukee air compressor can be a powerful addition to your toolkit. By understanding its basic controls, following simple safety guidelines, and performing routine maintenance, you ensure its longevity and performance. Remember to always prioritize safety and consult your specific model’s manual for detailed instructions. With these steps, you’re ready to tackle projects with confidence and efficiency.
Frequently Asked Questions
How do I adjust the pressure on my Milwaukee air compressor?
You adjust the pressure using the regulator knob, typically found near the main pressure gauge. Turn it clockwise to increase the output pressure for your tool, and counter-clockwise to reduce it. Always set the pressure according to your tool’s specifications.
Why is my Milwaukee air compressor not building pressure?
Several factors can cause this. Check if the drain valve at the bottom of the tank is fully closed. A loose hose connection or a leak in the air line can also prevent pressure buildup. Ensure the power source is stable and the motor sounds normal.
How often should I drain the tank on my Milwaukee air compressor?
You should drain the air tank after every use, or at least daily if used regularly. This prevents moisture buildup, which can lead to rust and damage inside the tank, shortening the compressor’s lifespan.
Can I use any air tool with my Milwaukee air compressor?
While most standard air tools are compatible, always check the PSI and CFM requirements of your specific air tool. Your Milwaukee compressor has a maximum output, and exceeding it or using tools with higher demands might reduce efficiency or cause wear.
What kind of extension cord should I use with my Milwaukee air compressor?
If an extension cord is necessary, use a heavy-duty, outdoor-rated cord with the proper gauge (thickness). A general rule of thumb is a 12-gauge cord for lengths up to 50 feet to prevent voltage drop, which can harm the motor. Always check your compressor manual for specific recommendations (electrical safety guidelines often confirm this).