How to Winterize Sprinklers with an Air Compressor?
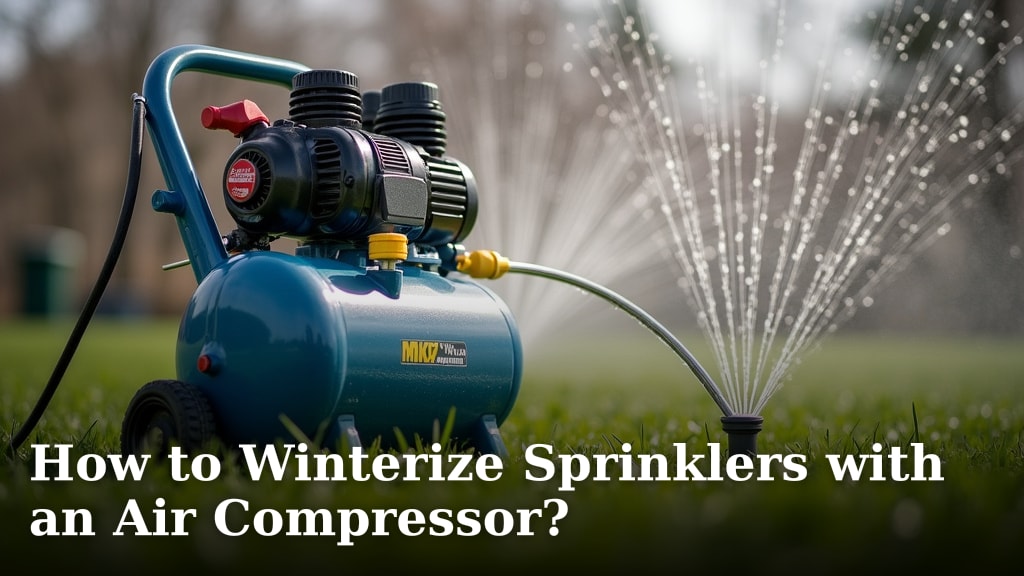
To winterize sprinklers with an air compressor, start by shutting off the water supply to your sprinkler system. Next, connect your air compressor to the main sprinkler line’s blow-out port and slowly introduce compressed air to clear water from the lines. Perform this by opening the furthest zone first, working your way back to the closest zone, until all heads are blowing only air instead of water.
Forcing water out of your sprinkler pipes before winter hits is incredibly important. You see, trapped water can freeze, expand, and cause expensive damage to your entire system. A damaged sprinkler system means costly repairs come springtime, and nobody wants that. Using an air compressor is a popular and effective method to prevent these headaches.
- Turn off the main water valve to your sprinkler system.
- Connect an air compressor to the designated blow-out port.
- Open sprinkler zones one by one, starting with the furthest from the compressor.
- Blow air through each zone until no water comes out.
- Disconnect the compressor and drain any remaining system components.
Let’s walk through exactly how to do this safely and effectively, ensuring your sprinkler system survives the cold winter months.
Preparing Your Sprinkler System for Winter with Compressed Air
Draining your sprinkler system with an air compressor is a smart move for winter. It prevents costly damage. This method ensures all water is pushed out of the pipes. You’ll thank yourself when spring arrives.
Gathering Your Essential Tools
Before you begin, gather everything you need. Having your tools ready makes the process smoother. You don’t want to stop mid-task to find something.
Choosing the Right Air Compressor
Selecting the right air compressor is key. You need enough power, but not too much. A small pancake compressor often works well for home systems.
- Look for a compressor that can deliver 40-80 PSI (pounds per square inch).
- Its CFM (cubic feet per minute) rating should be between 3-10 CFM.
- A larger system might need a more powerful compressor.
Using a compressor that’s too small might not adequately clear the lines. One that’s too powerful can damage your system. It’s a delicate balance.
Safety First: Important Precautions to Remember
Working with compressed air requires caution. Safety should always be your top priority. A small mistake can lead to big problems.
- Always wear safety glasses to protect your eyes.
- Wear gloves to protect your hands from cold air and debris.
- Do not stand over sprinkler heads while blowing them out. Debris can fly out.
- Never exceed 80 PSI for PVC pipes. Some systems handle less.
- Children and pets should be kept far away from the work area.
Experts agree that understanding your system’s pressure limits is crucial (Irrigation Association). Check your sprinkler system’s manual for specifics.
Step-by-Step Guide to Blowing Out Your Sprinklers
Now, let’s get down to the actual process. Taking it one step at a time helps ensure you don’t miss anything important. You’re almost ready to protect your investment.
Shutting Off Your Water Supply
This is the very first and most important step. You absolutely must turn off the main water supply to your sprinkler system. Forgetting this could create a geyser!
- Locate your home’s main water shut-off valve.
- Find the secondary shut-off valve for your irrigation system.
- Turn both valves to the “off” position.
Many systems also have a backflow preventer. This device needs to be drained too. More on that soon.
Connecting the Air Compressor
Time to hook up your air compressor. This is where the magic begins. You’ll need the right adapter for a secure fit.
- Locate the “blow-out port” on your sprinkler system. It’s usually a small PVC or brass pipe with a cap.
- Remove the cap.
- Attach a quick-connect air compressor fitting to the port. You might need an adapter.
- Connect your air compressor hose to this fitting.
- Ensure all connections are tight and secure. Leaks mean lost pressure.
Make sure your compressor is filled with air. Set its regulator to a safe PSI, usually around 50 PSI to start. Don’t go above 80 PSI.
Draining Each Sprinkler Zone
This is the core of the winterization process. You’ll work through each zone, pushing water out. Patience is your friend here.
- Start with the zone furthest from the compressor.
- Turn on your compressor and slowly open air to the system.
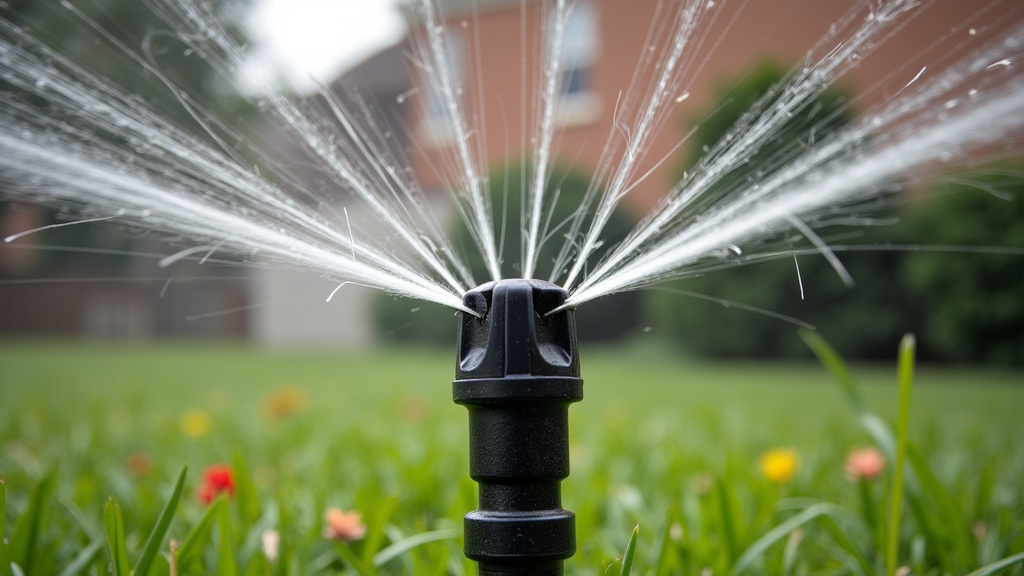
- You’ll see water spraying from the sprinkler heads in that zone.
- Let the air run until only a fine mist or air comes out. This usually takes a few minutes per zone.
- Avoid running the compressor too long on dry pipes. This can cause friction damage.
Once one zone is clear, close that zone’s valve. Then, move to the next furthest zone. Repeat the process until all zones are completely dry. You should hear distinct “pfft” sounds as the last bit of water leaves the heads.
Addressing the Backflow Preventer
Don’t forget your backflow preventer. It’s a critical component. Proper draining prevents freezing, a common issue.
- Locate your backflow preventer. It’s often above ground.
- Open the test cocks (small valves) on the device.
- Drain any remaining water. Most will drain by gravity.
- Some backflow preventers have a main shut-off handle. Leave it halfway between open and closed. This keeps seals from sticking.
This device protects your drinking water from contaminants. Don’t let it freeze and crack!
Final Steps and Inspection
You’re almost done! A few final checks ensure a successful winterization. You want peace of mind through the cold months.
- Disconnect the air compressor from the blow-out port.
- Replace the blow-out port cap securely.
- Leave all sprinkler zone valves in the open position. This allows any residual moisture to expand without damage if it freezes.
- Turn off all power to the sprinkler controller.
Some people like to label their zones for easier future management. It’s a small detail, but helpful.
Troubleshooting Common Issues During Winterization
Sometimes, things don’t go exactly as planned. Don’t worry, a few common hiccups are easily fixable. You’ve got this.
Low Pressure or Insufficient Airflow
Is your compressor not pushing enough air? This could be a few things. Let’s diagnose it.
- Check your compressor settings: Is the PSI set correctly? Is the air tank full?
- Inspect hoses and connections: Look for leaks. Even a small leak can significantly reduce pressure.
- System size vs. Compressor power: Is your compressor simply too small for your entire system? You might need to rent a larger one if your system is extensive (This is sometimes the case for very large yard systems).
Sometimes, simply waiting for your compressor tank to fully refill can solve the problem. Give it time.
Sprinkler Heads Not Popping Up
Are some heads staying stubbornly down? This can happen. It’s usually a simple fix.
- Debris in the line: A small rock or dirt clod might be blocking the head. When running air, sometimes the obstruction clears itself.
- Low pressure: If your pressure is too low, the heads won’t pop up fully. Adjust your compressor.
- Damaged head: Occasionally, a head might be truly broken. This requires replacement in the spring.
You can sometimes gently tug on a stuck head to help it rise while the air is running. Just be careful not to damage it.
Your Winterization Checklist
Here’s a quick list to make sure you’ve covered all your bases. Think of it as your personal safety net.
- Confirm the main water supply is completely off.
- Connect the air compressor securely to the blow-out port.
- Ensure all sprinkler zones are drained, starting with the furthest.
- Drain the backflow preventer, leaving test cocks open.
- Disconnect the compressor and replace the blow-out cap.
- Turn off your sprinkler system controller for the season.
Following these steps thoroughly gives you the best chance for a happy, healthy sprinkler system next spring. And that’s what we want for you!
Conclusion
You’ve now got a clear roadmap for protecting your sprinkler system. Winterizing with an air compressor is a smart, effective way to avoid costly spring repairs. By following these steps—from gathering your tools to draining the last drop—you ensure your system stays intact. Remember the safety precautions and tackle each zone systematically. When you take this proactive step, you’re not just preventing damage, you’re investing in the longevity and reliability of your entire irrigation system. Now go get it done, and enjoy peace of mind all winter long!
Frequently Asked Questions
Is it okay to leave some water in the lines?
No. Even a small amount of trapped water can freeze and expand. This expansion can cause pipes or sprinkler heads to crack. Always aim to get as much water out as possible for complete protection.
How much does it cost to have a professional winterize my sprinklers?
Professional winterization costs can vary widely by region and system size. You might expect to pay anywhere from $75 to $150. Doing it yourself with an air compressor can save you this expense annually.
Can I use my shop vacuum to blow out the sprinklers?
A shop vacuum, even one with a “blower” function, generally doesn’t provide enough sustained pressure (PSI) or volume (CFM) to effectively clear a sprinkler system. It’s best to use a dedicated air compressor for reliable results.
What if I forget to turn off my sprinkler controller after winterizing?
Forgetting to turn off your controller isn’t catastrophic, but it’s a good practice to prevent damage. The controller will still try to activate zones, even if the water is off. This can cycle valves unnecessarily. Turning it off completely prevents accidental restarts and saves a tiny bit of power.
Should I remove my backflow preventer for the winter?
In many colder climates, yes, some people choose to remove their backflow preventer. This prevents it from freezing and cracking. If you don’t remove it, properly draining and leaving its test cocks open (and main handle halfway) is vital.