
How to Set the Right PSI for a Spray Gun?
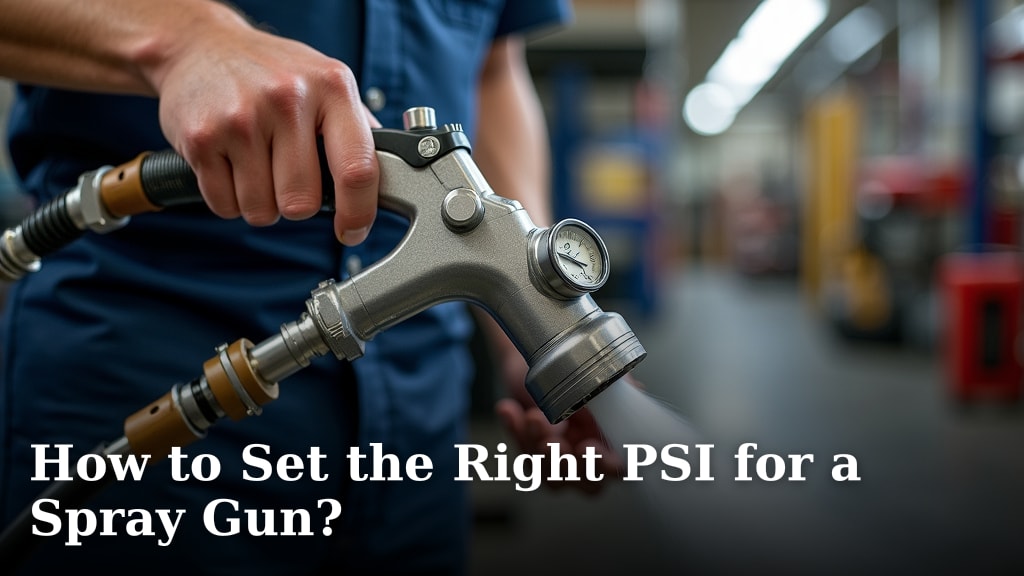
To set the right PSI for a spray gun, start with a lower pressure setting and gradually increase it until you achieve a smooth, even spray pattern. Many experts recommend beginning around 20-25 PSI for HVLP guns and 40-50 PSI for conventional spray guns, then adjusting based on your specific paint and equipment. This helps prevent overspray and ensures a quality finish.
Getting your spray gun’s PSI just right is critical for a professional look. Too little pressure can lead to splatters and an uneven coating, while too much can cause excessive overspray and wasted material. We found that understanding your paint type and equipment is key to finding that perfect balance for your project.
- Start with low PSI.
- Adjust slowly.
- Watch your spray pattern.
- Consider paint and gun type.
- Avoid splatters and overspray.
Let’s walk through exactly how to set your spray gun’s PSI for the best possible results, making your next painting project a breeze.
Optimizing Your Spray Gun Pressure
Setting the right PSI is like finding the sweet spot for your spray gun. It balances getting enough paint out with avoiding a huge mess. It’s all about control.
Understanding PSI: What It Means for Your Paint Job
PSI stands for “pounds per square inch.” It’s a measurement of the force pushing your paint through the spray gun. Think of it as the air pressure that atomizes the paint.
Too little PSI, and your paint won’t break up into fine droplets. You’ll get a splattery, uneven finish. We found it often looks like orange peel.
Too much PSI, and the paint droplets will be too fine. This creates a lot of “overspray,” where paint goes everywhere but your project. It wastes paint and makes more cleanup.
The Role of Your Air Compressor
Your air compressor is the engine behind your spray gun. It supplies the compressed air needed to atomize the paint. Make sure your compressor can handle the continuous CFM (cubic feet per minute) demands of your gun.
Many smaller compressors struggle to keep up with demanding spray guns. This can lead to inconsistent pressure, which ruins your finish. We learned that a good compressor is a painter’s best friend.
Factors Influencing Your Ideal PSI Setting
There isn’t one magic PSI number for every project. Several things change what you need. It’s a bit like cooking; you adjust for the ingredients.
Type of Spray Gun
Different spray guns work best at different pressures. Knowing your gun type is step one. Are you using an HVLP or a conventional gun?
- HVLP (High Volume Low Pressure): These guns are designed to be efficient. They use more air volume but at lower pressures, typically between 10-30 PSI at the cap. This reduces overspray and saves paint.
- Conventional Spray Guns: These use higher pressure, often 30-50 PSI or even more, to atomize paint. They can be faster but also create more overspray.
- LVLP (Low Volume Low Pressure): A newer option, these are a hybrid, often needing around 10-25 PSI. They balance efficiency with speed.
Paint or Coating Viscosity
The thickness of your paint, or its viscosity, greatly affects the PSI you need. Thicker paints require more pressure to atomize properly.
Imagine trying to spray molasses versus water. You’d need a lot more force for the molasses, right? Paint is similar.
Thin paints, like stains or lacquers, often need lower PSI. Thicker paints, like primers or automotive topcoats, usually demand higher PSI settings.
Nozzle and Fluid Tip Size
Your spray gun’s nozzle and fluid tip size are crucial. They control how much paint comes out and how it’s shaped.
A larger tip allows more paint to flow, sometimes requiring less air pressure to atomize. A smaller tip restricts flow, potentially needing more pressure for a fine mist.
Always match your tip size to the paint you’re using. Manufacturers usually provide recommendations for this. We found this step is often overlooked but really makes a difference.
Spray Distance and Speed
How far you hold the gun from your surface matters. Holding it too close can cause runs. Too far, and you get a dry, dusty finish.
Your speed also plays a role. If you move too fast, you won’t get enough coverage. Too slow, and you’ll apply too much paint, leading to drips.
Adjusting PSI can compensate a little for these, but good technique is more important. Think of PSI as fine-tuning your already good technique.
Step-by-Step Guide to Setting Your Spray Gun PSI
Ready to dial it in? Here’s a systematic way to find your perfect pressure. Patience here pays off in a flawless finish.
1. Read Your Paint and Gun Manuals
This is often the first place to start. Your paint can usually has a recommended PSI range for spraying. Your spray gun manual will also offer guidance. It’s like reading the instructions for a new gadget.
Many experts say to consider these recommendations as your starting point. Don’t just guess; consult the pros who made the products.
2. Set Up Your Test Surface
Never test directly on your project! Use a piece of cardboard, scrap wood, or a test panel. This allows you to adjust without ruining your main piece.
Ensure your test surface is clean and well-lit. You need to clearly see your spray pattern. We’ve seen too many people skip this, only to regret it later.
3. Start with Low Pressure
Attach your air hose to the spray gun. Set your air compressor regulator to a low PSI, often around 15-20 PSI for HVLP or 30-35 PSI for conventional guns. This is your safe starting point.
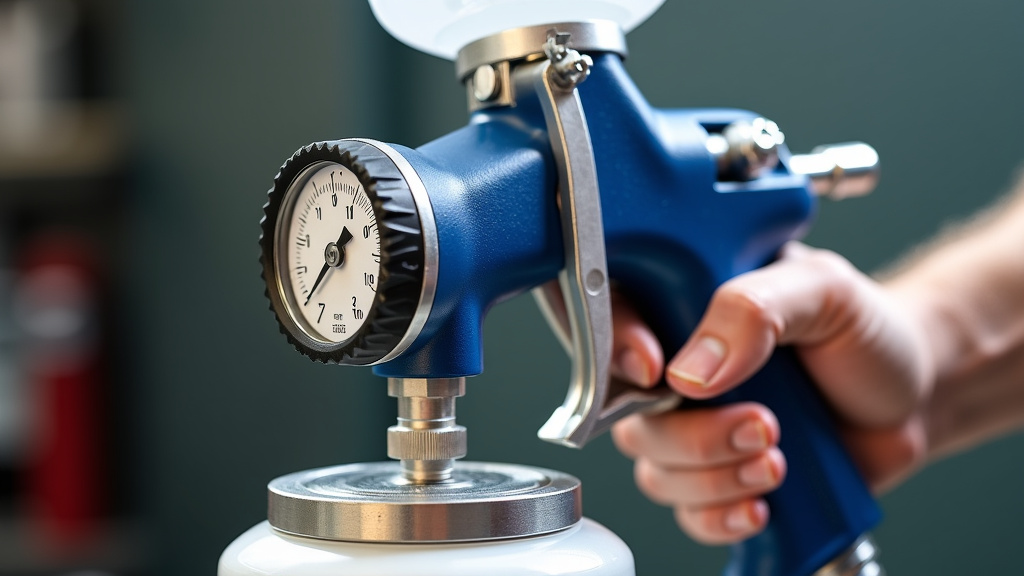
Make sure to measure PSI at the gun’s inlet, not just at the compressor. Some air hoses can lose pressure. Many pros use a small gauge right at the gun.
4. Adjust Your Fluid Flow (Material Knob)
Before touching the air pressure, set your fluid flow. This knob controls how much paint comes out. Start by turning it in all the way, then back it out about 1.5 to 2 turns. You want enough paint for good coverage.
This sets the amount of “stuff” coming out. The air pressure then “shapes” that stuff. It’s a crucial distinction.
5. Spray Test Passes and Observe the Pattern
Hold the gun about 6-8 inches from your test surface. Make a quick, even pass. What do you see?
- Too Low PSI: Paint looks heavy, splattery, or like “orange peel.” You might see visible droplets.
- Too High PSI: Lots of mist, little paint hitting the surface, very wide pattern, often “dry” edges.
- Just Right: A consistent, even oval or round pattern with fine, well-atomized paint. The edges of the pattern should be soft, not sharp or dusty.
6. Gradually Increase PSI Until Optimal
If your pattern is splattery (too low), increase the PSI in small increments (2-5 PSI at a time). Make another test pass after each adjustment. Repeat until the pattern looks smooth and even.
The goal is the lowest possible PSI that gives you a perfect pattern. This minimizes overspray and maximizes paint transfer. It’s a dance of small adjustments.
Here’s a quick guide we put together for common gun types:
| Spray Gun Type | Starting PSI (at Gun) | Typical Operating Range (at Gun) |
|---|---|---|
| HVLP | 15-20 PSI | 10-30 PSI |
| Conventional | 30-35 PSI | 30-60 PSI |
| LVLP | 10-15 PSI | 10-25 PSI |
Troubleshooting Common Spray Pattern Issues
Even with careful adjustments, you might run into problems. Don’t worry, these are common and usually fixable.
Fingers or Heavy Edges
If your spray pattern has “fingers” (like a fan that isn’t fully spread out) or heavy edges, your PSI might be too low, or your fluid flow is too high for the air pressure. Try increasing PSI slightly or reducing fluid flow.
Dry Spray or Dusty Finish
This often means your PSI is too high, or you’re holding the gun too far away. The paint is drying before it hits the surface. Reduce your PSI, or move closer (but not too close!).
Orange Peel Texture
This bumpy texture can be caused by paint being too thick, PSI too low, or holding the gun too far. Try thinning your paint (if the manufacturer allows), increasing PSI, or adjusting your distance.
Excessive Overspray
If paint is fogging up your whole area, your PSI is likely too high. Reduce it gradually. Also, ensure you have proper ventilation; this isn’t just about paint waste but also safety.
Your PSI Setting Checklist
Before you start spraying your masterpiece, run through this quick checklist:
- Have you read the paint and gun manuals for recommendations?
- Is your air compressor providing consistent CFM and pressure?
- Did you choose the correct nozzle/fluid tip for your paint?
- Are you testing your spray pattern on a scrap piece first?
- Have you started with a low PSI and adjusted slowly upward?
- Is your spray pattern even, well-atomized, and free of defects?
Conclusion
Finding the perfect PSI for your spray gun might seem tricky at first, but it’s really about taking a methodical approach. By understanding your gun type, paint viscosity, and practicing on test surfaces, you can achieve a flawless finish every time. We’ve learned that patience and small adjustments are your best tools here.
Remember to always start low, observe your spray pattern, and fine-tune until you get that smooth, even coverage. Your next project will look professional and you’ll be proud of the results. So grab your gun, set your pressure, and get ready to spray with confidence!
Frequently Asked Questions
How do I know if my PSI is too low for my paint?
If your PSI is too low, you’ll typically see a splattery, inconsistent pattern that might resemble orange peel. The paint won’t atomize finely, leaving visible droplets on your test surface. You’ll need to increase the pressure slowly until the pattern smooths out.
Can a dirty spray gun affect my PSI settings?
Absolutely. A dirty spray gun, especially a clogged nozzle or fluid tip, can drastically affect how paint flows and atomizes. This can make it seem like your PSI is off, even when it’s set correctly. Always ensure your gun is thoroughly cleaned before each use for consistent results.
What’s the best way to measure PSI accurately at the gun?
The most accurate way to measure PSI at the gun is to use a small air pressure gauge directly on the air inlet of your spray gun. Many regulators at the compressor can show a different reading due to pressure drop in the hose. An inline gauge gives you the true pressure reaching your gun.
Does temperature and humidity affect PSI needs?
Yes, environmental factors like temperature and humidity can subtly affect your paint’s viscosity and how it sprays. In colder conditions, paint might be thicker, potentially requiring a slight PSI increase. High humidity can sometimes affect drying times, but generally, consistent PSI adjustments are more about the paint itself than the weather.
Is it better to have slightly too high or too low PSI?
It’s generally better to start with slightly too low PSI and gradually increase it. Too low PSI gives you obvious flaws like splattering, which you can then correct. Too high PSI leads to excessive overspray, wasted material, and a dry finish, which is harder to control and can be more problematic to fix during application.
