
Can You Use an Air Compressor to Power a Spray Gun?
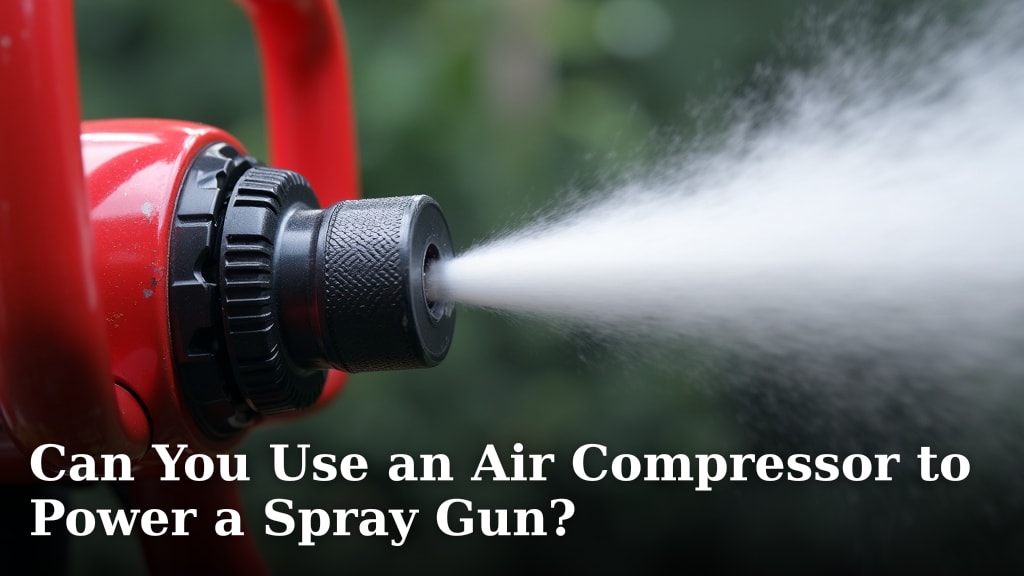
Yes, you can absolutely use an air compressor to power a spray gun. In fact, it’s the standard and most efficient way to get a smooth, even finish for your painting projects. This combination is a classic for a reason.
You’ll find this setup in workshops everywhere, from DIY enthusiasts to professional painters. It offers great control and a high-quality application. Understanding how these two tools work together is key to successful painting results.
- Yes, an air compressor powers a spray gun.
- It’s the standard method for painting.
- You need the right compressor for your gun.
- Match PSI and CFM for best results.
- Proper setup ensures a great finish.
Let’s walk through everything you need to know about pairing an air compressor with your spray gun, ensuring you get that perfect spray every time.
Powering Your Spray Gun with an Air Compressor
You’ve got a painting project in mind, and you’re wondering how to achieve that smooth, professional finish. The secret often lies in pairing a spray gun with the right air compressor. This combination is a staple for a reason: it delivers consistent results and saves you a lot of time compared to brushing or rolling.
But how do you pick the right compressor? And what settings do you need? We’ll break down everything you need to know to make your painting journey a success.
Understanding PSI and CFM: Your Compressor’s Language
When you look at air compressors, you’ll see two acronyms everywhere: PSI and CFM. These aren’t just technical jargon; they’re critical numbers that tell you if a compressor can handle your spray gun.
What is PSI?
PSI stands for “Pounds per Square Inch.” Think of it as the force or pressure of the air coming out of your compressor. Your spray gun needs a certain amount of pressure to atomize paint properly. Too little PSI, and the paint will sputter. Too much, and it could cause overspray or an uneven finish.
Most spray guns have a recommended operating PSI range. You’ll find this in your spray gun’s manual. It’s usually between 20-90 PSI for HVLP (High Volume Low Pressure) guns and higher for conventional guns.
What is CFM?
CFM means “Cubic Feet per Minute.” This measures the volume of air your compressor can deliver. Imagine it like how much air your compressor can “breathe out” each minute. Spray guns are hungry for air, and if your compressor can’t keep up, it will constantly cycle on and off, leading to an inconsistent spray pattern.
Your spray gun’s manual will also specify a required CFM. This is often the more important number for spray painting. You need a compressor that can provide at least as much CFM as your spray gun demands, often with a little extra for good measure.
Matching Your Compressor to Your Spray Gun
This is where the magic happens – or doesn’t, if you get it wrong. Choosing the right air compressor for your spray gun is like picking the right engine for your car. It needs to be powerful enough for the job.
The “Golden Rule” for CFM
A good rule of thumb is to take your spray gun’s CFM requirement and multiply it by 1.5 for intermittent use or by 2 for continuous use. This gives you a buffer, ensuring your compressor doesn’t constantly run out of air and cycle too frequently.
For example, if your spray gun needs 10 CFM, you’d ideally want a compressor that can deliver at least 15 CFM (10 x 1.5) at the required PSI.
Compressor Tank Size Matters (Sometimes)
The tank size of your air compressor doesn’t directly impact CFM or PSI delivery, but it affects how often the compressor motor has to run. A larger tank holds more compressed air, meaning the motor won’t kick on as frequently during continuous spraying. This can be less annoying and potentially extend the life of your compressor.
For small, quick jobs, a smaller tank might be fine. For larger painting projects, a larger tank (20 gallons or more) is often preferred to maintain consistent airflow without constant motor cycling.
Types of Spray Guns and Their Air Needs
Not all spray guns are created equal. Different types have different air requirements, so it’s good to know what you’re using.
| Spray Gun Type | Key Characteristics | Typical CFM Needs | Typical PSI Needs |
|---|---|---|---|
| HVLP (High Volume Low Pressure) | Efficient, less overspray, good for fine finishes | 10-20 CFM | 20-30 PSI (at the cap) |
| LVLP (Low Volume Low Pressure) | Even more efficient than HVLP, lower air consumption | 5-10 CFM | 10-20 PSI (at the cap) |
| Conventional/Siphon Feed | Faster application, more overspray, robust for thick coatings | 10-25 CFM | 40-60 PSI (at the gun) |
As you can see from the table, HVLP and LVLP guns are popular because they are more efficient with paint and create less overspray, making them better for your wallet and the environment. However, they still need a decent volume of air (CFM).
Essential Accessories for Spray Painting
It’s not just about the compressor and the gun. A few accessories will make your setup complete and help you achieve the best results.
- Air Hose: You’ll need a durable air hose that can handle the pressure. A 3/8-inch inner diameter is common for spray painting. Make sure it’s long enough to reach your work area comfortably.
- Air Filter/Regulator: This is crucial. Your compressor’s air can contain moisture and oil, which can ruin your paint job. An in-line air filter removes these contaminants. A regulator lets you precisely control the PSI going to your spray gun, independently of the compressor’s tank pressure.
- Quick Connect Fittings: These make connecting and disconnecting your air tools fast and easy.
- Personal Protective Equipment (PPE): Always wear a respirator, safety glasses, and gloves when spraying paint. Paint fumes are harmful, and paint particles can irritate your eyes and skin.
Setting Up Your Compressor and Spray Gun for Success
Once you have all your equipment, setting it up correctly is the next step. Don’t just plug and play; a little preparation goes a long way.
Here’s a quick checklist to get you started:
- Connect your air hose to the compressor’s outlet port.
- Install your air filter/regulator in-line between the compressor and the spray gun.
- Attach your spray gun to the end of the air hose.
- Fill your spray gun’s cup with properly thinned paint.
- Set the regulator to the PSI recommended by your spray gun manufacturer.
- Test your spray pattern on a piece of scrap material.
Troubleshooting Common Spray Painting Issues
Even with the right equipment, you might run into some snags. Don’t worry, many problems have simple solutions.
Paint Sputtering or Uneven Spray
If your paint is sputtering, it often means your air pressure is too low or your compressor isn’t delivering enough CFM. Check your regulator setting and ensure your compressor can keep up with the gun’s demands. Also, make sure your paint is thinned correctly – paint that’s too thick can also cause issues.
Too Much Overspray
Overspray happens when too much paint misses your target. This can be caused by too high air pressure or holding the gun too far away from the surface. Try lowering your PSI setting on the regulator and adjusting your spraying distance.
Orange Peel Texture
If your paint dries with a bumpy, orange-peel-like texture, it could be due to a few things. Sometimes it’s paint that’s too thick, sometimes it’s too much air pressure, or even holding the gun too close. Experiment with thinning your paint slightly or adjusting your air pressure down a bit (many expert painters attest to this approach).
Maintaining Your Equipment for Longevity
Just like any tool, your air compressor and spray gun need a little love to keep working well. Regular maintenance will save you headaches and money in the long run.
For your compressor, drain the tank after every use. This prevents rust from forming inside the tank due to moisture buildup. Regularly check and clean your air filter. For oil-lubricated compressors, check and change the oil according to the manufacturer’s recommendations.
For your spray gun, clean it thoroughly immediately after each use. Disassemble the parts, clean them with the appropriate solvent, and ensure no paint dries inside. A clogged nozzle or air cap will ruin your next paint job.
Conclusion
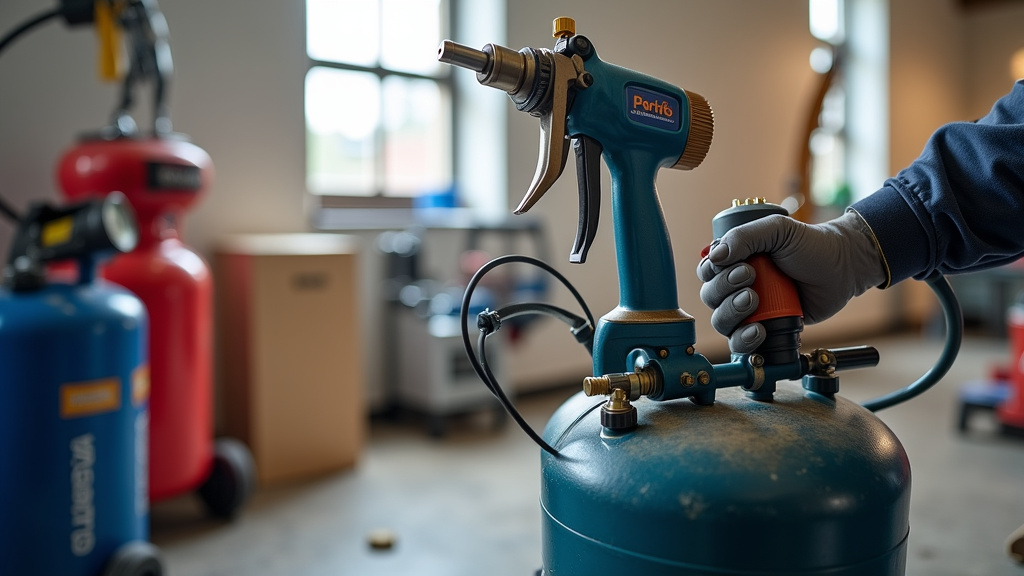
You now know that an air compressor is your spray gun’s best friend. Matching your compressor’s PSI and CFM to your gun’s requirements is the most critical step. Remember to factor in tank size for longer projects and invest in essential accessories like a regulator and air filter.
With the right setup and consistent maintenance, you’ll achieve professional-looking finishes on all your painting projects. Don’t be afraid to test and troubleshoot; practice makes perfect. Go ahead and start spraying with confidence!
Frequently Asked Questions
What’s the smallest air compressor I can use for spray painting?
The smallest compressor you can use really depends on your spray gun’s needs. For light-duty HVLP guns, some smaller “pancake” compressors might work for very brief, intermittent spraying. However, for consistent results, you’ll generally need one that can reliably produce at least 5-10 CFM at your desired PSI.
Do I need an oil-free or oil-lubricated compressor for spray painting?
Either type can work, but an oil-free compressor is often preferred for painting. They require less maintenance and eliminate the risk of oil mist contaminating your paint job. If you use an oil-lubricated compressor, a high-quality in-line air filter is even more critical to prevent oil from reaching your spray gun.
Can I use a regular garage air compressor for painting?
Yes, many standard garage air compressors are perfectly suitable for spray painting. The key is to check its specifications (CFM and PSI) against your spray gun’s requirements. Ensure it can deliver enough air volume and pressure to keep your gun spraying consistently without constantly cycling.
How far should I hold the spray gun from the surface?
The ideal distance usually ranges from 6 to 12 inches, depending on your spray gun type and the paint being used. Holding it too close can cause runs, while too far can lead to dry spray or excessive overspray. Always test on scrap material to find the optimal distance for your specific setup.
Why is my air compressor constantly running while I’m spraying?
If your compressor runs constantly, it likely means your spray gun is demanding more CFM than the compressor can consistently supply. This is common with smaller tank compressors or when using a high-CFM gun. Consider a compressor with a higher CFM rating or a larger tank to reduce cycling and maintain consistent airflow.
