
How to Connect an Air Compressor to a Spray Gun?
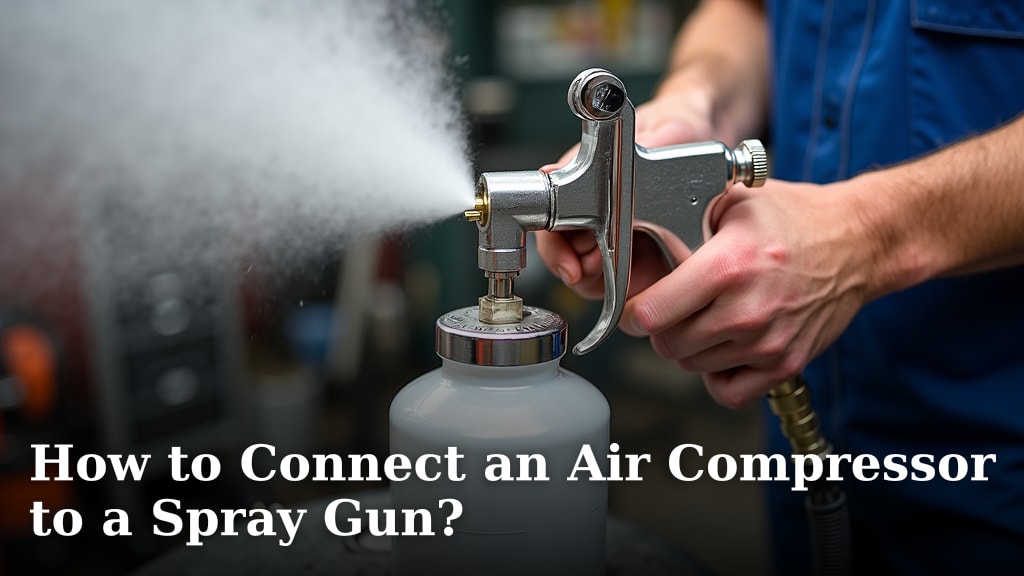
To connect an air compressor to a spray gun, you’ll generally need an air hose, appropriate fittings, and possibly a filter/regulator. This setup ensures your spray gun receives the correct air pressure for optimal performance and a smooth finish.
Getting your equipment connected properly is key to any painting or finishing project. A secure and efficient connection means fewer headaches and better results, whether you’re a DIY enthusiast or a professional. We found that understanding each component makes the process much simpler.
- Gather your essential connection parts.
- Understand air pressure needs for your spray gun.
- Ensure fittings are secure and leak-free.
- Set up your air filter and regulator.
- Test your system before you start painting.
Let’s walk through exactly how to connect an air compressor to a spray gun, step by step, so you can get to work confidently.
Setting Up Your Compressor and Spray Gun Connection
Connecting your air compressor to your spray gun correctly is a foundational step for any painting project. It ensures a smooth finish and prevents frustrating interruptions. Let’s make sure you get it right from the start.
Gathering Your Essential Tools and Components
Before you begin, think of this like a chef prepping their ingredients. Having everything ready means you won’t have to stop mid-process. You’ll need a few key items to make a secure and efficient connection.
- An air compressor (obviously!)
- Your chosen spray gun
- An air hose, typically 1/4 or 3/8 inch in diameter.
- Various air fittings: quick-connect couplers, plugs, and possibly NPT adapters.
- Thread sealant tape (PTFE tape or Teflon tape) or liquid pipe sealant.
- An air filter/regulator (often combined into one unit).
- A wrench or adjustable pliers for tightening connections.
- Safety glasses and gloves.
We found that having a small container for all your fittings keeps them organized. Nothing is worse than searching for a tiny fitting when you’re ready to paint!
Understanding Air Hose Types and Sizes
Air hoses come in different lengths and diameters. The most common sizes for general spray painting are Understanding if all air compressor hoses are universal can help you choose the right one for your setup.1/4-inch and 3/8-inch inner diameter. A larger diameter hose can supply more air volume, which is crucial for some HVLP (High Volume Low Pressure) spray guns.
We recommend choosing a hose that’s long enough to give you freedom of movement but not so long that it causes excessive pressure drop. A good rule of thumb is a 25-foot or 50-foot hose for most home workshops.
Navigating Air Fittings and Connectors
This is where things can get a little confusing, but we’ll break it down. Air fittings allow you to connect your hose to the compressor and your spray gun. They come in two main types: It’s important to know if all air compressor fittings universal to ensure compatibility with your equipment.quick-connect and threaded.
Quick-Connect Fittings: The Convenience Factor
Quick-connect fittings are designed for speed and ease. They consist of two parts: a coupler (female) and a plug (male). You simply push the plug into the coupler, and it locks into place. To disconnect, you pull back on the coupler’s collar.
There are several styles of quick-connect fittings, like Industrial (or M-Style), Automotive (or D-Style), and ARO (or A-Style). It’s important that all your quick-connect components (plugs and couplers) are the same style to ensure compatibility.
Threaded Fittings: The Secure Connection
Threaded fittings create a more permanent and air-tight seal. These are typically used on the compressor’s air outlet, the inlet of your spray gun, and the ends of your air hose. The most common threads are National Pipe Taper (NPT). You’ll often see sizes like 1/4″ NPT or 1/8″ NPT.
When connecting threaded fittings, always use thread sealant tape or liquid pipe sealant. This fills any tiny gaps in the threads, preventing air leaks. Think of it like a protective barrier for your air pressure.
Here’s a quick look at common fitting types:
| Fitting Type | Purpose | Key Feature |
|---|---|---|
| Quick-Connect Coupler | Attaches to compressor/hose end, receives plug | Female, quick attachment |
| Quick-Connect Plug | Attaches to hose end/spray gun, inserts into coupler | Male, fast disconnect |
| NPT Nipple | Connects two female threaded components | Male threads on both ends |
| NPT Reducer | Changes thread size (e.g., 1/4″ to 1/8″) | Allows for different size connections |
| Air Regulator | Controls air pressure to the tool | Usually has a gauge |
| Air Filter | Removes moisture and debris from air | Often integrated with regulator |
The Crucial Role of Your Air Filter and Regulator
You wouldn’t want dirt in your paint, right? An air filter and regulator protect your spray gun and your finish. They are often combined into one unit, sometimes called an FRL unit (Filter, Regulator, Lubricator, though lubricators are generally not used for spray painting).
Why You Need an Air Filter
Your air compressor draws in ambient air, which can contain dust, moisture, and even oil vapor if your compressor isn’t oil-free. An air filter catches these contaminants before they reach your spray gun. Without one, you risk “fish eyes” or blemishes in your paint job, caused by tiny particles or water droplets hitting the wet surface.
We’ve seen too many projects ruined by moisture. Many experts say that proper air filtration is as important as the paint itself for a quality finish (PPG Industries, technical guidance).
Setting the Correct Air Pressure with a Regulator
Each spray gun has a recommended operating pressure, usually found in its manual. An air regulator allows you to precisely control the air pressure delivered to your spray gun, ensuring you meet these specifications. Too much pressure can cause excessive overspray and a rough finish; too little pressure can lead to poor atomization and a “spitting” gun.
We found that having a regulator with a clear, readable gauge is incredibly helpful. You want to be able to set and verify your pressure easily. Typically, you’ll install the regulator and filter as close to the spray gun as possible, sometimes right at the gun’s air inlet, to get the most accurate pressure reading.
Step-by-Step Connection Guide
Now, let’s put it all together. Follow these steps carefully to ensure a leak-free and effective setup.
- Prepare Your Compressor: Ensure your compressor is turned off and unplugged. Drain any accumulated moisture from the tank using the drain valve at the bottom. This is good practice anyway.
- Install Main Air Outlet Fitting: Apply thread sealant tape to the male threads of a quick-connect coupler or threaded nipple. Screw it into the air outlet port on your compressor. Hand-tighten, then use a wrench to turn it an additional 1/2 to 1 full turn. Do not overtighten.
- Connect Air Hose to Compressor: If you’re using quick-connects, attach the corresponding plug to one end of your air hose. If it’s a threaded connection, use thread sealant tape and tighten it securely. Then, connect this end to the compressor’s coupler.
- Install Filter/Regulator (FRL) Unit: If not already assembled, connect the filter to the regulator according to the manufacturer’s instructions, paying attention to the air flow direction arrows. Apply thread sealant tape to the inlet and outlet threads of the FRL unit. Attach the FRL unit to the free end of your air hose or directly to the spray gun’s air inlet, depending on your setup and preference. Many prefer it at the hose end closest to the gun.
- Connect Spray Gun to FRL/Hose: Apply thread sealant tape to the male threaded air inlet of your spray gun (usually 1/4″ NPT). Screw it into the outlet of your FRL unit, or directly into the quick-connect coupler on the hose if your FRL is mounted elsewhere. Hand-tighten, then snug with a wrench.
- Double-Check All Connections: Go back over every connection point. Are they snug? Is thread sealant visible where needed? Loose connections are the primary cause of air leaks.
Testing for Leaks and Setting Pressure
Before you start spraying, a quick test can save you a lot of frustration later. This is like a dress rehearsal before the big show!
- Charge the System: Turn on your air compressor and allow it to build up to its maximum tank pressure.
- Check for Leaks: With the system pressurized, listen carefully for any hissing sounds. You can also mix a solution of dish soap and water in a spray bottle and mist it over all connections. If you see bubbles forming, you have a leak. Tighten the connection or reapply thread sealant as needed.
- Set the Regulator: With the spray gun attached, open your spray gun’s trigger briefly to release some air. While air is flowing, adjust the regulator’s knob to the recommended operating pressure for your spray gun (e.g., 20-30 PSI for HVLP guns). Read the gauge carefully.
We found that leaks are often tiny but can significantly impact your spray performance and compressor’s lifespan. Taking a few extra minutes here really pays off.
Your Connection Checklist
Use this quick checklist to make sure you haven’t missed anything crucial:
All necessary components (hose, fittings, FRL) are on hand.
Thread sealant tape applied to all threaded connections.
Quick-connect fittings are compatible styles.
FRL unit is installed with correct airflow direction.
All connections are tight but not overtightened.
System tested for leaks with soap and water solution.
Regulator set to the spray gun’s recommended operating pressure.
Conclusion
You’ve now got the knowledge to confidently connect your air compressor to your spray gun. Remember, getting this setup right is not just about attaching parts; it’s about laying the foundation for a flawless finish. By carefully selecting your fittings, using thread sealant, and properly adjusting your regulator, you’re setting yourself up for success.
Take the time to test your connections for leaks, and always double-check your pressure settings. With these steps, you’re ready to tackle your next painting project with precision and control. Go ahead, create something amazing!
Frequently Asked Questions
What’s the most common reason for air leaks when connecting equipment?
The most common reason for air leaks is improperly sealed threaded connections or incompatible quick-connect fittings. Always use thread sealant tape on male threads and ensure your quick-connect plugs and couplers are the same style (e.g., Industrial, Automotive).
Do I really need an air filter if my compressor is new?
Yes, an air filter is always recommended, even with a new compressor. Compressors can introduce moisture and tiny particles into the air stream. A filter prevents these contaminants from reaching your spray gun and potentially ruining your paint job.
Where should I install the air regulator for the best accuracy?
For the most accurate pressure reading, install your air regulator as close to the spray gun as possible. Some spray gun models even allow for a mini-regulator to be attached directly to the gun’s air inlet.
Can I use any air hose for spray painting?
While many air hoses will work, we found that selecting one with an appropriate inner diameter (1/4″ or 3/8″) and sufficient length is important. A hose that’s too narrow or too long can cause a pressure drop, impacting your spray gun’s performance.
How often should I drain my air compressor tank?
You should drain your air compressor tank after each use, or at least regularly, especially in humid environments. This prevents rust inside the tank and extends the life of your compressor, while also reducing moisture in your air lines.
