
How to Install a Quick Connect Coupler on an Air Hose?
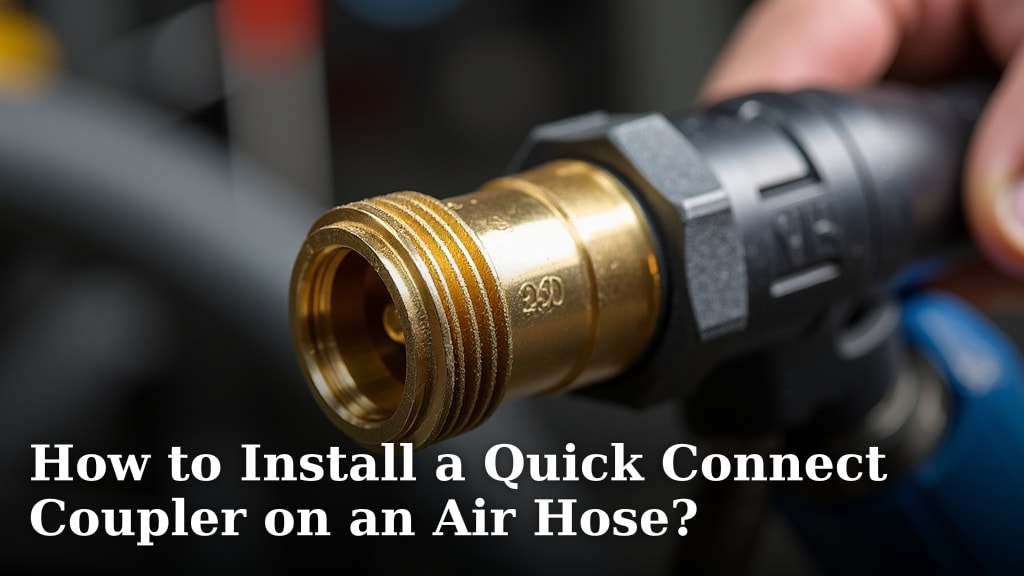
The easiest way to install a quick connect coupler on an air hose is by cutting the hose clean, applying pipe thread sealant to the new fitting, and tightening it securely. This simple process allows you to quickly attach and detach air tools.
You want your air tools to be ready when you are, right? We found that a properly installed quick connect coupler makes all the difference for efficiency. It saves you time and frustration during projects, letting you switch tools in seconds. We know you’ll love the convenience!
- Cut the air hose cleanly.
- Apply thread sealant to the coupler.
- Screw the coupler onto the hose tightly.
- Test for air leaks.
Let’s walk through exactly how to install a quick connect coupler, ensuring a secure and leak-free connection for your air hose system. We’ll cover every step.
Getting Your Air Hose Ready for a Quick Connect Coupler
Before you jump into attaching that new coupler, a little preparation goes a long way. Think of it like cooking: you gather your ingredients first. This ensures a smooth installation process and a connection that won’t leak.
Gather Your Tools and Materials
You don’t need a huge workshop for this, just a few basic items. Having everything ready saves you trips back and forth, keeping your momentum going. What will you need?
- Your new quick connect coupler (matching your air tools). Our guide to air compressor hoses explains how different types of connectors and materials impact compatibility.
- A sharp utility knife or hose cutter.
- Pipe thread sealant (PTFE tape or liquid sealant).
- A pair of wrenches (adjustable or open-end).
- Your air hose, of course!
- Safety glasses (always a good idea when cutting).
Understanding Quick Connect Coupler Types
Did you know not all quick connects are the same? It’s true! We found that choosing the right type for your setup is key. Using the wrong one can lead to poor performance or even air leaks (Compressed Air & Gas Institute).
Distinguishing Between Couplers and Plugs
It’s easy to confuse these two. The coupler goes on your air hose. It has a spring-loaded mechanism that accepts the plug. The plug goes on your air tool. It’s the male end that inserts into the coupler. Make sure you have the correct piece for the hose!
Common Industry Standards
There are several different standards for quick connect fittings. The most common in the US are Industrial (M-Style), Automotive (D-Style), and ARO (A-Style). They are not interchangeable! Check your air tools and existing fittings to ensure you buy the correct style. Most home garages use Industrial (M-Style) fittings, but it’s always good to check. We often see people frustrated because their new fitting doesn’t match their tools.
Here’s a quick overview of common quick connect styles you might encounter:
| Style Name | Commonly Known As | Typical Use |
|---|---|---|
| Industrial | M-Style / Milton Style | Most common in workshops and home garages. |
| Automotive | D-Style / Tru-Flate Style | Often found in automotive applications. |
| ARO | A-Style | Popular for its high flow rates. |
| Lincoln | L-Style | Less common, specific applications. |
Preparing Your Air Hose for Connection
A clean, precise cut is vital. This step creates a secure and leak-free seal. Don’t rush this part; a little care here prevents big headaches later on. A bad cut can mean frustrating air leaks.
Cutting the Air Hose Cleanly
You need a nice, straight cut. An uneven or frayed end makes it impossible for the coupler to get a good grip. We found that a utility knife with a fresh blade works best for most rubber or PVC air hoses.
- Lay the hose on a flat, stable surface.
- Use a straight edge or square as a guide for your cut.
- Apply firm, even pressure as you cut straight through the hose.
- Avoid jagged edges or angled cuts. The goal is a perfectly flat end.
If you have a specialized hose cutter, even better! These tools are designed to give you a perfectly square cut every time. Many experts recommend them for frequent air hose work (Popular Mechanics).
Inspecting the Hose End
Once cut, take a close look at the end of your hose. Are there any small pieces of rubber or PVC hanging off? You want the opening to be clear and unobstructed. A quick trim with your knife can clean up any stray bits.
Applying Pipe Thread Sealant
This is where you make sure that air stays in your hose, not escaping through the threads. Pipe thread sealant is your best friend here. It fills tiny gaps, creating an airtight connection.
Choosing the Right Sealant
You have a couple of good options. PTFE tape (often called Teflon tape) is very common and easy to use. Liquid pipe thread sealant is another excellent choice, offering a strong, durable seal. Both work well, so pick what you’re most comfortable with.
- PTFE Tape: Inexpensive, widely available, and easy to apply. Works for most connections.
- Liquid Pipe Sealant: Offers a more permanent and vibration-resistant seal. Can be messier to apply.
How to Apply PTFE Tape
This is probably the most common method. You want to apply it in the correct direction so it doesn’t unravel when you screw on the coupler. This small detail can make a big difference.
- Hold the coupler in one hand.
- Start at the second thread from the end of the coupler.
- Wrap the tape clockwise around the threads (if you’re looking at the end of the threads).
- Overlap each wrap by about half the width of the tape.
- Apply 3-5 wraps for a good seal. Don’t overdo it, as too much tape can prevent the threads from engaging properly.
- Tear the tape cleanly and press the end down.
How to Apply Liquid Pipe Sealant
If you prefer liquid sealant, it’s straightforward. Just remember, a little goes a long way. You’re not painting the threads, just filling them.
- Apply a thin bead of sealant directly onto the threads of the coupler.
- Make sure you cover all the threads evenly.
- Avoid getting sealant inside the opening of the coupler, as it could restrict airflow.
- Follow the manufacturer’s instructions for any specific drying or curing times, though most are designed for immediate use.
Attaching the Quick Connect Coupler
Now for the main event! This is where your air hose and the new coupler become one. You’ll need your wrenches for this part to ensure a tight and secure fit.
Screwing On the Coupler by Hand
First, screw the coupler onto the hose end. You should be able to get several turns by hand. This ensures the threads are properly aligned and not cross-threaded. Cross-threading is a common mistake and can damage both the hose and the coupler.
- Align the coupler threads with the hose fitting.
- Turn clockwise by hand until it’s finger-tight.
- If you feel resistance early on, stop, unscrew, and try again. Don’t force it!
Tightening with Wrenches
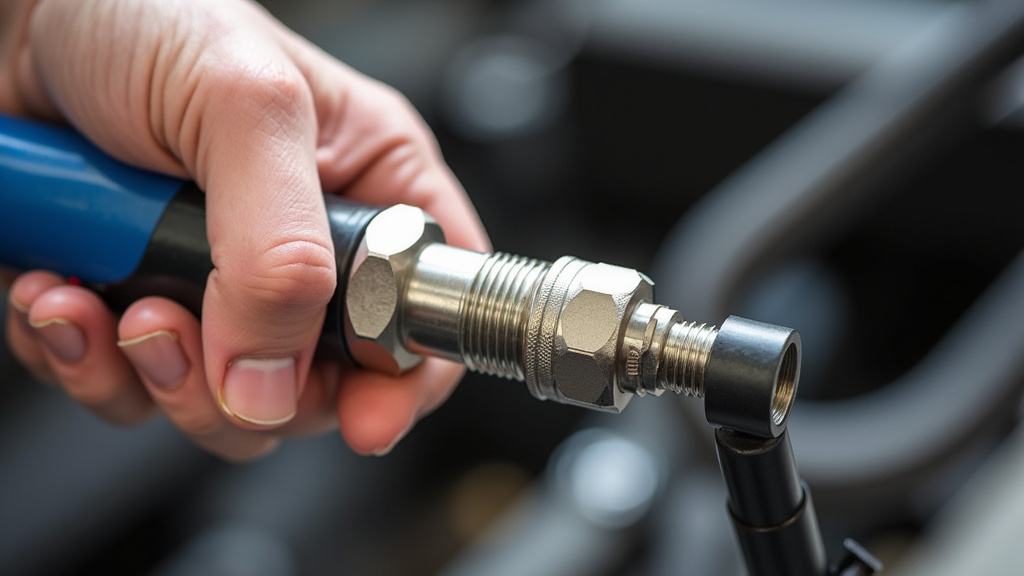
Once finger-tight, it’s time for the wrenches. You’ll use one wrench to hold the hose fitting and the other to turn the coupler. This gives you the leverage you need for a leak-proof connection.
- Hold the hose fitting firmly with one wrench.
- Place the second wrench on the quick connect coupler.
- Turn the coupler clockwise, applying steady pressure.
- Tighten until it feels snug and secure. Many experts suggest an additional 1/2 to 1 full turn past finger-tight. Don’t overtighten, as this can strip threads or damage the hose.
Testing for Leaks
You’re almost done! But the final, most important step is checking for leaks. Nobody wants to lose precious air pressure or have their compressor constantly cycling. This step confirms your hard work paid off.
Pressurizing the System
Connect your air hose to your compressor and let it build up to full pressure. Listen carefully. Do you hear any hissing? Sometimes, a small leak is audible right away. If not, don’t worry, there’s another trick.
The Soapy Water Test
This is the classic, most reliable method for detecting air leaks. It’s simple, effective, and you probably have the ingredients in your kitchen.
- Mix a small amount of dish soap with water in a spray bottle or a cup.
- Spray or brush the soapy solution generously over the newly installed coupler connection.
- Watch closely for bubbles. If you see bubbles forming and growing, you have a leak.
- If there are no bubbles, congratulations! Your connection is airtight.
Troubleshooting Leaks
If you find a leak, don’t despair! It’s usually an easy fix. We found that most leaks are due to insufficient sealant or improper tightening. You can usually fix it without replacing parts.
- If a small leak: Try tightening the coupler a little more with your wrenches.
- If a persistent leak: Disconnect the air, unscrew the coupler, clean off the old sealant, and reapply new PTFE tape or liquid sealant. Then re-tighten. Make sure your hose cut is still clean and straight.
Your Quick Connect Installation Checklist
To make sure you’ve covered all your bases, here’s a handy checklist to run through. This ensures you’ve followed each step for a perfectly installed coupler.
- Did you gather all necessary tools and materials?
- Is your quick connect coupler the correct style for your tools?
- Was the air hose cut cleanly and squarely?
- Did you apply pipe thread sealant (tape or liquid) correctly to the coupler threads?
- Did you screw the coupler on by hand first, then tighten with wrenches?
- Did you perform the soapy water test to check for leaks?
If you answered yes to all of these, then your new quick connect coupler is ready for action! You’ve successfully upgraded your air hose for maximum convenience.
Conclusion
You’ve seen how simple it is to upgrade your air hose with a quick connect coupler. By carefully cutting the hose, applying sealant correctly, and tightening securely, you create a connection that saves time and prevents air leaks. We found that taking these few extra steps ensures your air tools are always ready. This small upgrade makes a big difference in your workshop efficiency. Now, go enjoy the convenience of quickly swapping out your air tools!
Frequently Asked Questions
How often should I check my quick connect couplers for leaks?
We recommend checking your quick connect couplers for leaks every few months, or any time you notice your air compressor cycling more frequently than usual. A quick soapy water test can save you a lot of wasted air and energy. It’s a good habit for maintaining your air system.
Can I use plumbers tape instead of PTFE tape for sealing?
Yes, plumbers tape is generally the same thing as PTFE (Teflon) tape. We found that as long as it’s designed for sealing threads and is gas-rated, it will work fine for your air hose quick connect. Just make sure to wrap it in the correct direction.
What if my quick connect coupler feels loose after tightening?
If your coupler still feels loose after tightening, you might need to re-evaluate your sealant application or the condition of your hose end. Disassemble it, ensure the hose cut is perfectly square, and reapply the thread sealant thoroughly. We often find that an extra wrap of PTFE tape can help create a firmer seal.
Will overtightening damage my air hose or coupler?
Yes, overtightening can definitely cause damage. You risk stripping the threads on both the coupler and the hose fitting, or even cracking the hose material itself. Tighten until snug, then add about a half to a full turn with your wrenches. Don’t force it beyond that point.
Can I install a quick connect coupler on a heavily worn air hose?
We don’t recommend installing a new quick connect coupler on a heavily worn or damaged air hose. The connection needs a clean, sturdy hose end to seal properly. If your hose is cracked, frayed, or brittle, it’s best to replace the hose first for safety and performance.
