
How to Use an Air Compressor for Spray Painting?
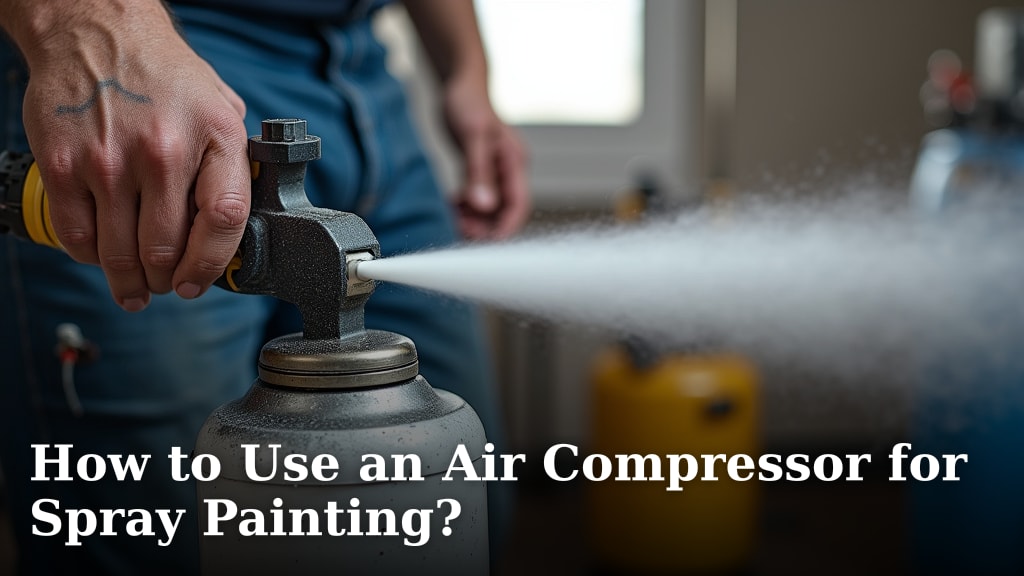
To use an air compressor for spray painting, you will need to set up your equipment correctly and adjust the air pressure for a smooth finish. This involves connecting your spray gun to the compressor and ensuring all components are clean. A well-adjusted compressor is key to professional-looking paint jobs.
Many DIY enthusiasts and professionals use air compressors for their painting projects. We found that proper pressure regulation and selecting the right nozzle size are crucial steps. You’ll also want to make sure your Workspace is well-ventilated and clean to prevent imperfections.
TL;DR:
- Gather your spray painting equipment.
- Connect and properly set up your air compressor.
- Adjust the air pressure for optimal results.
- Prepare your painting surface and Workspace.
- Clean your equipment thoroughly after use.
Ready to tackle your next painting project with confidence? Let’s walk through exactly how to set up and use an air compressor for spray painting, step by step.
Setting Up Your Compressor for Spray Painting Projects
Getting your air compressor ready for spray painting is a critical first step. A good setup ensures smooth operation and a great finish. Think of it like a chef prepping their kitchen before cooking; organization is key.
Gathering Your Essential Spray Painting Equipment
Before you even plug anything in, gather all your necessary tools. Having everything at hand saves time and frustration. What do you need besides the compressor and spray gun? Let’s check.
What You’ll Need
You’ll want a few key items to get started. These are the basics that make a big difference in your results:
- Air compressor: Make sure it has enough CFM (cubic feet per minute) for your chosen spray gun.
- Spray gun: Different types exist for different projects. We’ll discuss this next.
- Air hose: Flexible and long enough to reach your project comfortably.
- Air filter/regulator: This is a must-have for clean, dry air.
- Appropriate paint or coating: Make sure it’s thinned correctly for spraying.
- Respirator and safety glasses: Protecting yourself is always number one.
- Gloves: To keep your hands clean and safe.
- Drop cloths or masking tape: To protect surrounding areas from overspray.
- Mixing cups and stir sticks: For preparing your paint.
- Cleaning supplies: Including paint thinner or solvent for cleanup.
Having these items ready prevents those annoying “oh, I forgot that!” moments. We
found that skipping steps here often leads to bigger problems later on (Occupational Safety and Health Administration).
Understanding Your Air Compressor and Spray Gun Types
Not all compressors or spray guns are created equal. Knowing what you have, or what you need, helps you achieve the best finish. It’s like choosing the right brush for a masterpiece.
Air Compressor Considerations
When picking an air compressor for painting, consider its CFM rating. Your spray gun will have a CFM requirement, and your compressor needs to meet or exceed it. If your compressor’s CFM is too low, you’ll get inconsistent pressure and a poor spray pattern. We found that a compressor with at least a 6 CFM rating at 90 PSI is a good starting point for most DIY spray guns.
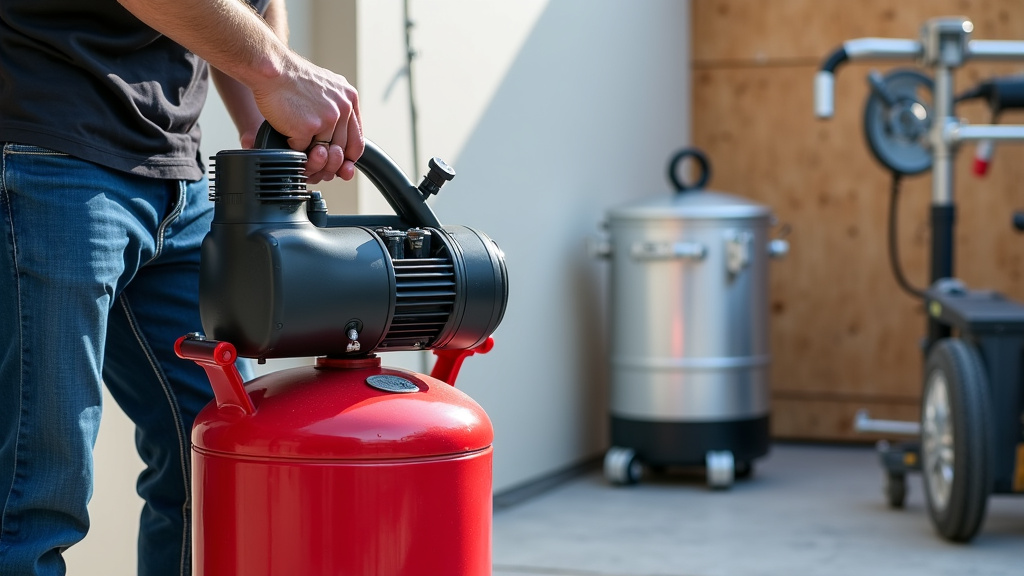
Tank size matters too. A larger tank means the compressor runs less often, giving you more continuous air. For small projects, a pancake compressor might be fine, but for anything larger, a vertical or horizontal tank offers more sustained airflow.
Choosing the Right Spray Gun
Spray guns come in a few common types, each suited for different tasks. Do you know which one is best for your project? Here’s a quick overview:
| Spray Gun Type | Description | Best For |
|---|---|---|
| HVLP (High Volume Low Pressure) | Uses more air volume at lower pressure. Reduces overspray. | Fine finishes, clear coats, automotive painting, furniture. |
| LVLP (Low Volume Low Pressure) | Uses less air volume and pressure than HVLP. Good for smaller compressors. | Smaller projects, thinner materials, touch-ups. |
| Conventional (High Pressure) | Uses high pressure, resulting in a fine atomization. More overspray. | Industrial coatings, when speed is crucial and overspray isn’t a big concern. |
For most home and DIY projects, an HVLP gun is often the best choice. It minimizes wasted paint and gives you a smoother finish. Many professionals also prefer HVLP for its precision (Paint & Coatings Industry magazine).
Connecting and Preparing Your Equipment for Use
Once you have your gear, the next step is connection. This is where you assemble the puzzle pieces. Take your time here; a good connection prevents leaks and pressure issues.
Assembling Your Air Compressor and Spray Gun System
Connecting everything correctly is crucial for safe and effective spray painting. It’s like building a reliable plumbing system; every joint needs to be sealed.
Step-by-Step Connection Guide
Follow these steps to connect your compressor to your spray gun:
- Attach the air filter/regulator: Connect this to the air outlet port on your compressor. This device removes moisture and oil from the air and lets you control the pressure.
- Connect the air hose: Attach one end of the air hose to the outlet of the air filter/regulator. Ensure it’s a tight fit to prevent air leaks.
- Connect to the spray gun: Attach the other end of the air hose to the air inlet nipple on your spray gun. Again, make sure it’s secure. Many people use quick-connect fittings for convenience.
- Check for leaks: Turn on your compressor and let it build pressure. Listen for hissing sounds around all connections. We found that a little soapy water sprayed on joints will reveal bubbles if there’s a leak (National Institute for Occupational Safety and Health). Tighten connections as needed.
A leak-free system ensures consistent pressure, which is vital for a good spray pattern. Don’t skip the leak check!
Ensuring Clean Air for Flawless Painting
Air moisture and oil are the enemies of a perfect paint job. Imagine tiny water droplets contaminating your beautiful new coat. That’s why clean, dry air is so important.
Your air filter/regulator setup is primarily responsible for this. Make sure it has a working moisture trap. If you live in a humid environment, you might even consider an additional inline filter closer to the spray gun. Some experts even suggest using a desiccant dryer for the most critical jobs (Journal of Coatings Technology and Research).
Regularly drain any water from your compressor’s tank. This simple task prevents rust inside the tank and keeps corrosive moisture out of your air lines. How often? It depends on humidity and usage, but at least once a week for regular users.
Achieving Optimal Air Pressure and Paint Consistency
Now we’re getting into the art of it. The right air pressure and paint consistency are what separate a splotchy mess from a smooth, professional finish. This is where your adjustments make all the difference.
Adjusting Your Air Pressure for Spray Painting Success
Think of air pressure as the force behind your paint. Too much, and you get overspray and runs. Too little, and you get a chunky, inconsistent spray. So, what’s the sweet spot?
Setting the Regulator
Your spray gun’s manufacturer will list a recommended operating pressure, often in PSI (pounds per square inch). This is your starting point. Attach your spray gun to the hose with the compressor running, and then:
- Adjust the regulator: Slowly turn the knob on your air pressure regulator until the gauge reads the recommended PSI.
- Test on scrap material: Always test your spray pattern on a piece of cardboard or scrap wood before heading to your main project. This allows you to fine-tune.
- Observe the pattern: A good pattern is even, without heavy edges or a “clumpy” center. If it’s too wide and thin, increase pressure slightly. If it’s too narrow and thick, decrease pressure.
You’ll often find that the actual pressure at the gun will be slightly lower than what your regulator shows due to hose length and fittings. A gauge right at the gun inlet provides the most accurate reading.
Thinning Your Paint for Spray Application
Most paints are too thick straight out of the can for spray application. They need thinning. This step is crucial for smooth atomization and flow.
Always refer to the paint manufacturer’s instructions for thinning ratios and recommended reducers. Using the wrong thinner or too much can ruin your paint. We found that a common test for consistency is using a “viscosity cup.” This cup has a small hole, and you time how long it takes for the paint to flow through it. The manufacturer will often provide a target time.
For a basic test without a viscosity cup:
- Stir paint thoroughly: Ensure it’s well-mixed before thinning.
- Add thinner gradually: Start with a small amount, like 5-10% of the paint volume.
- Mix and test: Stir well, then pick up the paint with a stir stick. It should drip off the stick smoothly and consistently, like warm syrup, not thick like molasses.
A good rule of thumb is “less is more” when it comes to thinner. You can always add a little more, but you can’t take it out!
Preparing Your Workspace and Maintaining Safety
Your environment plays a huge role in the success and safety of your painting project. You wouldn’t bake a cake in a dusty garage, would you?
Setting Up an Ideal (and Safe) Painting Environment
A clean, well-lit, and ventilated area protects your project from contaminants and you from harmful fumes. Safety first, always.
Workspace Checklist
- Good ventilation: Work outdoors, or in a well-vented garage with fans and open doors/windows.
- Cleanliness: Sweep, vacuum, and wipe down surfaces to minimize dust.
- Lighting: Ensure ample light to see your work clearly and avoid missing spots.
- Protect surrounding areas: Use drop cloths, plastic sheeting, and masking tape to protect anything you don’t want painted.
- No ignition sources: Paint fumes are often flammable. Turn off pilot lights, avoid open flames, and ensure no sparks from electrical tools (National Fire Protection Association).
Think about airflow. Proper ventilation means fresh air comes in, and fume-laden air goes out, keeping concentrations low. It also helps with drying times.
Prioritizing Personal Protective Equipment (PPE)
You are your most valuable asset. Protecting your lungs, eyes, and skin from paint and solvents is non-negotiable. Why take chances?
Always wear a respirator designed for paint fumes (not just a dust mask). Paint particles and solvent vapors can cause serious health issues. Safety glasses or goggles are a must to protect your eyes from overspray. And don’t forget gloves to protect your skin from chemicals. We found that good quality nitrile gloves offer excellent protection.
Conclusion
You now have the knowledge to confidently use your air compressor for spray painting. By meticulously setting up your equipment, understanding your tools, and preparing your paint, you control the outcome. Remember, consistent airflow and paint consistency are your biggest allies for a flawless finish.
Always prioritize your safety and a clean workspace. With practice and attention to detail, you’ll be able to tackle various painting projects with professional results. Go ahead, start planning your next colorful transformation!
Frequently Asked Questions
How often should I drain my air compressor tank when spray painting?
You should drain your air compressor tank after every use, especially when spray painting. This prevents moisture buildup, which can lead to rust inside the tank and contaminate your paint. If you paint frequently or live in a humid area, draining it is even more critical.
What’s the best way to thin paint for spray gun use without a viscosity cup?
Without a viscosity cup, you can thin paint by gradually adding the recommended thinner while stirring. Dip a stir stick into the paint; it should flow off the stick smoothly and consistently. Avoid over-thinning, which can make the paint too watery.
Can I use any air compressor for spray painting?
No, not just any air compressor will work well. You need one that provides enough CFM (cubic feet per minute) to meet your spray gun’s air demands. We found that a compressor with at least 6 CFM at 90 PSI is a good starting point for many DIY spray guns.
Why is an air filter/regulator important for spray painting?
An air filter/regulator is crucial because it removes moisture and oil from the compressed air before it reaches your spray gun. This prevents “fisheyes” and other imperfections in your paint finish. It also allows you to precisely control the air pressure to the gun.
What kind of respirator do I need for spray painting?
For spray painting, you need a respirator specifically designed for paint fumes and organic vapors. A simple dust mask is not sufficient to protect your lungs from harmful paint particles and solvent fumes. Always check the respirator’s ratings to ensure it offers the right protection.
