
How to Drain an Air Compressor Tank?
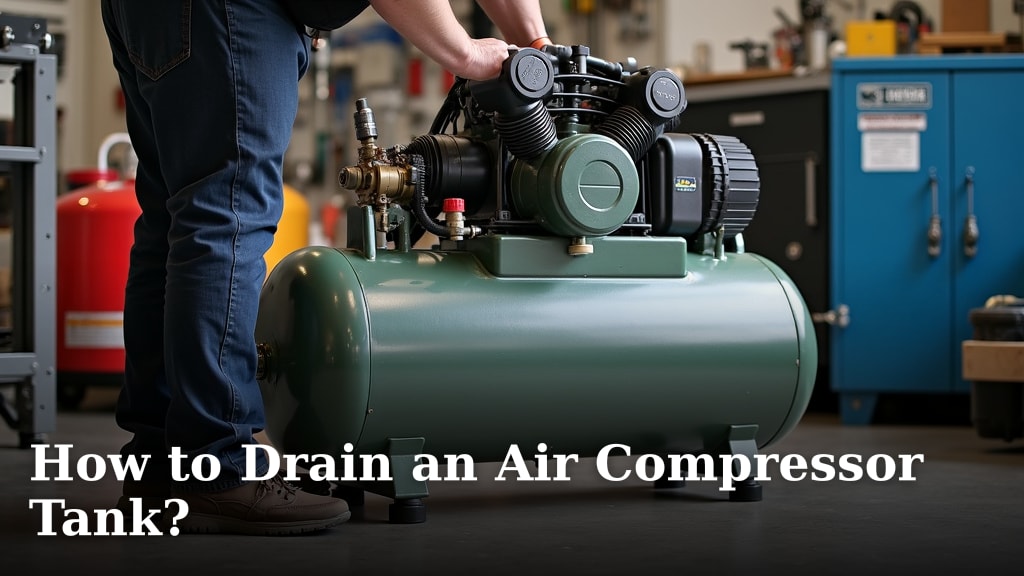
The easiest way to drain an air compressor tank is by opening the drain valve located at the bottom of the tank. This simple action releases any built-up condensation and moisture. We found that doing this regularly is key to maintaining your air compressor.
You might be wondering why you even need to bother with this chore. Well, that water inside your tank can lead to rust and corrosion, damaging your equipment. It also makes your compressor work harder, which isn’t good for its lifespan or your productivity. Proper draining keeps your compressor running smoothly and reliably.
- Regularly drain your air compressor tank.
- Draining prevents rust and corrosion.
- Water in the tank makes the compressor less efficient.
- Always follow safety precautions when working with air compressors.
Let’s walk through exactly how to drain an air compressor tank, step by step, so you can keep your equipment in top shape and avoid unnecessary headaches.
Preparing to Drain Your Air Compressor Tank
Before you even think about opening a valve, some important steps need to happen. Safety is paramount when working with any machinery, especially one under pressure. We need to release the air and ensure everything is stable before proceeding.
Safety First: Essential Precautions
Working with compressed air carries some risks if you’re not careful. This isn’t a chore to rush through. We found that taking a few moments to prepare can prevent accidents and ensure your safety.
Personal Protective Equipment (PPE)
Before you approach your air compressor, think about your PPE. You should at least wear safety glasses. We found flying debris or a sudden blast of air can cause eye injuries. Gloves can also protect your hands from grime and potential pinch points (OSHA guidelines).
Choosing Your Drainage Location
Where will the water go? That’s a key question. The water from your tank can contain oil, rust particles, and other contaminants. You don’t want it just pooling on your workshop floor. Many people use a bucket or a drip pan to collect the discharge. Some industrial setups might have a dedicated drainage system.
Shutting Down Your Compressor Safely
Never try to drain a pressurized air tank. That’s a recipe for disaster. The first and most critical step is to turn off your compressor. We’ll walk you through the process, ensuring no surprises.
Turning Off the Power
Locate the power switch on your air compressor. Turn it to the “off” position. Don’t stop there, though. We found that pulling the plug completely prevents anyone from accidentally turning it back on while you’re working. Unplug the unit from its power source.
Reducing Tank Pressure
Even with the power off, your tank still holds pressurized air. You need to release this air before draining. This reduces the risk of a sudden, powerful blast of air when you open the drain valve. Find the safety valve or pressure relief valve, often a small ring or lever. Pull it gently to let the air escape. You’ll hear a distinct hissing sound as the pressure drops. Continue until the tank pressure gauge reads zero.
The Step-by-Step Drainage Process
Now that your compressor is off and depressurized, you’re ready for the main event: draining the tank. This process is straightforward, but attention to detail helps.
Locating and Opening Your Drain Valve
Every air compressor has a drain valve. It’s usually a small valve at the very bottom of the tank. Its location is strategic; it’s the lowest point to allow all the water to collect there.
Different Types of Drain Valves
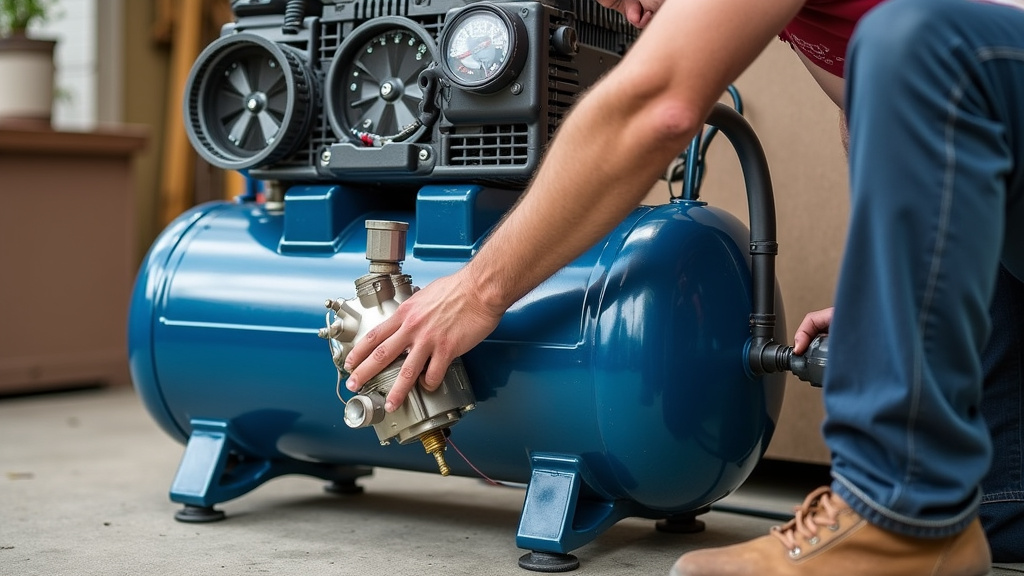
You might encounter a few types of drain valves. The most common is a petcock valve, which looks like a small spigot. Sometimes, you’ll find a standard ball valve. In some cases, people replace a standard valve with an automatic drain or a hose extension for easier access. Whichever type you have, the goal is the same: open it slowly.
Collecting the Condensate
Position your collection bucket directly under the drain valve. Slowly turn the valve counter-clockwise to open it. You’ll likely see a mix of water, possibly milky from oil, and maybe some rust. Let it drain completely. It might surprise you how much water accumulates, especially in humid environments. The water can tell you a story about your tank’s condition. Milky water often indicates oil contamination, while rust-colored water suggests internal corrosion.
Ensuring Complete Drainage
Just letting it drip until it stops isn’t always enough. You want to be sure you’ve emptied as much moisture as possible. A little tilt can make a big difference.
Tilting and Rocking the Compressor
For smaller, portable compressors, we found that gently tilting or rocking the unit can help dislodge any remaining water. Think of it like pouring out the last drops from a soda can. This ensures you get that last stubborn bit of moisture out of the tank, preventing it from sitting and festering. Be careful not to strain yourself or damage the compressor during this step.
Inspecting the Discharge
As the drainage slows, pay attention to what’s coming out. Is it clear water, or still sludgy? Continue draining until only air comes out, or the water runs clear. This careful observation is part of maintaining your compressor’s health.
Post-Drainage Steps and Maintenance
Once the tank is empty, your job isn’t quite finished. A few final steps ensure your compressor is ready for its next use and stays in good shape.
Closing the Valve and Restarting
After all the water is out, turn the drain valve clockwise to close it tightly. Replace any caps or plugs if your valve has them. Now you can plug your compressor back in and turn it on. Let it build pressure as usual. It’s normal for it to take a moment to reach full pressure again.
How Often Should You Drain Your Tank?
This is a common question, and the answer isn’t always one-size-fits-all. The frequency depends on several factors, including how often you use your compressor and the humidity in your environment.
Usage and Environmental Factors
If you use your compressor daily, you should drain it daily. Many experts suggest doing this at the end of each workday (Compressed Air Best Practices). For occasional users, weekly or bi-weekly might suffice. In very humid climates, water condensation happens faster, so more frequent draining is beneficial. Think of it like changing the oil in your car; regular maintenance prevents bigger issues later.
| Usage Frequency | Recommended Drainage | Why it’s important |
|---|---|---|
| Daily Use (e.g., workshops) | Daily (End of day) | Prevents rapid rust buildup; ensures peak efficiency. |
| Frequent Use (e.g., weekends) | Weekly | Manages condensation from regular use cycles. |
| Occasional Use (e.g., monthly) | Monthly or before/after use | Protects against long-term moisture accumulation. |
| High Humidity Environment | More frequently, perhaps daily | Humidity increases condensation rate significantly. |
Beyond Draining: Other Compressor Maintenance Tips
Draining the tank is just one part of keeping your compressor happy. We found other maintenance tasks are equally important for longevity and performance.
Air Filter Checks
Periodically inspect your air filter. A dirty filter makes your compressor work harder and can reduce its lifespan. Many manufacturers recommend cleaning or replacing the filter regularly, depending on your operating environment. Clean air intake means clean compressed air output.
Oil Level Monitoring (for oiled compressors)
If you have an oil-lubricated compressor, checking the oil level is crucial. Just like a car engine, running low on oil can cause significant damage. Refer to your compressor’s manual for recommended oil types and change schedules.
Checklist for Compressor Health
Here’s a quick checklist to help you remember the key steps for maintaining your air compressor and keeping it in top condition.
- Always wear safety glasses.
- Unplug the compressor before working on it.
- Depressurize the tank completely.
- Drain all condensate until clear or only air.
- Close the drain valve tightly.
- Check air filter and oil levels regularly.
Conclusion
You’ve seen how a few minutes of effort can save you from costly repairs and downtime. Draining your air compressor tank regularly is a simple yet vital habit. It prevents rust, maintains efficiency, and extends the life of your equipment. We’ve walked through the safety steps, the drainage process, and how often you should perform this task. By making this routine, you ensure your compressor is always ready for peak performance.
Take charge of your compressor’s health today. Implement these simple steps and enjoy reliable, long-lasting operation.
Frequently Asked Questions
What happens if I don’t drain my air compressor tank?
If you neglect to drain your tank, moisture will accumulate, leading to rust and corrosion inside. This can damage internal components, reduce the compressor’s efficiency, and potentially compromise the integrity of the tank over time. It shortens the lifespan of your equipment.
Can I drain my air compressor with air tools still attached?
It’s best practice to disconnect any air tools before draining your compressor. While not strictly dangerous for draining the tank itself, it ensures all pressure is focused solely on the tank’s release. This helps you confirm complete depressurization more easily and avoid accidental tool activation.
What should I do if my drain valve is stuck or rusty?
A stuck or rusty drain valve can be a problem. We found that a penetrating oil like WD-40 can sometimes help loosen it. Apply it, let it sit, then try turning gently with a wrench. If it’s severely corroded or won’t budge, it’s safer to have a professional replace the valve to avoid damaging the tank itself.
Is the water drained from my compressor hazardous?
The water drained from your compressor often contains oil, rust particles, and other contaminants. For environmental reasons, it shouldn’t be poured directly onto the ground or down a storm drain. We suggest collecting it in a bucket and disposing of it properly according to your local waste regulations.
How can I make draining my air compressor easier?
Many users install an automatic drain valve or extend the existing drain valve with a hose and ball valve. This allows for easier access and can even automate the draining process on a timer. These modifications can significantly simplify your maintenance routine.
