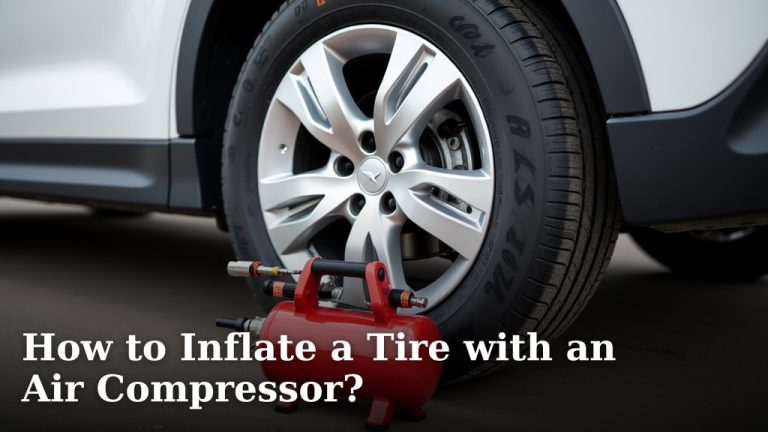
How To Use 150 PSI Air Compressor?
To use a 150 PSI air compressor, first ensure it is placed on a stable, level surface and connected to a grounded power outlet. Then, attach your air tool to the quick-connect fitting and adjust the pressure regulator to match your tool’s specific requirements.
Always wear appropriate personal protective equipment like safety glasses and hearing protection before starting your 150 PSI air compressor to prevent injuries. Regularly check hoses and connections for leaks.
Here’s a quick summary of what you need to know about your 150 PSI air compressor:
- Safety first: Always use proper gear and check connections.
- Setup is easy: Just plug it in and secure it.
- Connect your tools: Use the right fittings and hoses.
- Adjust the pressure: Match it to your task.
- Maintain it regularly: Drain moisture and check filters.
How To Use 150 PSI Air Compressor?
Using a 150 PSI air compressor involves straightforward steps, starting with safety and ending with proper storage. This guide will walk you through each part.
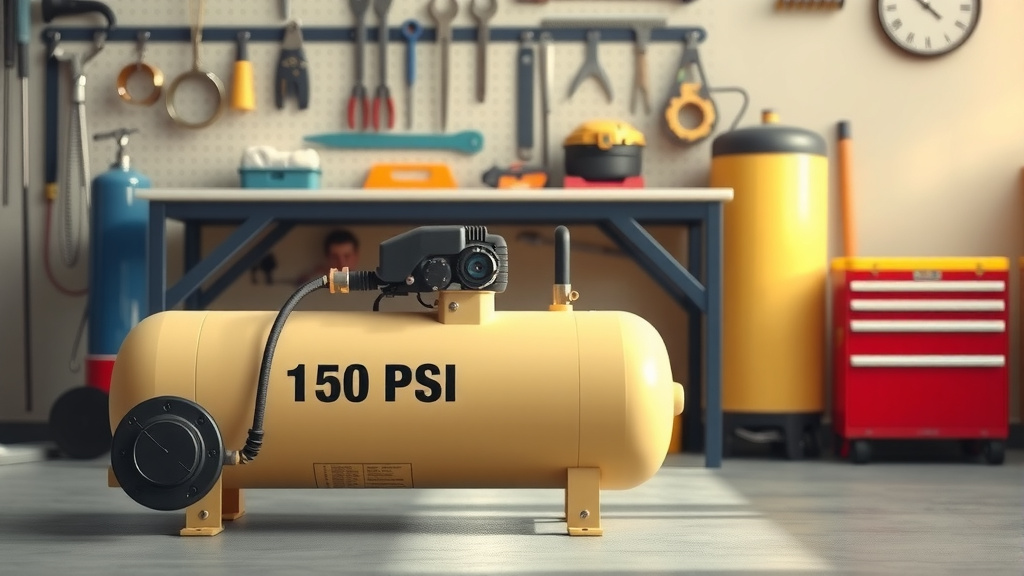
Understanding Your 150 PSI Compressor
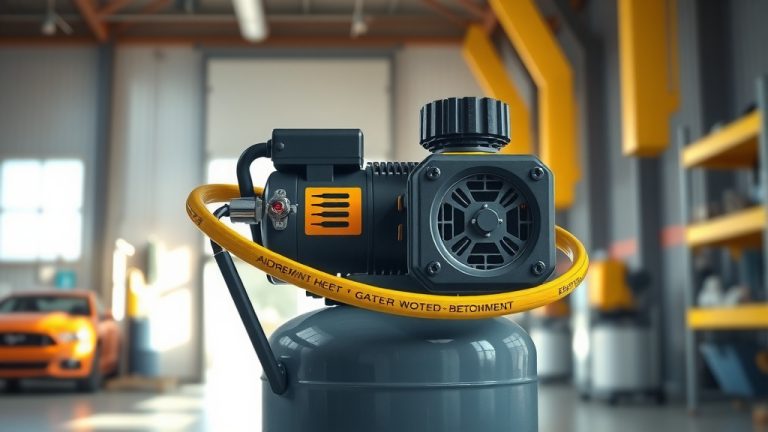
A 150 PSI air compressor is a versatile tool. It offers enough power for many common tasks. This includes inflating tires or powering various pneumatic tools. Knowing its capabilities helps you use it safely.
What Does 150 PSI Mean?
PSI stands for pounds per square inch. It measures the air pressure output. 150 PSI is a common and robust pressure. It suits many home and light workshop applications. It provides the necessary force for diverse jobs.
Safety First: Your Top Priority
Before you even plug in your compressor, think about safety. Air compressors are powerful machines. They require respect and careful handling. Many experts emphasize safety as the most important step.
Essential Safety Gear
You should always wear certain gear. We found that safety glasses protect your eyes from debris. Hearing protection, like earplugs or earmuffs, guards against noise. Gloves can offer better grip and hand protection.
Workspace Considerations
Always work in a well-ventilated area. Compressors can get hot during use. They also create exhaust. Ensure your work area is clean and clutter-free. This helps prevent trips and falls.
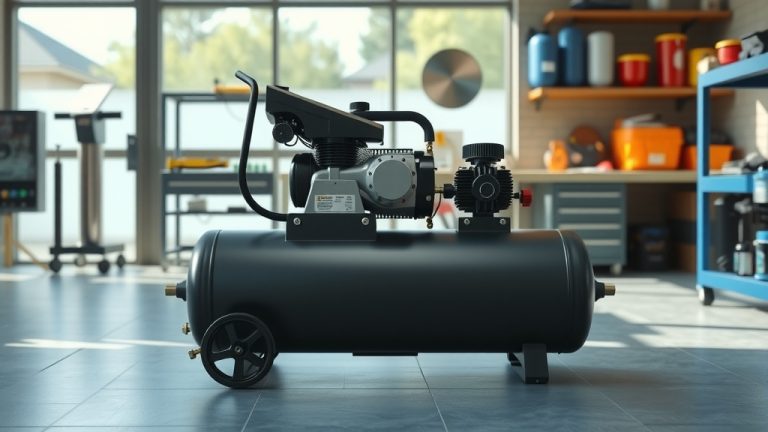
Setting Up Your Compressor
Setting up your 150 PSI compressor is quite simple. It usually takes just a few moments. Proper setup ensures efficient and safe operation.
Placement and Power Connection
Place your compressor on a firm, level surface. This prevents it from tipping over. Connect it to a grounded electrical outlet. Many manufacturers suggest avoiding extension cords if possible. If you must use one, ensure it’s heavy-duty and rated for the compressor’s amperage.
Inspecting Components
Before starting, quickly check the compressor. Are all hoses securely attached? Is the air filter clean? We found that a quick visual inspection can prevent problems later. Ensure there are no visible damages.
Connecting Air Tools
Once your compressor is ready, it’s time to connect your chosen air tool. This process is usually very straightforward.
Choosing the Right Hose and Fittings
Select an air hose appropriate for your tool and task. Shorter hoses often deliver better air flow. Ensure your quick-connect fittings are compatible. A good seal prevents air leaks and maintains pressure.
Attaching the Tool Securely
Most air tools use a quick-connect fitting. Simply pull back the collar on the fitting. Then insert the tool’s plug. Release the collar to secure it. Give it a gentle tug to confirm it’s locked. This prevents accidental disconnections.
Adjusting Air Pressure
This is a critical step for many tasks. Different tools and jobs require different PSI settings. Setting the correct pressure protects your tools and your work.
Using the Regulator Dial
Your compressor has a regulator dial. This lets you control the output pressure. Turn the dial clockwise to increase pressure. Turn it counter-clockwise to decrease it. Most tools list their required PSI on their body or in their manual.
Why Proper PSI Matters
Too much pressure can damage your tool or workpiece. Too little pressure means your tool won’t perform correctly. For example, spray painting needs specific, consistent pressure (Paint Info Guides). Tire inflation also requires exact PSI (NHTSA guidelines).
Common Uses for a 150 PSI Compressor
Your 150 PSI compressor can handle a wide array of tasks. It’s a versatile addition to any garage or workshop.
- Tire Inflation: From car tires to bike tires, 150 PSI is ample.
- Cleaning: Blow dust and debris from workspaces or equipment.
- Nailing and Stapling: Power framing nailers or finish nailers.
- Painting: Use with various spray guns for even coats.
- Impact Tools: Power impact wrenches for automotive work.
Maintenance for Longevity
Regular maintenance extends the life of your compressor. It also ensures it operates safely and efficiently. Skipping maintenance can lead to breakdowns.
Draining the Air Tank
Condensation builds up in the tank. You must drain it after each use. We found that draining prevents rust inside the tank. Rust can weaken the tank walls over time. Locate the drain valve at the bottom of the tank.
Checking Air Filters and Oil Levels
Inspect the air filter regularly. Clean or replace it when dirty. A clogged filter reduces efficiency. If your compressor uses oil, check the oil level before each use. Add oil as needed, following the manufacturer’s recommendations.
Here’s a quick maintenance checklist:
- Drain tank after every use.
- Check air filter monthly.
- Verify oil level before each operation (if applicable).
- Inspect hoses and fittings for wear.
- Clean exterior of compressor regularly.
Troubleshooting Common Issues
Even with good care, issues can sometimes arise. Knowing common problems can help you quickly resolve them. Don’t panic if something seems off.
| Problem | Possible Cause | Simple Solution |
|---|---|---|
| Compressor not starting | No power, tripped breaker | Check outlet, reset breaker |
| Air leaks | Loose fittings, damaged hose | Tighten connections, replace hose |
| Low pressure output | Clogged filter, regulator setting | Clean/replace filter, adjust regulator |
| Excessive noise | Loose components, worn pump | Check for loose parts, professional service |
When to Seek Expert Help
Sometimes, a problem is beyond simple DIY fixes. If you suspect a serious mechanical issue, it’s best to consult a professional. Never try to repair internal components unless you are qualified. Safety is always paramount.
Conclusion
Using a 150 PSI air compressor is straightforward once you understand the basics. Always prioritize safety, set up your unit correctly, and match the pressure to your tool’s needs. Regular maintenance ensures your compressor lasts for years. This versatile tool can truly simplify many projects around your home or workshop. You’ve got this!
Frequently Asked Questions
Can I use a 150 PSI air compressor for painting a car?
Yes, a 150 PSI air compressor can be suitable for car painting. However, the key is to regulate the pressure down to what your specific paint gun requires, often around 30-60 PSI. You will also need sufficient CFM (cubic feet per minute) for continuous spraying. We found that many professional painters use higher capacity compressors for sustained work.
What’s the difference between PSI and CFM in an air compressor?
PSI (pounds per square inch) measures the pressure of the air. CFM (cubic feet per minute) measures the volume of air an compressor can deliver. Think of PSI as how hard the air pushes, and CFM as how much air there is. Both are important for matching a compressor to your tools. A higher CFM usually means a tool can run longer without the compressor cycling constantly.
How often should I drain the tank on my 150 PSI compressor?
You should drain the air tank after every single use. Condensation collects inside the tank, especially in humid environments. Draining it prevents rust buildup, which can severely damage the tank over time and create unsafe operating conditions. It’s a quick and essential maintenance step.
Is a 150 PSI compressor good for woodworking projects?
Absolutely, a 150 PSI compressor is very useful for woodworking. It can power finish nailers, brad nailers, staplers, and blow guns for clearing sawdust. For sanding or larger tools, you might need to check the CFM requirements, but for most common woodworking tasks, it provides ample power.
Can I run multiple tools simultaneously with a 150 PSI compressor?
Running multiple tools depends more on the compressor’s CFM rating than its maximum PSI. While your compressor delivers 150 PSI, its ability to supply a continuous volume of air to multiple tools might be limited. We found that light-duty tasks, like inflating and blowing, can often run together, but two heavy-demand tools will usually overwhelm a single, smaller compressor.