
How to Replace an Air Compressor Pump?
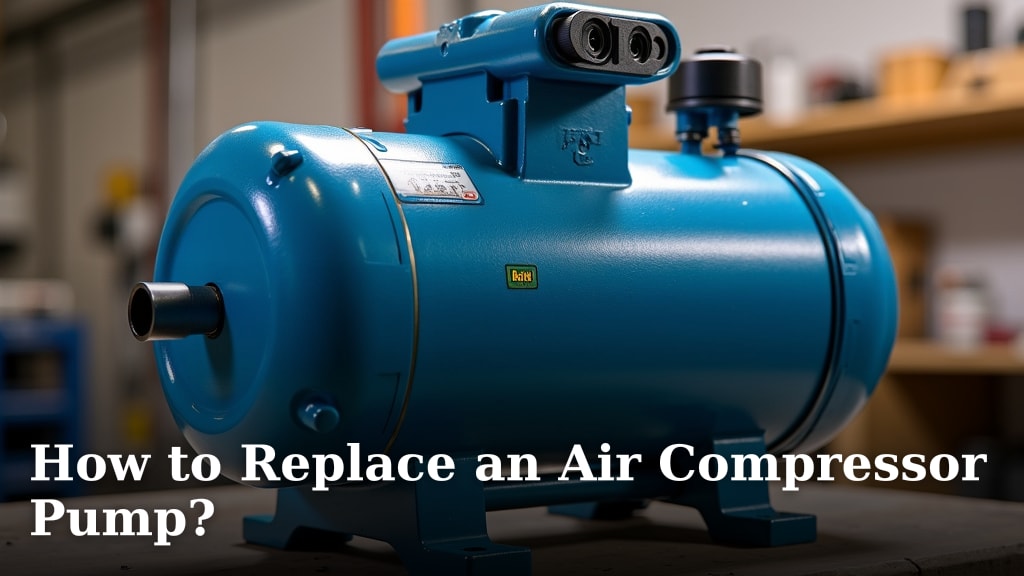
Yes, you can definitely replace your air compressor pump yourself! With the right tools and a little patience, you can get your air compressor working like new again. This repair can save you a lot of money compared to buying a whole new unit, making it a smart DIY project for many homeowners. We’ll guide you through the process, ensuring you have a reliable air source once more.
When your air compressor pump starts acting up, it’s usually a sign that it’s time for a change. Symptoms like reduced air pressure or unusual noises are common indicators. Understanding the basic components and how they work together is key to a successful replacement. This guide aims to demystify the process, helping you tackle this repair with confidence.
- Safety first: always disconnect power.
- Gather your tools and new pump.
- Remove the old pump carefully.
- Install the new pump securely.
- Reconnect everything and test.
Ready to get your compressor back in action? Let’s walk through exactly how to replace your air compressor pump step by step.
“`htmlGetting Your Air Compressor Pump Replaced at Home
Thinking about replacing your air compressor pump yourself? It’s a totally doable DIY project! You can save a good chunk of cash compared to buying a new machine. We’ll walk you through what you need to know to get your compressor running smoothly again.
Before You Start: Safety First!
Safety is your number one priority here. We’re dealing with electricity and potentially heavy parts. You don’t want any surprises. So, let’s make sure we cover the safety bases before we even touch a wrench.
Disconnecting Power is Non-Negotiable
This might sound obvious, but it’s the most important step. You must unplug your air compressor from the wall outlet. Even better, if your compressor has a power switch, flip that off too. Double-checking that no power is getting to the unit is key. We’ve heard stories of people getting a nasty shock because they skipped this step. Don’t let that be you!
Ventilating the Tank
Air compressors store pressurized air in a tank. Before you do any work, you need to release that pressure. Open the drain valve at the bottom of the tank. Let all the air out slowly. You’ll hear it hiss as it escapes. This makes the tank safe to work with and prevents any sudden bursts of air. Before starting any work, remember to release that pressure from the tank for safety.
Gathering Your Essential Tools and Parts
Having the right gear makes the job so much easier. Think of it like cooking; you need your ingredients and utensils ready. You don’t want to be halfway through and realize you’re missing a crucial tool.
What You’ll Need:
- Your new air compressor pump (make sure it’s the correct model for your unit!)
- A wrench set or socket set
- Pliers (needle-nose and standard)
- Screwdrivers (Phillips and flathead)
- A shop vacuum or rags for cleanup
- Thread sealant or Teflon tape
- A new air filter (often included with the pump, but check!)
- Safety glasses
- Work gloves
We found that having a magnetic parts tray can be a lifesaver. It keeps small bolts and screws from rolling away. Trust us, losing a tiny screw can stop your whole project in its tracks.
Removing the Old Air Compressor Pump
Now for the part where we carefully take out the old pump. This is where your patience pays off. We’ll be working with electrical connections and various hoses.
Documenting the Connections
Before you start disconnecting anything, take pictures! Seriously, snap a few photos of the wiring and any hoses connected to the pump. This is your visual cheat sheet for when you’re putting the new one on. You can also draw a quick diagram if that works better for you. It’s better to have too much information than not enough.
Disconnecting Electrical Wires
You’ll typically find wires connected to the motor or capacitor. Carefully disconnect these. They might be held on by small screws or wire nuts. Again, refer to your photos or diagram. Make sure these wires are out of the way so they don’t interfere with removing the pump.
Detaching Hoses and Fittings
There will likely be an intake hose (leading to the air filter) and an outlet hose (leading to the tank). You might also have a pressure switch or check valve connected. Use your wrenches and pliers to loosen these fittings. Be prepared for a little bit of residual air or oil, though it should be minimal if you’ve properly vented the tank.
Unbolting the Pump Assembly
The pump is usually bolted to the motor or directly to the compressor frame. Locate these bolts and use your wrench or socket set to remove them. Some pumps are quite heavy, so be ready to support their weight as you loosen the final bolts.
Lifting the Old Pump Away
Once all bolts, wires, and hoses are disconnected, you should be able to lift the old pump assembly off. If it feels stuck, double-check for any missed connections. It’s helpful to have someone assist you with lifting, especially if the pump is large.
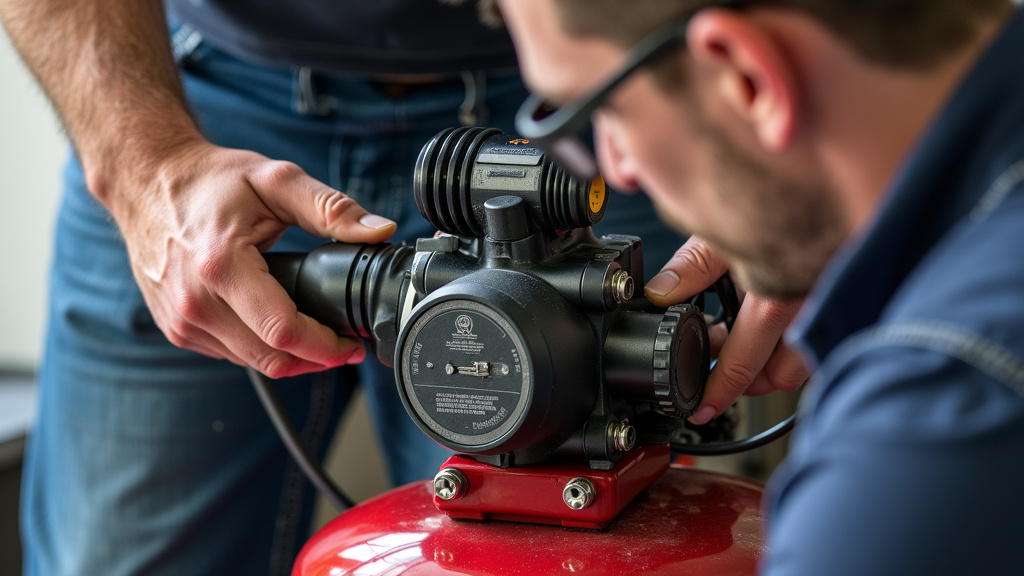
Installing Your New Air Compressor Pump
This is where you get to put the new shiny part in place! It’s essentially the reverse of removal, but with a few extra touches for a good seal.
Preparing the New Pump
Unpack your new pump and inspect it for any damage from shipping. Make sure it came with all the necessary hardware. If your new pump has a different intake or outlet configuration, you might need adapter fittings. Check your new pump’s manual for specific instructions.
Mounting the New Pump
Carefully place the new pump assembly onto the motor or frame. Align the bolt holes. Reinstall the bolts you removed earlier. Tighten them securely, but don’t overtighten, as you could strip the threads. Your compressor manual will often specify torque settings.
Connecting Hoses and Fittings
Now, reconnect the intake and outlet hoses. Use thread sealant or Teflon tape on the threads of any fittings before screwing them in. This helps ensure an airtight seal and prevents leaks. Leaks are the enemy of good air pressure!
Applying Thread Sealant
Many experts recommend applying a few layers of Teflon tape or a quality pipe thread sealant. This is especially true for connections that carry compressed air. You want these to be absolutely airtight. We found that wrapping the tape clockwise works best so it doesn’t unravel as you tighten the fitting.
Reconnecting Electrical Wires
Refer back to your photos or diagram. Connect the electrical wires to the new pump’s motor or capacitor. Ensure all connections are secure and insulated. If you’re unsure about any electrical connections, it’s best to consult a qualified electrician.
Final Checks and Testing
You’re almost there! A few final checks will give you peace of mind before you power it up.
Double-Checking All Connections
Go over every single bolt, wire, and hose. Are they all tight? Are they all in the right place? Did you forget any small parts? This final inspection can save you a lot of headaches down the line. Ensure no tools or rags are left near the moving parts.
Powering Up and Testing
Plug your air compressor back in and turn it on. Listen for any unusual noises. Watch and listen as the pump starts to build pressure. Check your pressure gauge to see if it’s climbing. Once it reaches its cut-off pressure, let it sit for a bit to see if it maintains pressure. If your newly installed pump struggles to build pressure, this guide offers troubleshooting steps.
Listening for Leaks
While the tank is filling, you can do a quick leak test. You can use a spray bottle with soapy water on the fittings. If you see bubbles forming, you have a leak. Turn off the compressor and tighten that fitting until the bubbles stop. A properly sealed system is essential for efficiency.
A Quick Checklist for Success
Here’s a final checklist to ensure you’ve covered all your bases:
- Safety First: Power is OFF and tank is vented.
- Tools Ready: All necessary tools and parts are at hand.
- Connections Documented: Photos or diagrams taken before disassembly.
- New Pump Secured: Bolted down and all fittings sealed.
- Electrical Reconnected: Wires properly attached.
- Leak Test Complete: No air escaping from fittings.
You did it! You’ve successfully replaced your air compressor pump. Enjoy the renewed power and efficiency of your machine!
“`Conclusion
You’ve successfully navigated the process of replacing your air compressor pump! By following these steps, you’ve not only saved money but also gained valuable experience. Remember to always prioritize safety, document your connections, and double-check every fitting and wire. Your air compressor should now be running efficiently, ready for your next project. The next step is to keep an eye on its performance and perform regular maintenance to extend its lifespan even further.
Frequently Asked Questions
How do I know if my air compressor pump needs replacing?
Common signs include a significant drop in air pressure, the pump running much longer than usual without reaching pressure, or unusual grinding or knocking noises. If your compressor struggles to start or makes alarming sounds, it’s likely time for a new pump.
What if the new pump doesn’t fit perfectly?
Ensure you purchased the correct replacement pump model for your specific air compressor. If slight differences exist, you might need adapter fittings or slight modifications. Always consult your compressor’s manual or the pump manufacturer’s guidelines for compatibility and installation specifics.
Can I use a universal pump replacement?
While universal pumps exist, it’s generally best to find a direct replacement designed for your air compressor model. Using a universal pump might require significant modifications to fit, potentially affecting performance and warranty. Always check compatibility carefully.
How important is using thread sealant or Teflon tape?
These are very important for ensuring an airtight seal on all threaded connections. Without proper sealing, you’ll experience air leaks, which will cause your compressor to work harder, run longer, and reduce overall efficiency and air pressure output.
What if I’m uncomfortable with the electrical connections?
If you feel uneasy about disconnecting or reconnecting electrical wires, it’s wise to seek professional help. A qualified electrician or a reputable appliance repair technician can safely handle the electrical aspects, ensuring your safety and proper function of the new pump.
