
How to Fix an Air Compressor That Won’t Build Pressure?
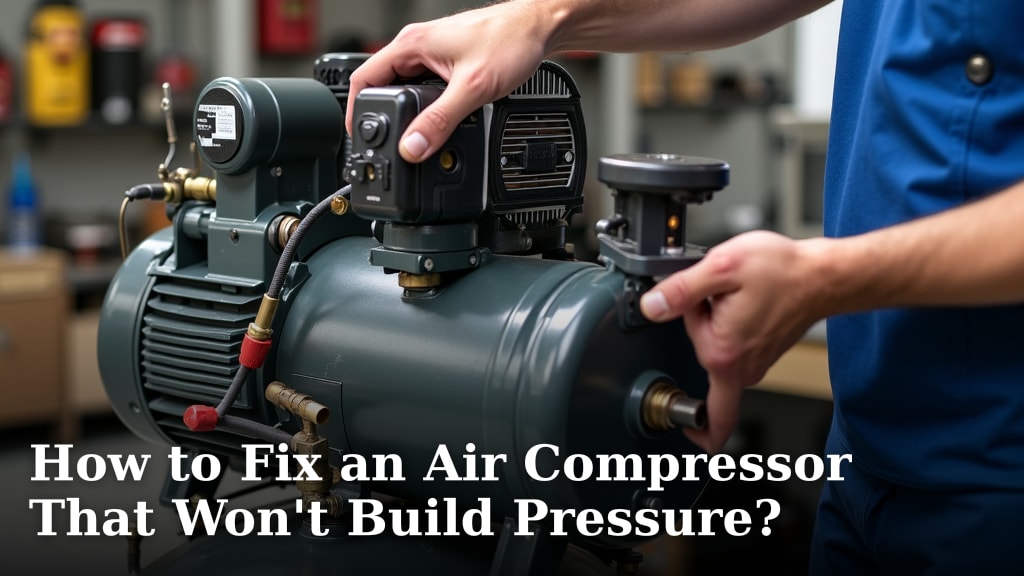
To fix an air compressor that won’t build pressure, you typically need to check for air leaks, inspect the pressure switch, or examine the pump components. It’s often a simple fix, so don’t fret just yet.
A compressor not building pressure causes real headaches for your projects. We found that the main culprits are often an unseated drain valve, a worn-out pressure relief valve, or issues with the check valve. You want that consistent air power, right?
- Check connections and hoses for air leaks.
- Inspect the pressure switch for proper function.
- Examine the check valve for blockages or wear.
- Ensure the drain valve is fully closed.
Let’s walk through common issues and exactly how to troubleshoot your air compressor step by step. We’ll get your compressor back to full power quickly.
Troubleshooting Your Air Compressor’s Pressure Problems
When your air compressor isn’t building pressure, it can halt your projects
cold. We found that most issues stem from a few common components. Getting it
back to normal means systematically checking these parts. You’ll restore your
compressor’s power with these straightforward steps.
Start with a Visual Inspection and Listen Closely
Before you grab any tools, take a moment to look and listen. Your eyes and
ears can often pinpoint the problem quickly. What do you see? What do you
hear?
Air Leaks: The Silent Power Drain
Air leaks are perhaps the most common reason for a lack of pressure. They rob
your system of the air it’s trying to compress. Even small leaks can prevent
your compressor from reaching its target PSI.
-
Listen for hissing sounds: A faint hiss can indicate a tiny
leak. It might be hard to hear over the compressor’s motor. -
Feel for escaping air: Run your hand along hose lines and
connections. Can you feel a puff of air? -
Use soapy water: Mix dish soap with water in a spray bottle.
Spray this mixture liberally on all connections, hoses, and fittings. Look
for bubbles forming. Bubbles show you exactly where the air is escaping. This
trick works wonders for finding hidden leaks (EPA recommends this method for
other pressurized systems, too).
Once you find a leak, tightening the connection might be enough. If not, you
might need to replace a hose or fitting. Don’t skip this step. It’s often the
easiest fix.
Check the Tank Drain Valve
Most air compressors have a drain valve at the bottom of the tank. This valve
releases condensation. If it’s even slightly open, your tank won’t pressurize
fully.
-
Locate the valve: It’s usually a small petcock or ball
valve. -
Ensure it’s fully closed: Turn it clockwise until it’s snug.
Don’t overtighten, or you could damage the valve. -
Inspect for damage: Is the valve visibly broken? Does it
look like it’s sealing improperly? A faulty valve needs replacement.
A partially open drain valve is a surprisingly frequent oversight. It’s an
easy check that can save you time.
Investigating the Pressure System Components
If a visual check and leak test don’t solve the problem, you’ll need to look
at the internal pressure mechanisms. These parts regulate how your compressor
builds and maintains pressure. Their failure means your compressor struggles.
The Pressure Switch: Your Compressor’s Brain
The pressure switch manages when the compressor starts and stops. It tells
the motor to kick on when pressure drops and to shut off when it reaches the
set limit. If this switch malfunctions, your compressor might not build any
pressure at all or won’t stop running.
Symptoms of a Faulty Pressure Switch
-
Compressor runs continuously: It never shuts off, but
never builds full pressure. -
Compressor doesn’t start: Or it starts but quickly stops
without building pressure. -
Hissing sound from the switch: This can indicate an internal
leak in the switch itself. -
No “cut-off” point: The tank pressure gauge creeps up slowly
but never hits the high limit.
Before replacing, check the wiring connections to the switch. Loose wires can
cause intermittent problems. If the switch appears to be faulty, replacing it
is usually a straightforward process. Always unplug the compressor before
working on electrical components (OSHA safety guidelines emphasize this).
Check Valve: The One-Way Gate
The check valve is a vital component located where the compressor pump meets
the air tank. Its job is to let air flow into the tank but prevent it from
flowing back into the pump when the motor stops. If the check valve fails,
air escapes from the tank back to the unpressurized pump.
How to Identify a Bad Check Valve
-
Air leaking from the unloader valve: When the compressor
shuts off, listen for a continuous hiss from the small tube near the
pressure switch. This small tube connects to the unloader valve. If this
hiss continues for more than a few seconds, the check valve is likely bad. -
Compressor cycles frequently: The compressor keeps kicking
on because air is leaking back out of the tank. -
Slow pressure build-up: Air continually leaks back through
the pump, making it hard to pressurize the tank.
A faulty check valve often needs replacement. You can typically unscrew it
and install a new one. This part is relatively inexpensive and easy to find.
Pressure Relief Valve: The Safety Device
The pressure relief valve (or safety valve) is a safety mechanism. It’s
designed to open and release air if the tank pressure gets too high. If this
valve is sticky, corroded, or damaged, it might leak air. This leak prevents
your compressor from building full pressure.
-
Listen for constant hissing: This hiss comes directly from
the relief valve itself. It shouldn’t be letting air out unless the pressure
is dangerously high. -
Try to “pop” it: Gently pull the ring on the relief valve
to release a quick burst of air. This can sometimes reseat it. If it still
leaks afterward, it’s faulty. -
Inspect for damage: Look for rust, corrosion, or bends in
the valve body.
A leaky pressure relief valve is a direct path for air to escape. Replace it
if it’s not sealing properly. Safety components like this are not worth
risking.
Examining the Pump Itself
If all external and valve checks yield no solutions, the issue might lie
within the pump. The pump is the heart of your compressor. It pulls in air
and compresses it. Wear and tear on internal pump components can severely
impact its ability to build pressure.
Worn Piston Rings or Cylinders
Just like an engine, an air compressor pump has pistons and cylinders. Piston
rings create a tight seal, allowing the piston to compress air effectively.
Over time, these rings wear down. This wear lets air escape past the piston.
The result? Reduced compression and slow or no pressure build-up.
-
Symptoms: The compressor runs, but pressure builds very
slowly or not at all. You might hear the pump working harder than usual. -
Diagnosis: This usually requires disassembling the pump. It’s
a more involved repair.
If you suspect worn rings or cylinders, you might notice a lack of power.
Sometimes, a full pump rebuild kit is available. Other times, a replacement
pump head might be more economical.
Damaged Intake Valve or Reed Valves
Your pump has intake and discharge valves. These valves control the flow of
air into and out of the compression chamber. Intake valves let air in.
Discharge valves push compressed air into the tank. If either of these valves
is stuck open, bent, or broken, the pump cannot create the necessary seal. It
cannot efficiently compress air.
-
Symptoms: Low or no pressure. The compressor might sound
“weak” or labored. -
Diagnosis: You’ll need to remove the pump head to inspect
these valves. They are usually thin metal reeds or discs.
Many experts say replacing these small valves can often bring an older pump
back to life. This fix can be very cost-effective (Purdue University Extension
materials on compressor maintenance mention this).
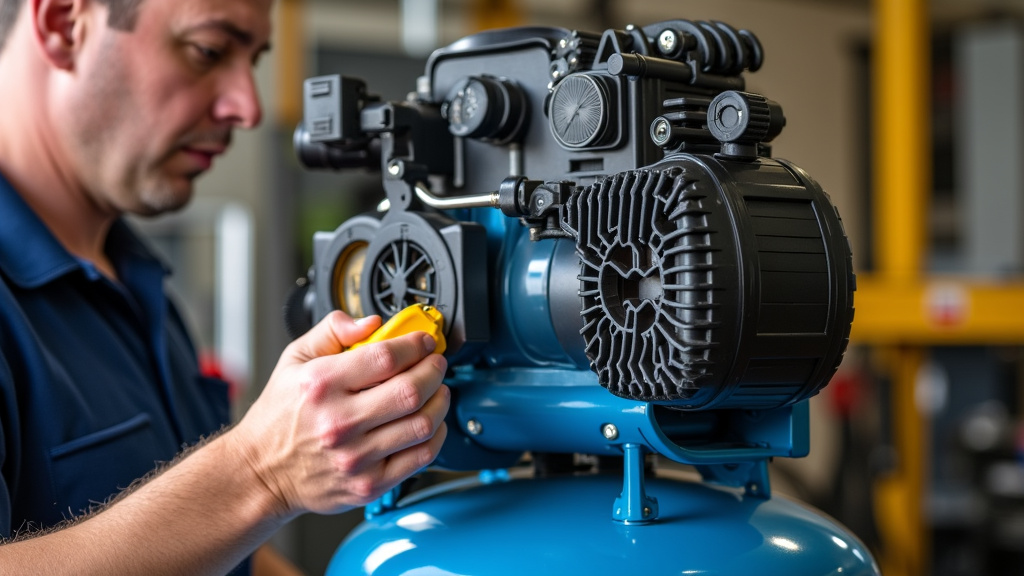
Quick Fix Checklist for No Pressure Issues
Here’s a quick summary of what to check first for issues with an air
compressor not building pressure:
- Confirm the tank drain valve is fully closed.
- Spray soapy water on all fittings and hoses to find leaks.
- Listen for continuous air escaping from the pressure relief valve.
- Check the unloader valve for a sustained hiss after motor stops.
- Inspect the pressure switch for damage or electrical issues.
- Verify the air filter isn’t completely clogged (a lesser common cause).
| Common Issue | Symptom | Typical Fix | Complexity |
|---|---|---|---|
| Air Leaks (hoses, fittings) | Hissing sound, slow pressure build | Tighten connections, replace hose/fitting | Easy |
| Open Drain Valve | No pressure build, constant air loss | Close valve fully | Very Easy |
| Bad Check Valve | Air leaks from unloader, frequent cycling | Replace check valve | Medium |
| Faulty Pressure Switch | Compressor runs continuously or not at all | Replace pressure switch | Medium |
| Leaky Relief Valve | Constant hiss from valve, no pressure | Replace relief valve | Easy |
| Worn Pump Components | Very slow pressure, weak pump sound | Rebuild or replace pump head | Hard |
You can tackle many of these problems yourself. Remember to always
disconnect power before servicing your compressor. Safety first, always! We
hope these steps help you get your air tools back to full power.
Conclusion
You now have a clear roadmap to diagnose and fix your air compressor’s pressure issues. We found that most problems really boil down to a handful of common culprits, like pesky leaks or a malfunctioning check valve. By systematically working through the checks we’ve outlined, you can often pinpoint the problem yourself. Don’t let a lack of pressure sideline your projects. With a little patience and these steps, you’ll have your compressor reliable and ready.
Get that air power back and keep your tools running smoothly. You can do it!
Frequently Asked Questions
Why would my air compressor run but not build pressure?
If your air compressor runs constantly but pressure doesn’t build, it often points to a significant air leak somewhere in the system. This could be from a loose hose, a faulty drain valve, or a stuck-open safety valve. The compressor keeps trying to fill, but the air escapes faster than it can build up.
Can a dirty air filter cause low pressure in an air compressor?
Yes, a severely clogged or dirty air filter can restrict the intake of air to the compressor pump. This ultimately means less air volume is available to be compressed, leading to slower pressure buildup or an inability to reach peak pressure. It’s an easy and often overlooked troubleshoot step.
How do I test an air compressor check valve?
To test the check valve, run your compressor until it shuts off. Listen for a continuous hiss of air coming from the unloader tube (a small copper or plastic tube near the pressure switch). If this hiss continues for more than a few seconds, the check valve is likely failing and allowing tank air back into the pump.
Is it worth repairing an old air compressor that won’t build pressure?
It often is, especially if the issue is a common and replaceable part like a pressure switch, check valve, or a simple air leak. Pump rebuilds for major internal wear are more involved. We found that parts are readily available and many repairs are quite affordable compared to buying a brand new unit.
What does it mean if my air compressor cycles on and off constantly?
Frequent cycling usually indicates that compressed air is leaking out of the tank faster than it should. This could be due to a bad check valve (allowing air back into the pump), a small but persistent leak in the tank or lines, or a pressure switch that is out of calibration and sensing pressure drops too quickly.
