
Why Does My Air Compressor Take So Long to Fill?
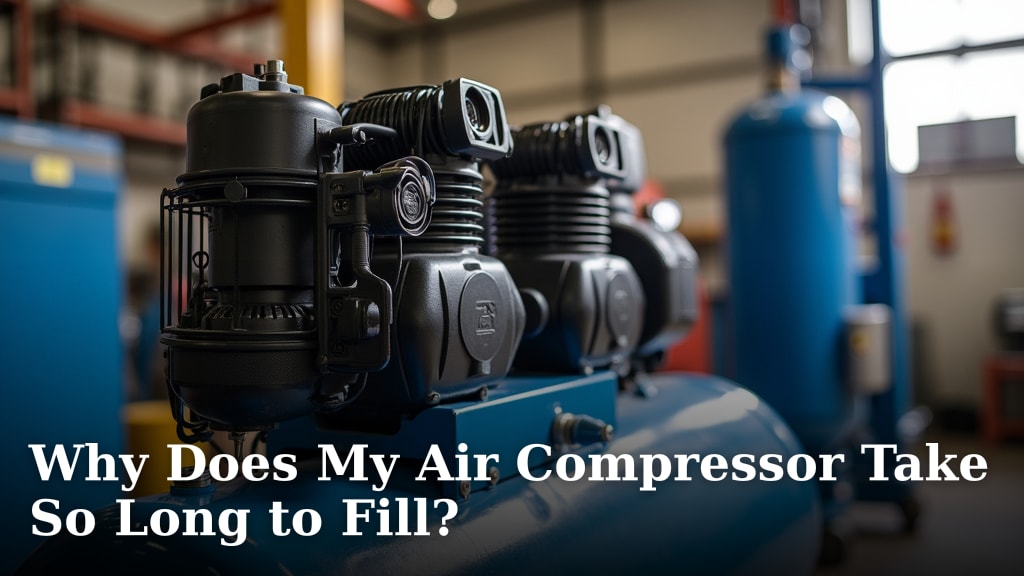
Your air compressor takes too long to fill because of several common issues. Often, it’s a simple problem with the air intake or a leak somewhere in the system. Sometimes, it’s just a matter of the compressor being undersized for the job you’re asking it to do. We’ve found these are the most frequent culprits when your tank won’t top off quickly.
Understanding why your air compressor feels sluggish is key to getting your tools working efficiently again. A slow fill time can be frustrating, especially when you’re on a deadline. We’ve researched this common frustration and found that a combination of component wear, air leaks, and even environmental factors can all contribute to longer fill times.
- Air leaks are a top reason. Air leaks are a top reason your compressor might be slow.
- Check your air filter.
- Is the compressor too small?
- Worn-out parts can slow things down.
Let’s break down the most common reasons your air compressor is taking so long to fill its tank. You’ll likely find the solution is more straightforward than you think.
Troubleshooting Your Air Compressor’s Slow Fill Time
When your air compressor is taking an eternity to fill up, it’s usually not a sign of a major breakdown. We’ve researched this common problem and found that many issues stem from simple things you can check yourself. Let’s figure out why your tank isn’t reaching full pressure as quickly as it used to.
Investigating Air Leaks: The Usual Suspect
Air leaks are the most common culprit when your air compressor struggles to fill. Imagine trying to fill a leaky balloon; it’s an uphill battle. Even a small leak can waste a lot of air and time. You’re essentially asking your compressor to do more work than necessary.
Where to Look for Leaks
You’ll want to systematically check all the connection points. This includes hoses, fittings, the drain valve, and even the tank itself. Sometimes, a quick visual inspection can reveal a loose fitting. But often, you’ll need to listen closely for that tell-tale hiss of escaping air. You’ll want to systematically check all the connection points for air leaks.
The Soap and Water Trick
A tried-and-true method for finding small leaks is the soap and water solution. Mix some dish soap with water in a spray bottle. Then, with the compressor turned on and pressurized, spray the soapy water over all the potential leak spots. Bubbles will form wherever air is escaping. This is a super effective way to pinpoint even tiny leaks.
Don’t Forget the Unloader Valve
The unloader valve is another frequent source of leaks. This valve releases pressure from the pump head when the motor shuts off. If it’s faulty or dirty, it might not be sealing properly. You might hear a constant, faint hiss from this area even when the compressor is off.
Impact of Leaks on Fill Time
A significant leak means your compressor has to work overtime. It’s constantly trying to replace the air that’s escaping. This drastically slows down the time it takes to reach the cut-off pressure. Addressing these leaks can often restore normal fill times.
The Role of the Air Filter
Your air compressor’s air filter is like its lungs. It keeps dust and debris out of the pump. If this filter gets clogged, it restricts airflow. Less air getting into the compressor means it will take longer to build pressure.
Checking and Cleaning Your Air Filter
Most air filters are easy to access. Consult your compressor’s manual if you’re unsure. You’ll usually find it under a cover near the pump. Once you locate it, remove the filter element. You can often clean reusable filters by tapping them gently to remove loose dirt. For paper filters, you might need to replace them entirely.
When to Replace the Filter
If the filter looks excessively dirty, torn, or damaged, it’s time for a new one. We found that many experts recommend checking your air filter regularly, especially if you use your compressor in dusty environments. A clean filter ensures optimal airflow to your pump.
Is Your Compressor the Right Size?
Sometimes, the problem isn’t with the compressor itself but with the demands you’re placing on it. If you’re using air-hungry tools, your compressor might simply be too small for the job. It’s like trying to fill a swimming pool with a garden hose.
Understanding CFM and Tank Size
Air compressors are rated by their tank size (gallons) and their Cubic Feet per Minute (CFM) output. CFM is a measure of how much air the compressor can deliver. Tools like impact wrenches, sanders, and spray guns use a lot of air.
If the CFM rating of your compressor is lower than the CFM requirement of your tool, it will struggle to keep up. The compressor will run continuously, trying to provide enough air, but it won’t be able to refill the tank quickly. Many tool manufacturers provide CFM requirements on their product labels.
Matching Tools to Your Compressor
It’s essential to match your air tools to your compressor’s capabilities. For occasional DIY use, a smaller compressor might suffice. However, for professional or frequent use with high-demand tools, you’ll likely need a larger, more powerful compressor. We found that using a compressor that’s too small can lead to premature wear on the unit.
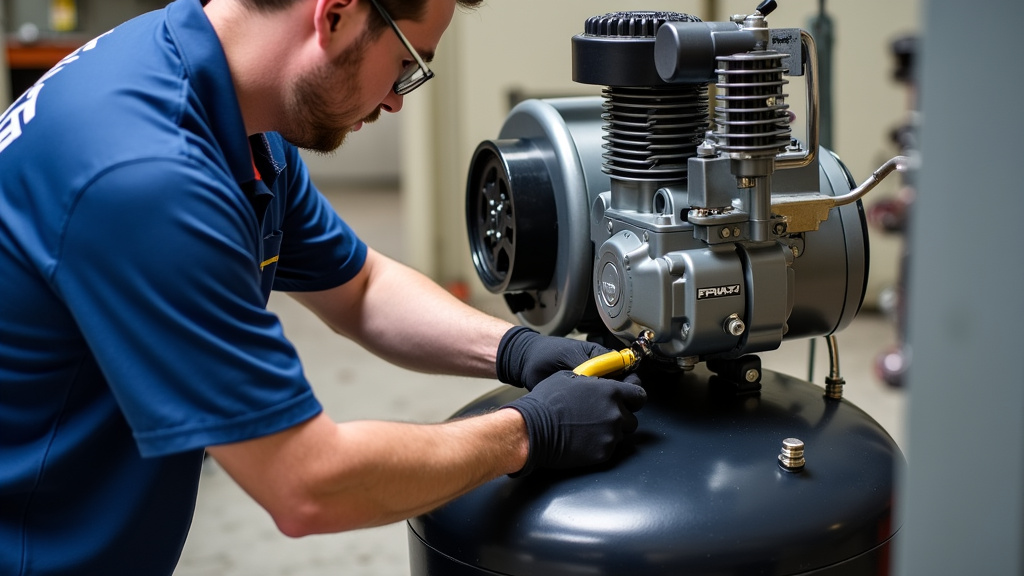
Wear and Tear on Compressor Components
Like any mechanical device, air compressors have parts that can wear out over time. This wear and tear can directly impact how efficiently the compressor fills its tank.
Worn Piston Rings and Valves
Inside the compressor pump, piston rings create a seal. As they wear down, air can leak past the piston, reducing the pump’s efficiency. Similarly, check valves that control airflow can become worn or dirty. This prevents them from sealing properly, allowing air to escape backwards. Many maintenance guides suggest checking these components during major servicing.
Motor Issues
The electric motor or gas engine driving the compressor can also experience issues. If the motor is struggling to reach its full power, it won’t be able to spin the pump fast enough. This could be due to worn bearings, electrical problems, or a fuel issue in gas engines.
Belt Tension (for Belt-Driven Compressors)
If your compressor is belt-driven, the drive belt needs to be properly tensioned. A loose belt can slip on the pulleys, meaning the motor isn’t transferring its full power to the pump. You might need to adjust the belt tension according to your compressor’s manual. A tight, but not overly tight, belt is ideal.
Environmental Factors Affecting Fill Time
Sometimes, the environment where you operate your air compressor can play a role. These external conditions can make the compressor work harder.
Ambient Temperature
Believe it or not, the temperature of the air around your compressor can matter. Warmer air is less dense than cooler air. This means the compressor has to take in more volume to achieve the same pressure. We found research suggesting that operating in extremely hot conditions can reduce efficiency. Conversely, very cold temperatures can affect lubrication.
Altitude
Higher altitudes mean lower air density. Just like with temperature, a compressor at a higher altitude has to work harder to compress the thinner air. This can lead to noticeably longer fill times. This is why aircraft engines are designed differently than car engines.
Quick Checklist for Faster Fill Times
Here’s a handy checklist to help you get your air compressor back to its speedy self:
- Inspect all hoses and fittings for obvious signs of damage or wear.
- Perform the soap and water test to find any hidden air leaks.
- Clean or replace your air intake filter if it looks dirty.
- Ensure your tool’s CFM requirements don’t exceed your compressor’s output.
- Check the belt tension on belt-driven models.
- Consider the ambient temperature and altitude where you operate your compressor.
Conclusion
Your air compressor’s slow fill time is usually a solvable puzzle. We’ve seen that air leaks, a clogged filter, or an undersized unit are often the main culprits. Sometimes, simple wear and tear on components or even environmental conditions can play a role. Don’t let a sluggish compressor slow you down! Your next step should be to systematically check for leaks using the soap and water method. Then, inspect your air filter. Addressing these common issues will likely get your compressor back to its efficient self in no time.
Frequently Asked Questions
How often should I check for air leaks?
It’s a good practice to check for air leaks at least every few months, or more often if you notice a significant drop in pressure or longer fill times. A quick soap and water test can save you a lot of frustration.
Can using the wrong air oil affect fill time?
Yes, using the wrong type or insufficient amount of lubricating oil can increase friction and wear within the pump. This can make the compressor work harder and take longer to fill.
What if my compressor is still slow after fixing leaks and cleaning the filter?
If you’ve addressed leaks and the air filter, the next step is to confirm your compressor’s CFM output matches your tools’ requirements. If it does, you might be dealing with internal component wear, which could require professional servicing.
Does running the compressor in a hot garage slow it down?
Yes, high ambient temperatures can reduce efficiency. Warmer air is less dense, meaning your compressor has to move more volume to reach the desired pressure. Operating in cooler conditions generally helps.
Is it worth repairing an old compressor that fills slowly?
It depends on the cost of repairs versus the cost of a new compressor. If the issue is minor, like a worn gasket or a faulty unloader valve, repair might be economical. For extensive internal wear, a replacement might be more cost-effective in the long run.
