
How to Fix a Stuck Air Compressor Drain Valve?
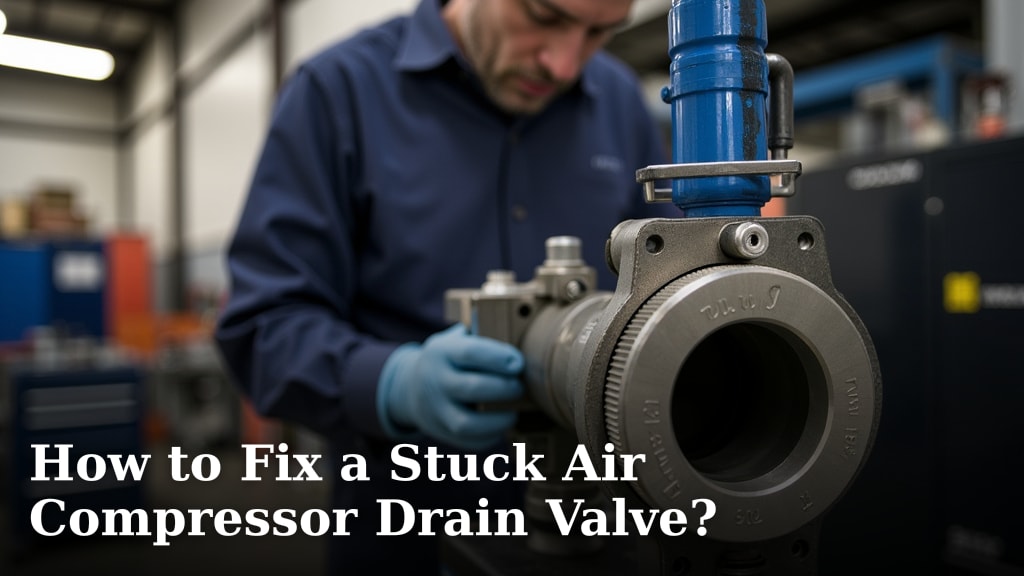
A stuck air compressor drain valve is a common problem, but you can usually fix it with a few simple steps. Often, tightening the valve slightly then loosening it is all it takes to free it up. If that doesn’t work, a bit of penetrating oil or gently tapping the valve can help loosen corrosion or debris causing the issue. Don’t force it too hard, as you don’t want to damage the valve or your compressor tank.
Keeping your air compressor in good working order means regularly draining moisture. This prevents rust and damage. A stuck drain valve stops this essential maintenance. We found that many common household tools can help you tackle this problem without needing a professional. Let’s get your compressor back to its best. Keeping your air compressor in good working order means regularly draining moisture, which you can learn how to do in this guide.
- Stuck drain valve? Try tightening then loosening it.
- Penetrating oil can help break free stubborn valves.
- Gentle tapping might dislodge rust or debris.
- Avoid excessive force to prevent damage.
Let’s walk through exactly how to get that stubborn drain valve working smoothly again, step by step.
Getting Your Air Compressor Drain Valve Moving Again
A stuck air compressor drain valve can be a real headache. It stops you from draining moisture, which is key to keeping your compressor healthy. But don’t worry, most of the time you can fix it yourself with a little patience and common sense. We’ve found that often, it’s just a bit of rust or gunk causing the problem.
First Steps: A Gentle Approach
Before you grab the biggest wrench you own, let’s try some gentler methods. Forcing a stuck valve can lead to bigger problems. You might crack the valve or even damage the tank itself. We want to avoid that at all costs.
Tighten, Then Loosen Technique
This is often the magic trick. It sounds counterintuitive, right? But sometimes, just tightening the valve a tiny bit can break the seal of rust or mineral deposits. Think of it like wiggling a stubborn jar lid. You twist it just a hair in the closing direction to loosen it up.
So, grab an adjustable wrench or pliers. Make sure they fit snugly on the valve. Gently try to turn the valve in the tightening direction. Don’t put a lot of force into it. You’re just looking for a small movement, maybe a quarter turn or less.
After that slight tightening, try to loosen it again, in the normal draining direction. You might feel a little give. If it moves, great! Keep working it back and forth slowly. If it still feels stuck, don’t push it.
A Little Tap Never Hurt Anyone (Usually)
If tightening and loosening didn’t do the trick, a gentle tap might be needed. This can help dislodge corrosion or dried-up gunk that’s holding the valve shut. It’s like tapping a stubborn nail to get it started.
Use the handle of your wrench or a small rubber mallet. Give the valve a few light taps. Focus the taps around the body of the valve, not just the handle. Be careful not to hit too hard. You don’t want to deform the valve or the tank.
After tapping, try the tighten-then-loosen method again. The vibration might have loosened things up enough. If it still resists, move on to the next step. We have more tricks up our sleeve.
Bringing Out the Big Guns: Penetrating Oil
When simple wiggling and tapping don’t work, it’s time for a bit of chemical help. Penetrating oil is designed to seep into tight spaces and break down rust and corrosion. It’s like WD-40 or PB Blaster.
Make sure your air compressor is turned off and unplugged. Safety first, always! You don’t want any unexpected power surges or air releases. Also, if there’s any pressure left in the tank, release it slowly before you start. This is important for your safety.
Applying the Penetrating Oil
Spray a good amount of penetrating oil directly onto the valve where the stem meets the valve body. Try to get it into any seams or gaps. If you can, tilt the compressor so the oil can seep in better. You might need to do this a few times.
Let the oil sit for a while. The longer you let it soak, the more effective it will be. We found that giving it at least 15-30 minutes is a good starting point. For really stubborn valves, you might need to let it soak for several hours or even overnight.
While the oil is soaking, you can try the tighten-then-loosen technique again periodically. Sometimes, working the valve slightly after the oil has had time to penetrate can help it break free.
Dealing with the Mess
Penetrating oil can be messy. Have some rags or paper towels handy to wipe up any drips. Make sure you don’t get oil on any electrical components of the compressor. Oil and electricity don’t mix well.
When you’re done, you’ll want to drain the oil and any loosened debris from the tank. You might need to cycle the valve a few times to flush out the residue. Make sure to wipe down the area around the valve afterward.
When the Valve is Really Stuck: More Forceful (But Careful) Methods
If the oil and gentle persuasion haven’t worked, you might need to apply a bit more force. But remember, the goal is to avoid damage. We’re still playing it smart here.
Using the Right Tools
A pipe wrench can sometimes provide a better grip than pliers. However, pipe wrenches can also chew up and damage the valve if you’re not careful. Use one with adjustable jaws for a good fit.
If your valve has a square or hex head, a socket wrench or a well-fitting open-end wrench is your best bet. Ensure the wrench fits snugly. A loose fit will just round off the edges of the valve stem.
Apply steady, increasing pressure. Don’t jerk the wrench. Think of it as a constant, firm pull rather than a sudden yank. If you feel the valve starting to deform or strip, stop immediately. You’ve reached your limit for this method.
Heat Application (Use with Extreme Caution)
In some situations, applying a little heat can help expand the metal and break the rust bond. This is a more advanced technique and should be used with extreme caution. Metal expands when heated, and then contracts when cooled. This expansion and contraction can break free stubborn corrosion.
You can use a hairdryer on its highest setting or a heat gun. Direct the heat onto the valve body surrounding the stem. Avoid heating any rubber seals or plastic parts. Don’t overheat the metal to the point where it glows red – that’s too much and can weaken the metal.
After heating for a few minutes, try to loosen the valve again while it’s still warm. Have your penetrating oil and rags ready, as it might start to loosen up. Remember to let the metal cool down completely before touching it.
Important Safety Note: Never use an open flame like a torch near an air compressor tank. There could be residual flammable materials or vapors inside. This could cause a fire or explosion. Stick to safer heat sources like a hairdryer or heat gun. Many safety guidelines strongly advise against using open flames on pressurized vessels (Occupational Safety and Health Administration).
What If It Still Won’t Budge? Replacement Time
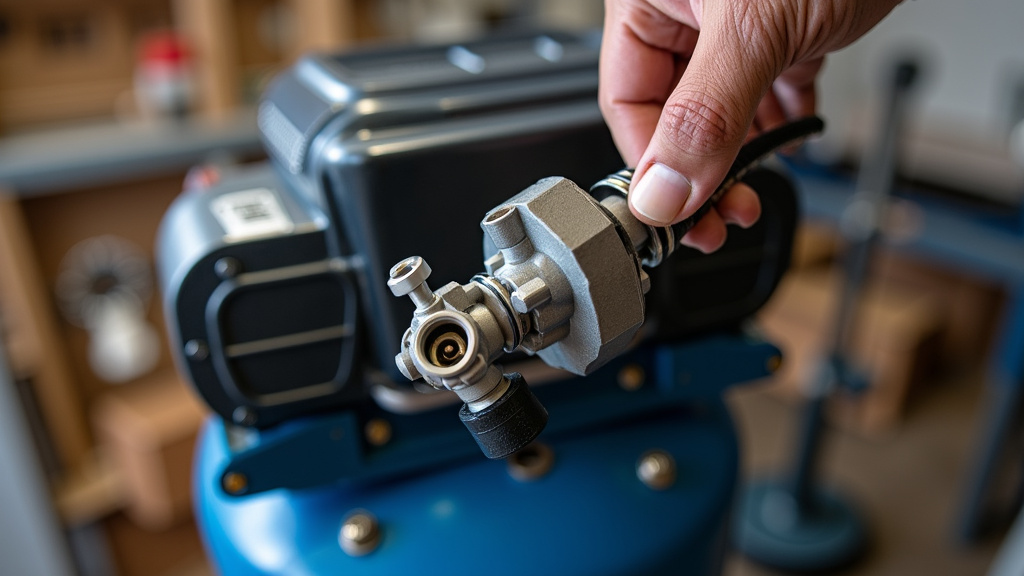
Sometimes, a valve is just too far gone. If you’ve tried all the above steps and the valve still won’t turn, it’s probably time to consider replacing it. This is a bit more involved, but it’s often the best solution.
You’ll need to drain the tank completely. Then, you’ll use a pipe wrench to remove the old valve. Make sure you have the correct replacement valve before you start. You can usually find them at hardware stores or online.
Clean the threads on the tank opening before installing the new valve. Use pipe thread sealant on the threads of the new valve. Then, screw it in by hand until snug, and use a wrench to tighten it another one or two turns. Don’t overtighten!
Preventing Future Valve Issues: Your Maintenance Checklist
The best way to deal with a stuck valve is to prevent it from happening in the first place. Regular maintenance makes a huge difference. Think of it like brushing your teeth – a little effort daily prevents big problems later.
- Drain Regularly: Always drain the moisture from your tank after each use, or at least once a day.
- Open Valve Slowly: Don’t just yank the valve open. Open it slowly and deliberately.
- Clean Around the Valve: Keep the area around the drain valve clean. Dust and debris can get into the valve.
- Lubricate (If Applicable): Some valves benefit from a light lubrication. Check your compressor’s manual.
- Check for Leaks: Listen for any hissing sounds that might indicate a valve not sealing properly.
The Importance of Draining Moisture
Why is draining so important? Air compressors cool down during operation, causing moisture in the air to condense. This water sits at the bottom of your tank. If left there, it can cause rust and corrosion from the inside out. This weakens the tank and can lead to costly repairs or even tank failure.
A working drain valve is your first line of defense against internal tank damage. Many experts agree that regular draining is the single most important maintenance task for air compressor longevity (National Association of Air Filtration).
Choosing the Right Tools for the Job
Having the right tools can save you a lot of frustration. For basic maintenance, you’ll likely need:
| Tool | Purpose |
|---|---|
| Adjustable Wrench / Pliers | For initial attempts and gentle turning. |
| Socket Wrench / Open-End Wrench | For valves with defined heads. |
| Pipe Wrench | For more grip, use with caution. |
| Penetrating Oil | To break down rust and corrosion. |
| Rags / Paper Towels | For cleanup. |
| Rubber Mallet / Wrench Handle | For gentle tapping. |
Having these on hand means you’re ready for most minor issues. It means you can tackle problems before they become major headaches.
Conclusion
You’ve learned that a stuck air compressor drain valve doesn’t have to mean expensive repairs. We’ve seen that gentle methods like tightening then loosening, or a light tap, can often do the trick. When those fail, penetrating oil and careful use of tools can break free even stubborn valves. Remember, patience and the right approach are key to avoiding damage. Your next step is to apply these techniques to your compressor. Get that valve working smoothly so you can keep your equipment in top shape.
Frequently Asked Questions
How often should I drain my air compressor tank?
You should aim to drain the moisture from your air compressor tank after each use, or at least once a day. This prevents rust and corrosion from building up inside the tank, which is vital for its longevity.
Can I use regular oil instead of penetrating oil?
It’s best to stick with penetrating oil specifically designed for loosening rusted parts. Regular motor oil won’t be as effective at seeping into tight spaces and breaking down rust or corrosion. Penetrating oil is formulated for this task.
What happens if I force the valve open and break it?
Forcing a stuck valve can cause it to crack or break off completely. This often leads to needing a full tank replacement, which is a much more costly repair than fixing a stuck valve. It’s always better to use careful, step-by-step methods.
Is it safe to use heat on the drain valve?
Using gentle heat, like from a hairdryer or heat gun, can sometimes help. You must be extremely cautious and never use an open flame near an air compressor tank due to explosion risks. Always heat the valve body, not rubber or plastic parts, and let it cool before touching.
When should I consider replacing the drain valve instead of trying to fix it?
If you’ve tried all the recommended methods, including penetrating oil and careful force, and the valve still won’t budge or shows signs of damage, it’s time for replacement. A valve that’s too far gone needs to be swapped out for a new one.
