
How to Winterize a Pool with an Air Compressor?
Yes, you can absolutely use an air compressor to winterize your pool! It’s a smart and effective method for blowing out your pool lines. Using an air compressor helps prevent costly freeze damage by ensuring all water is removed from your plumbing before winter sets in. This process is key to a successful pool closing.
This DIY approach can save you money compared to hiring a professional. When done correctly, it ensures your pool equipment is properly protected throughout the cold months. Many pool owners find this method less intimidating than other winterizing techniques. It’s a practical way to maintain your pool.
- Use an air compressor to blow water out of pool lines. Use an air compressor to blow water out of pool lines, similar to how you would for sprinkler systems.
- This prevents freezing and damage to your equipment.
- It’s a cost-effective DIY pool winterizing method.
- Ensure all lines are clear for complete protection.
Ready to get your pool ready for winter? Let’s walk through exactly how to use an air compressor for a successful pool winterization, step by step.
Preparing Your Pool for Winter with an Air Compressor
Using an air compressor to winterize your pool is a fantastic way to protect your investment. It’s all about getting the water out of your pipes. This stops ice from forming and cracking them. We found that this method is quite effective when done right. Many pool owners choose this route for its DIY friendliness and cost savings.
This guide will walk you through the process. You’ll learn what you need and how to use your air compressor safely. We’ll cover everything from shutting off equipment to blowing out lines. Let’s get your pool ready for the cold!
Gathering Your Winterizing Supplies
Before you start, make sure you have everything you need. Having all your tools ready makes the job go much smoother. Think of it like preparing ingredients before you cook; it prevents interruptions.
Essential Tools and Equipment
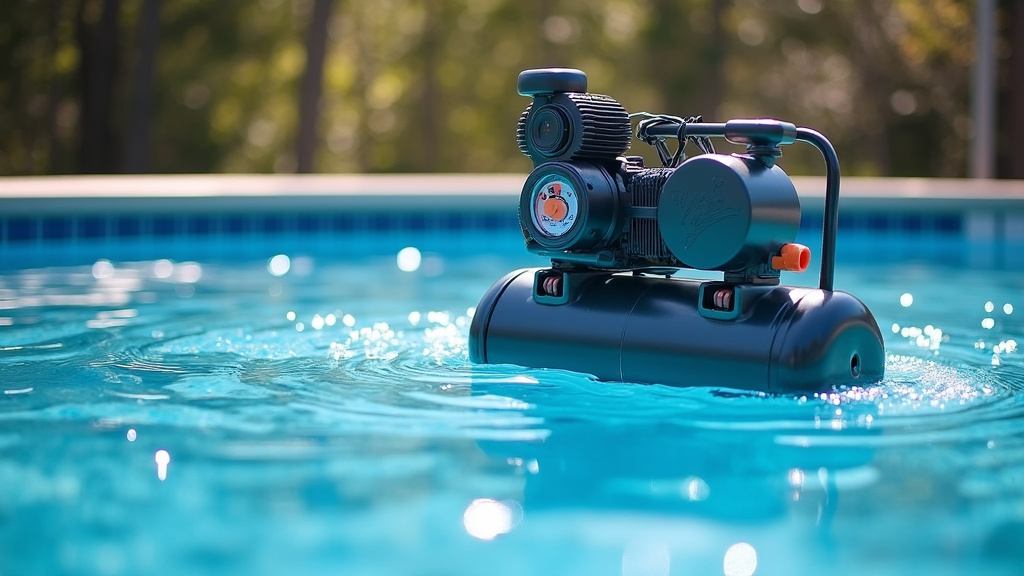
- An air compressor: Size matters here. A portable compressor with at least a 2.5 CFM (Cubic Feet per Minute) rating is usually sufficient. Bigger is often better for faster blowing.
- A heavy-duty air hose: You’ll need one long enough to reach all your equipment and skimmer. Look for a hose rated for high pressure.
- Plugs for your return lines and skimmer: These are often called “winter plugs” or “expansion plugs.” They seal the lines after blowing.
- A shop vac (optional but helpful): This can be used to suck out water from the skimmer basket and return lines before blowing.
- Pool antifreeze: This is specifically for pools and helps prevent residual water from freezing.
- Tools to remove equipment parts: You might need screwdrivers or wrenches to disconnect some parts.
- Safety glasses: Protect your eyes from any debris or water spray.
- Work gloves: Keep your hands protected.
Understanding Your Air Compressor’s Role
Your air compressor works by pushing air at a certain pressure. For pool lines, you don’t need super high pressure. We found that around 20-30 PSI is generally recommended. Too much pressure can damage your pipes or equipment. Too little won’t get all the water out. It’s a balance.
Think of it like inflating a balloon. You can’t just blast air into it. You need controlled pressure. The goal is to gently but firmly push the water out of every pipe section.
Step-by-Step Pool Winterization with an Air Compressor
Now, let’s get down to business. This is where you’ll actively use your air compressor. We’ll break it down into manageable steps so you don’t miss anything important.
Step 1: Preparing Your Pool and Equipment
First, you need to get your pool ready for the process. This involves lowering the water level and shutting off your equipment.
Lowering the Water Level
Many experts recommend lowering your pool water level by about 4 to 6 inches below the skimmer opening. You can do this using your pool pump on a waste setting or a submersible pump. Why? This ensures that when you blow out the skimmer line, any remaining water can drain out easily without going back into the pool.
Shutting Down Pool Equipment
Turn off your pool pump, heater, and any other electrical equipment. It’s vital to disconnect the power at the breaker box. Never work on electrical equipment while it’s powered on. This is a critical safety step that many sources, including those on electrical safety, highlight.
Draining Filters and Pumps
Drain all the water from your filter tank and pump housing. Most filters have a drain plug at the bottom. Your pump will likely have a drain plug as well. Remove these and let the water flow out. You might even want to remove the drain plugs completely and store them somewhere safe for the spring. Learn why you should drain all the water from your compressor after use to prevent issues.
Step 2: Blowing Out the Skimmer and Return Lines
This is the core of using your air compressor. You’ll systematically remove water from all the plumbing.
Starting with the Skimmer Line
Place the end of your air hose into the skimmer opening. If you have a leaf trap or basket, remove it first. Seal the air hose opening as best you can. You can use a towel or a specialized adapter. Start your air compressor at a low pressure, around 20 PSI. Let it run until you see air bubbling out of the return line openings in your pool. Once water stops coming out of the return lines, your skimmer line is clear. Plug the skimmer line opening with a winter plug.
Blowing Out Return Lines
Now, focus on the return lines. You’ll typically have one or more return jets in your pool walls. Remove the eyeball fittings from these jets. Insert your air hose into one opening at a time. Again, seal the opening around the hose. Bring your air compressor pressure up slightly, maybe to 25-30 PSI. You should see air blowing out of the other return lines and the skimmer opening. Continue until no more water comes out. Once clear, insert a winter plug into each return jet opening.
Don’t Forget Other Lines
If you have any other lines, like for a cleaner or a spa, you need to blow those out too. Use the same process. Work your way through each line, ensuring it’s completely dry. We found that checking each line individually is key to preventing hidden water.
Step 3: Adding Pool Antifreeze
Even after blowing out the lines, a little water might remain. Antifreeze helps prevent this small amount from freezing and damaging your pipes.
Why Use Antifreeze?
Pool antifreeze is non-toxic and designed to lower the freezing point of water. It acts as a backup defense for your plumbing. It’s especially important for lines that might be difficult to get completely dry. Many pool maintenance guides, like those from pool industry associations, recommend it.
How to Add It
Pour the recommended amount of pool antifreeze directly into the lines. You can do this through the skimmer opening after blowing it out, or directly into the open return lines before plugging them. Follow the product’s instructions for the correct dosage. It’s generally a good idea to add enough so it flows through the entire line.
Step 4: Preparing for Spring Opening
While not part of winterizing, thinking ahead is smart.
Storing Equipment
Make sure all removed drain plugs are stored safely. Consider removing your pump drain plug and filter drain plug and storing them in the pump basket. This way, you won’t lose them. Clean and store any accessories that came off the pool.
Winter Cover Installation
Once all the lines are blown out, plugged, and antifreeze is added, you’re ready for your winter cover. A good cover is your last line of defense against debris and harsh winter weather. Make sure it fits snugly.
Important Safety Considerations
Working with air compressors and pool equipment requires attention to safety. It’s always better to be too careful than not careful enough.
Pressure Management is Key
As mentioned, too much pressure can cause serious damage. Always start with lower PSI settings. Gradually increase if needed, but never exceed 30-40 PSI for pool lines unless specifically instructed by a manufacturer for a particular piece of equipment. Consult your pool equipment manuals for recommended pressure limits.
Electrical Safety First
Always ensure all power to pool equipment is shut off at the breaker before starting any work. Double-check that the power is off. If you’re unsure, it’s always best to consult a qualified electrician.
Personal Protective Gear
Wear safety glasses to protect your eyes. Work gloves can prevent cuts and scrapes. If you’re working in a cold environment, dress warmly but ensure your clothing doesn’t get caught in any moving parts (though everything should be off at this stage).
Checklist for a Successful Winterization
Here’s a quick checklist to make sure you’ve covered all your bases:
- Pool water level lowered below skimmer.
- All pool equipment power shut off and breaker confirmed off.
- Pump and filter drained of water.
- Skimmer line blown out and plugged.
- All return lines blown out and plugged.
- Any additional lines (cleaner, spa) blown out and plugged.
- Pool antifreeze added to lines.
Conclusion
You’ve learned how to effectively use an air compressor to winterize your pool. This DIY method is a fantastic way to protect your investment from freeze damage. By carefully blowing out your skimmer, return, and any other lines, you’re ensuring no water is left to cause problems. Remember to always prioritize safety, especially with pressure and electrical components. With these steps, your pool plumbing will be ready to face the cold months, saving you from potentially expensive repairs come spring. Your next step is to gather your supplies and schedule a day to complete this important pool closing task.
Frequently Asked Questions
Can I use a regular shop air compressor?
Yes, a portable shop air compressor is usually suitable. Look for one with at least 2.5 CFM. You’ll need to regulate the pressure to around 20-30 PSI to avoid damaging your pool lines.
How long does it take to winterize a pool with an air compressor?
The time can vary based on your pool’s complexity and your compressor’s power. Typically, it takes about 2 to 4 hours for most standard pools. Having all your supplies ready beforehand speeds up the process significantly.
What if I can’t get all the water out of a line?
This is where pool antifreeze is essential. Pour the recommended amount into the line after blowing. It’s designed to lower the freezing point of any residual water, preventing expansion and damage.
Do I need to remove my pool pump to winterize it?
Generally, you don’t need to remove the pump. You will need to drain all the water from the pump housing and filter tank. Ensure power is off and then remove the drain plugs.
Is using an air compressor safe for my pool equipment?
Yes, when done correctly, it’s safe. The key is to manage the air pressure carefully, keeping it between 20-30 PSI. Too much pressure is the main risk to your equipment.
