How To Use Hyper Tough 3 Gallon Air Compressor?
Using your Hyper Tough 3 Gallon Air Compressor involves connecting an air tool, plugging it in, and adjusting the pressure regulator to your desired PSI for the task.
First, always ensure proper safety gear is worn, then check the oil (if applicable), attach the hose, power it on, and let the tank fill with air for optimal performance.
- Always prioritize safety with proper gear before starting any task.
- Setting up your compressor is easy: connect hoses and your chosen air tool.
- Power it on, let the tank build sufficient pressure, then adjust the regulator carefully.
- This versatile compressor is perfect for tasks like tire inflation, nailing, and light airbrushing.
- Regular maintenance, especially draining the tank after each use, ensures your compressor lasts for years.
How To Use Hyper Tough 3 Gallon Air Compressor?
To use your Hyper Tough 3 Gallon Air Compressor, simply attach your air tool, plug the unit into an outlet, and turn it on. You will then adjust the air pressure regulator to the PSI needed for your project.
Why Choose a 3 Gallon Air Compressor?
A 3-gallon air compressor offers an excellent balance of power and portability. It is ideal for many household and light-duty workshop tasks. Think of it as your handy helper for projects big and small.
We found that smaller compressors are great for quick jobs without needing a large, bulky machine. They are easy to move around and store when you are finished.
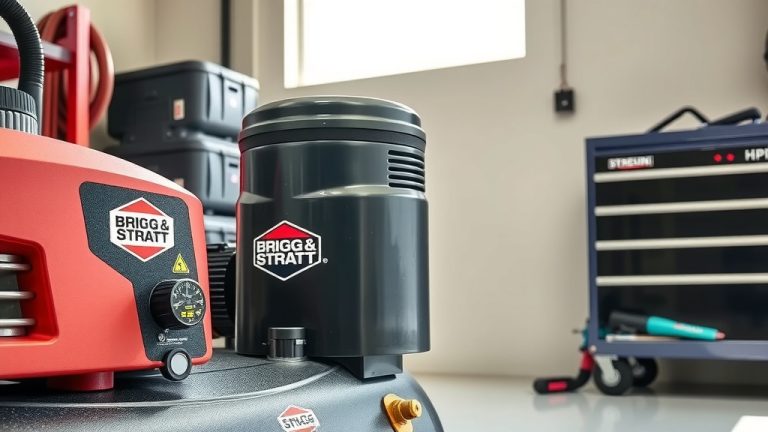
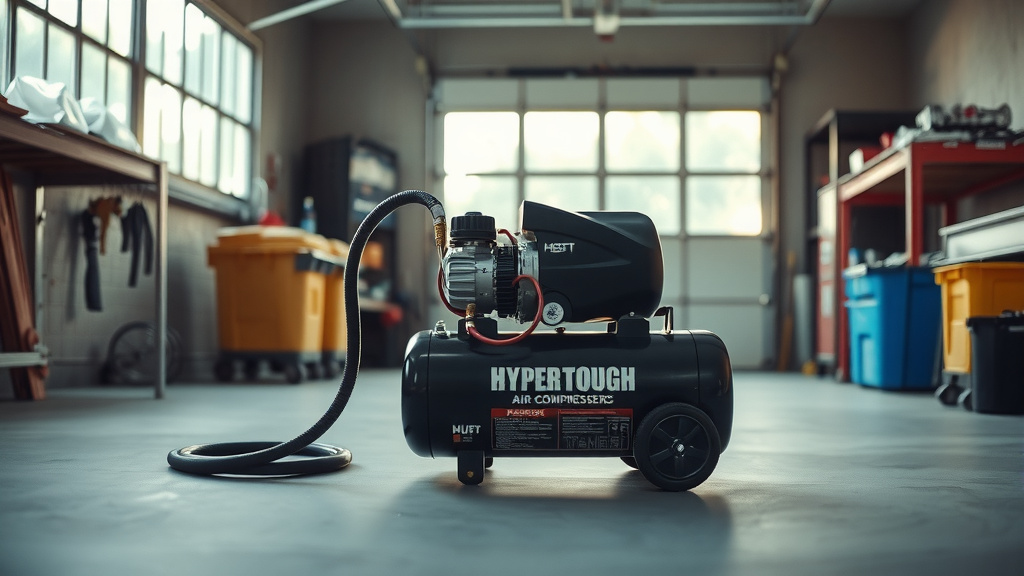
Understanding Your Hyper Tough Compressor
Before you begin, take a moment to look at your compressor. You will see the tank, motor, pressure gauges, and the crucial pressure regulator. Knowing these parts helps you use it correctly and safely.
Many experts say familiarity with your equipment prevents accidents. It also helps you get the most out of your tools.
Safety First: Before You Start
Your safety is paramount whenever you use power tools. Air compressors, while helpful, operate under high pressure. Always take a few moments to prepare safely.
Research consistently shows that most workshop injuries are preventable with proper precautions (Occupational Safety and Health Administration).
Essential Safety Gear
Before you even plug in your compressor, gather these items. They will protect you from potential hazards.
- Safety glasses or goggles
- Hearing protection (earplugs or earmuffs)
- Gloves for handling tools
- Closed-toe shoes
- A clean, clear workspace
Setting Up Your New Compressor
Getting your Hyper Tough compressor ready for its first task is straightforward. You will want to place it on a stable, level surface. This prevents it from tipping over during operation.
Ensure the compressor is near a power outlet but not so close that it feels cramped. Give it room to breathe.
Connecting Hoses and Tools
Connecting your air hose is a snap, literally! Most compressors use a quick-connect fitting. Push the collar back on the coupler, insert the plug on your hose, then release the collar.
Similarly, attach your air tool to the other end of the hose. Make sure all connections are secure and leak-free. A loose connection wastes air.
Powering On and Building Pressure
Once everything is connected, plug your compressor into a grounded electrical outlet. Flip the power switch to the “on” position. You will hear the motor start, and the tank will begin to fill.
The tank pressure gauge will show the air building up. The compressor will automatically shut off when it reaches its maximum pressure. This is normal, and it will cycle on again as you use air.
Adjusting Air Pressure for Tasks
This is where the pressure regulator comes in. Most air tools have a recommended operating pressure, usually listed in PSI. Turn the regulator knob to adjust the outgoing air pressure.
The regulated pressure gauge will show you the exact PSI going to your tool. Always adjust the pressure before starting your work. Too much pressure can damage your tool or workpiece.
Common Uses for Your 3 Gallon Compressor
Your Hyper Tough 3-gallon air compressor is a versatile tool for many projects. It is perfect for tasks that need a consistent, but not extremely high, volume of air.
Here are some popular ways you can put your compressor to work:
| Task Type | Recommended PSI Range | Common Tools Used |
|---|---|---|
| Tire Inflation (Car/Bike) | 30-60 PSI | Inflation gun with gauge |
| Nailing/Stapling | 70-90 PSI | Brad nailer, finish nailer |
| Dust Blowing | 20-40 PSI | Air blow gun |
| Light Airbrushing | 15-30 PSI | Airbrush gun |
Remember to check your specific tool’s manual for its exact pressure requirements.
Tire Inflation Made Easy
Inflating tires is one of the most common and useful applications. Connect an inflation gun with a gauge to your hose. Set the regulator to your tire’s recommended PSI (often found on a sticker inside your car door).
Attach the chuck to the tire valve stem and watch the gauge. It is a quick way to ensure proper tire pressure, which is vital for safety and fuel efficiency (National Highway Traffic Safety Administration).
Nailing and Stapling Projects
A brad nailer or stapler becomes much easier with an air compressor. These tools use air pressure to drive fasteners efficiently. Set the PSI according to your nailer’s specifications, typically around 70-90 PSI.
This speeds up tasks like installing trim or repairing furniture. It saves your arm from manual hammering and delivers more consistent results.
Maintaining Your Compressor for Longevity
Just like any tool, your air compressor needs a little care to last. The most vital maintenance step is draining the air tank. This should be done after every single use.
Many guidelines point to this as a good first step for compressor health (Consumer Product Safety Commission).
Why Drain the Tank?
When the compressor runs, it pulls in ambient air. This air contains moisture. As the air is compressed, this moisture turns into liquid water inside the tank.
If you do not drain this water, it can cause rust and corrosion from the inside out. This compromises the tank’s integrity and can lead to dangerous failures over time. Just open the drain valve at the bottom of the tank until all water and air are out.
Troubleshooting Common Issues
Even the most reliable tools can have minor hiccups. If your compressor is not building pressure or an air tool is not working, check a few things. First, confirm all hose connections are tight.
Next, inspect the air filter for any clogs. A dirty filter can restrict airflow. If there is a noticeable air leak, spray soapy water on connections to find bubbles indicating the leak’s source.
Conclusion
Using your Hyper Tough 3 Gallon Air Compressor is a straightforward process that opens up a world of DIY possibilities. By understanding its components, prioritizing safety, and performing simple maintenance, you can ensure it serves you reliably for years.
From inflating tires to powering nail guns, this compact powerhouse is ready for your next project. Embrace the convenience and efficiency it brings to your workshop.
How do I know what PSI to use for my air tools?
Most air tools have a recommended PSI range printed directly on the tool or listed in their user manual. Always refer to this guide to ensure you are operating the tool safely and effectively, preventing damage to both the tool and your project.
Can I use an extension cord with my Hyper Tough 3 Gallon Air Compressor?
While generally not recommended due to potential voltage drop and overheating, if an extension cord is absolutely necessary, use one specifically rated for heavy-duty outdoor use, with a gauge appropriate for the compressor’s amperage, and as short as possible.
My compressor is constantly running, is that normal?
If your compressor runs constantly without reaching its maximum pressure or cycles on and off very frequently, it could indicate an air leak in the tank or connections, a faulty pressure switch, or a worn-out check valve. Check for leaks first, then consult the manual.
How often should I drain the air tank?
You should drain the air tank after every use, regardless of how long you used the compressor. This practice prevents moisture buildup, which can cause rust, corrosion, and significantly shorten the lifespan of your compressor.
What kind of maintenance does the motor need?
For most oilless Hyper Tough 3-gallon compressors, the motor requires very little maintenance beyond keeping it clean and ensuring adequate ventilation. If your model uses oil, you would need to check and change the oil according to the manufacturer’s recommendations, usually every 50-100 hours of use.