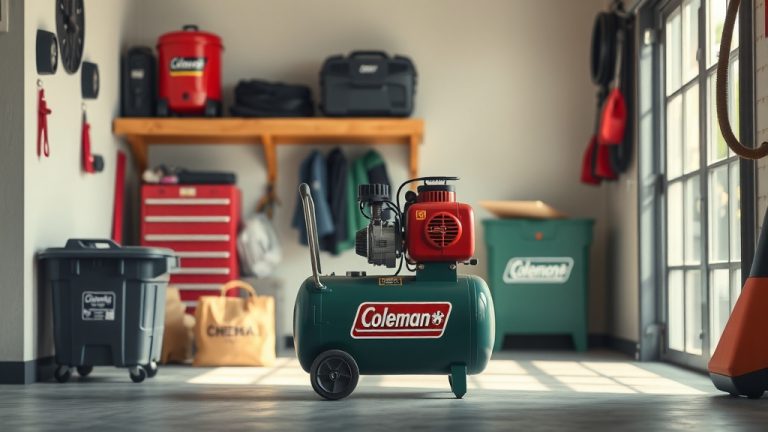
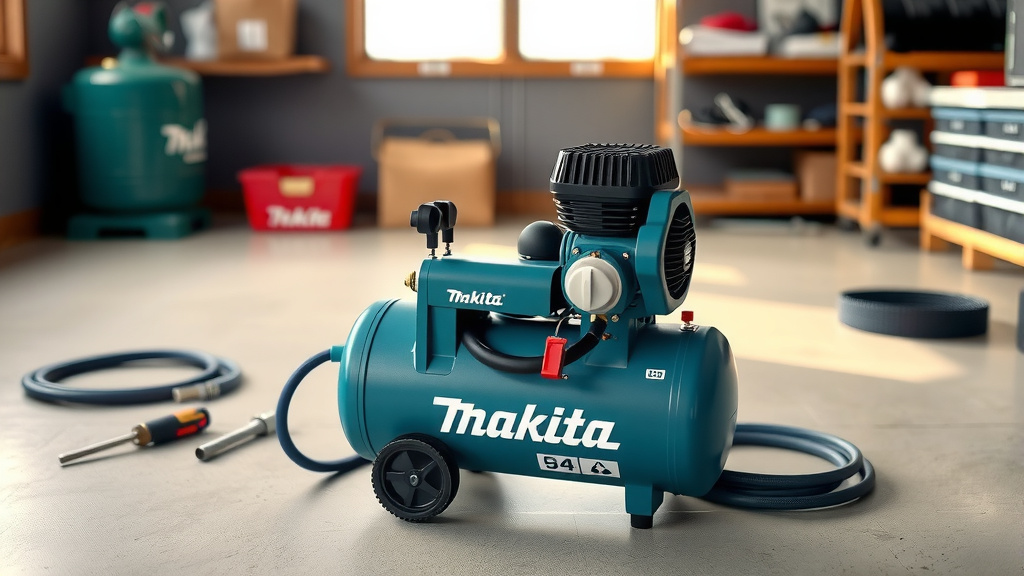
How To Use Makita Air Compressor?
To use a Makita Air Compressor, first connect your air hose and tool, then plug in the compressor and allow it to build pressure to your desired PSI.
Always ensure safety precautions are in place and regularly drain the tank to maintain the optimal performance of your Makita Air Compressor.
When you’re ready to tackle projects with your air tools, understanding your Makita air compressor is key. We’ve put together a straightforward guide to help you use it with confidence. From initial setup to important maintenance, you’ll find practical advice for peak performance.
Here’s a quick overview of what you’ll discover:
- Preparation is key: Always check components and confirm safety.
- Connect and power up carefully, then precisely set your working pressure.
- Wear proper safety gear and inspect all connections before starting any task.
- Regular maintenance, like draining the tank, significantly prolongs tool life.
- Always choose the right air tool and PSI setting for each specific job.
How To Use Makita Air Compressor?
Using your Makita air compressor involves connecting the right tools, setting appropriate pressure, and following safety guidelines. It’s about matching power to your task.
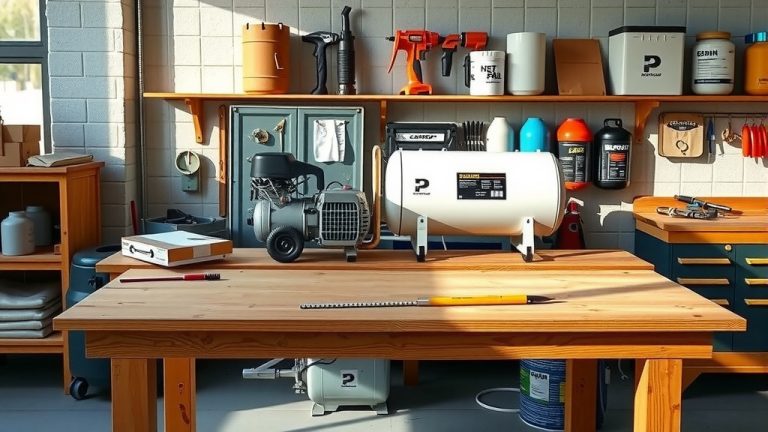
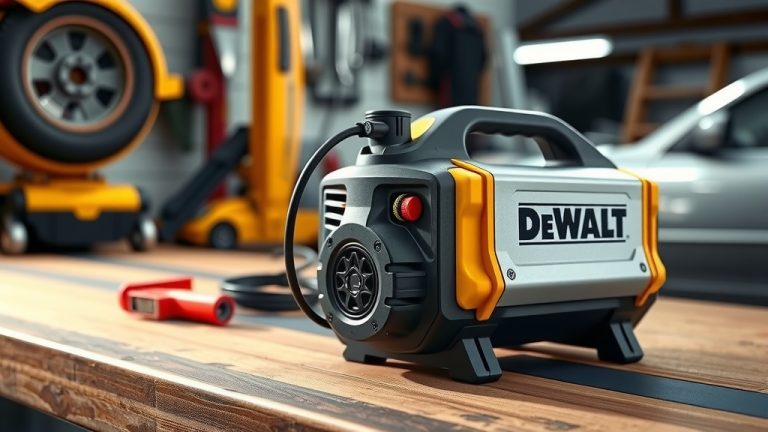
Understanding Your Makita Compressor
Your Makita compressor is a powerful tool designed for many jobs, from inflating tires to powering nail guns. Knowing its basic parts helps you operate it safely and effectively. Think of it as knowing the controls of your car before you drive.
Key Components You Need to Know
Before you start, familiarize yourself with the compressor’s key parts. You have the air tank, the motor, the pressure regulator, and the gauges. Each component plays a vital role in its operation.
The tank stores the compressed air, while the motor generates the pressure. The regulator allows you to control the output pressure for your tools. Gauges show the tank pressure and the regulated output pressure.
Getting Ready: Safety First
Safety is not just a suggestion; it’s a necessity when working with compressed air. You’re dealing with high pressure, so taking precautions protects both you and your equipment. Think of it as your project’s personal protective shield.
Essential Safety Gear
Before you even think about plugging in your compressor, gather your safety gear. This isn’t just for professionals; it’s for anyone using air tools. We found that proper protection prevents many accidents (OSHA).
- Safety glasses or goggles (always!)
- Hearing protection (earplugs or earmuffs)
- Gloves to protect your hands
- Sturdy, closed-toe footwear
Pre-Operation Checklist
A quick check before each use can save you from potential problems. This checklist helps ensure everything is in its right place and ready to go. Consider it your pre-flight inspection.
- Is the power cord in good condition, without frays or damage?
- Are all connections tight and free from leaks?
- Is the air filter clean and properly installed?
- Is the drain valve closed at the bottom of the tank?
- Is the compressor placed on a stable, level surface?
- Is your work area clear of clutter and tripping hazards?
Setting Up Your Compressor
Once you’ve confirmed safety, the next step is connecting your compressor to your tools. This process is straightforward, but accuracy here means a leak-free and efficient system.
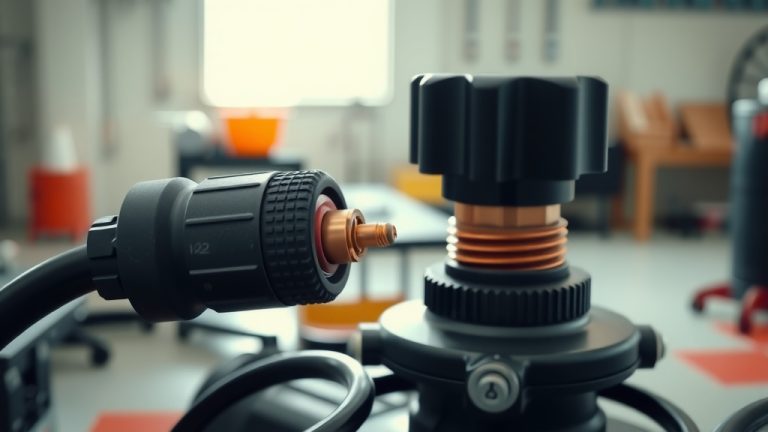
Connecting the Air Hose
First, attach your air hose to the compressor’s air outlet. Most Makita compressors use universal quick-connect couplers, making this process simple. Push the coupler sleeve back, insert the hose fitting, and release the sleeve. Give it a gentle tug to confirm it’s securely latched into place.
Attaching Your Air Tool
With the hose connected to the compressor, attach the other end of the hose to your air tool. Again, a quick-connect fitting usually makes this easy. Ensure the tool’s fitting is clean before connecting it. A proper connection prevents air leaks and maintains consistent power to your tool.
Powering Up and Adjusting Pressure
Now that everything is connected, it’s time to bring your compressor to life. Setting the correct pressure is vital for tool performance and project success. Too much pressure can damage your tool or workpiece, while too little will make the tool ineffective.
Turning On Your Makita Compressor
Plug your compressor into a suitable power outlet. Many experts say to avoid extension cords if possible, or use a heavy-duty one if necessary. Flip the power switch to the ‘ON’ position. The motor will start, and the tank will begin to fill with air. It might be a bit noisy, but this is perfectly normal operation.
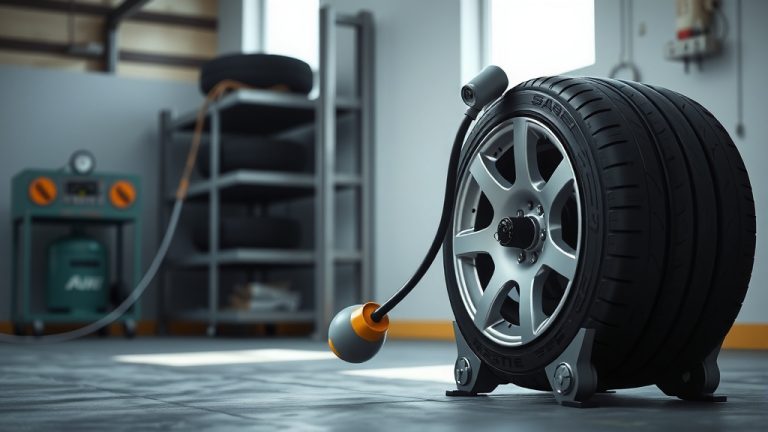
Setting the Right PSI for Your Task
Once the tank reaches its maximum pressure and the motor stops, you can adjust the output pressure. Use the pressure regulator knob, usually located near the gauges. Turn it clockwise to increase pressure and counter-clockwise to decrease. Check your tool’s manual for its recommended PSI. This adjustment is your precise control mechanism.
Here’s a general guide for common air tools:
| Air Tool Type | Recommended PSI Range |
|---|---|
| Tire Inflator | 30-100 PSI (depending on tire) |
| Brad Nailer / Finish Nailer | 70-90 PSI |
| Impact Wrench | 90-100 PSI |
| Air Duster / Blower | 30-60 PSI |
Using Your Air Compressor Safely and Effectively
With your Makita compressor set up, you’re ready to work. Remember to keep safety in mind and use the tool as intended. Your focus should be on the task, but your awareness must always be on safety.
Best Practices for Operation
Always hold your air tool firmly and maintain a stable stance. Avoid pointing air nozzles at yourself or others. When you finish a task or need to change tools, always release the pressure from the hose first. This prevents the hose from whipping and potential injury.
Work in a well-ventilated area, especially if your tools produce dust or fumes. Take breaks to avoid fatigue. Research consistently shows that refreshed workers are safer (NIOSH). Your air compressor is a tool to help, not to push you to exhaustion.
Maintaining Your Makita Air Compressor
Just like any other valuable tool, your Makita air compressor needs regular care to perform its best and last for years. A little maintenance goes a long way. This proactive approach ensures longevity and reliability.
Regular Draining of the Air Tank
One of the most important maintenance tasks is draining the air tank. Compressed air contains moisture, which condenses into water inside the tank. If left undrained, this water can lead to rust and tank failure. Many manufacturers recommend draining the tank after each use or at least daily. It’s a quick step that protects your investment.
To drain, simply turn off the compressor, disconnect it from power, and slowly open the drain valve located at the bottom of the tank. Let all the water and air escape before closing the valve tightly. You’ll often see rusty water; this is normal, but it’s exactly what you want to remove to prevent internal corrosion.
Other Maintenance Tips
Beyond draining, there are a few other simple things you can do. Regularly check the air filter and clean or replace it when it looks dirty. A clogged filter makes the motor work harder. Inspect all hoses and fittings for wear, cracks, or leaks. A small leak can significantly reduce efficiency.
If your compressor uses oil, check the oil level regularly and change it according to the manufacturer’s recommendations. Refer to your Makita manual for specific maintenance schedules. These small efforts keep your compressor running smoothly, ready for your next project.
Conclusion
Using your Makita air compressor effectively and safely is all about preparation, mindful operation, and consistent maintenance. By understanding its components, wearing the right safety gear, and following the proper setup steps, you’re set for success. Always remember to match your pressure to the tool and keep that tank drained.
Your Makita compressor is a robust tool designed to make your projects easier. Treat it with care, and it will serve you well for many years to come. Now, go create something great with confidence!
How often should I drain the air tank on my Makita compressor?
Many experts recommend draining the air tank after each use, or at least at the end of every day you operate your Makita air compressor. This prevents moisture buildup, which can cause rust and degrade the tank over time.
What PSI should I use for general tasks like inflating tires?
For general tasks like inflating car tires, you should typically set your Makita air compressor to a PSI between 30 and 35, or as specified by your vehicle’s manufacturer. Always check the tire’s sidewall or your vehicle’s manual for the exact recommended pressure.
Can I use an extension cord with my Makita air compressor?
It’s generally best to plug your Makita air compressor directly into a wall outlet. If an extension cord is absolutely necessary, we found that it must be a heavy-duty, outdoor-rated cord with the correct gauge (e.g., 12-gauge or lower) and length to prevent voltage drop and overheating.
My Makita compressor is running constantly; is that normal?
If your Makita compressor runs constantly without reaching its shut-off pressure, it might indicate an air leak in the tank, hose, or fittings. It could also suggest a faulty pressure switch or check valve. Check for leaks first, then consult your manual or a professional.
What type of oil does my Makita air compressor need?
If your Makita compressor is an oil-lubricated model, it requires specific compressor oil, not automotive oil. Always refer to your Makita compressor’s user manual for the exact type and weight of oil recommended by the manufacturer to ensure proper lubrication and function.