How To Change Capacitor On Air Compressor?
To change a capacitor on an air compressor, first unplug the unit and discharge the old capacitor safely using an insulated screwdriver. Then, remove the cover, unhook the old capacitor’s wires, and replace it with a new one of identical specifications.
You can typically change your air compressor’s capacitor by ensuring safety first, carefully disconnecting the faulty component, and wiring in the replacement, often resolving common starting issues.
You’re ready to tackle that air compressor issue, huh? That’s awesome!
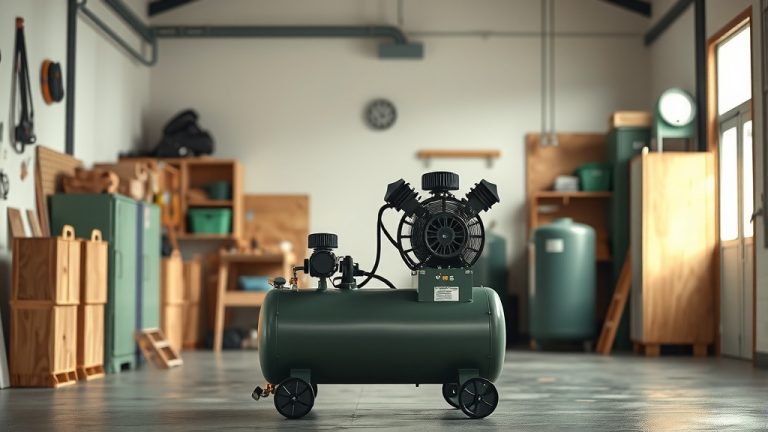
Dealing with a finicky air compressor can be frustrating, especially when it just hums or won’t start. Often, the capacitor is the culprit. But don’t worry, we’re here to walk you through the process.
Here’s the straight talk on changing your air compressor’s capacitor:
- Safety First: Always unplug the compressor and discharge the capacitor before touching anything. Electricity is no joke.
- Identify & Match: Find the capacitor and make sure your replacement has the exact same microfarad (uF) and voltage ratings. No guessing allowed!
- Disconnect & Replace: Carefully unhook the old capacitor’s wires. Then, connect the new one, ensuring the terminals match up perfectly.
- Test Time: After putting everything back together, plug it in and test if your compressor starts up smoothly.
- Pro Help: If you feel unsure or out of your depth at any point, it’s always smart to call a professional. Your safety comes first.
How To Change Capacitor On Air Compressor?
Changing the capacitor on your air compressor involves a few careful steps focused on safety and precise replacement. You will need to disconnect power, safely discharge the old unit, and wire in the new one correctly to get your compressor running smoothly again.
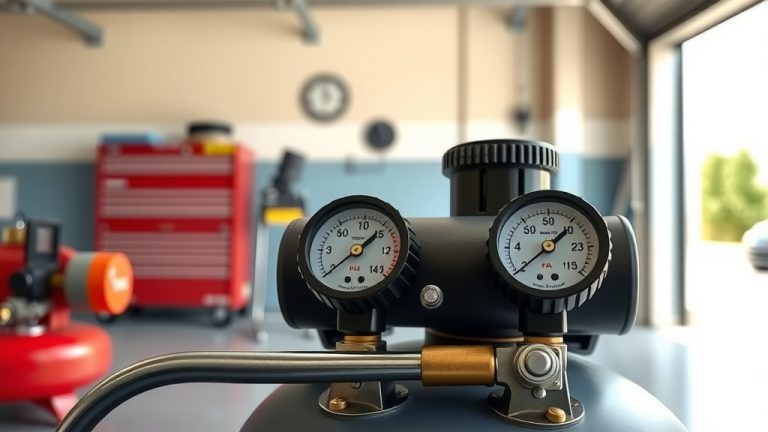
Is Your Capacitor the Real Culprit?
Before you dive in, are you sure the capacitor is the problem? Sometimes, it could be other things, like a faulty pressure switch or a motor issue. However, a bad capacitor is a very common cause of compressor startup trouble, especially if you hear a hum but no action.
Common Signs of a Bad Capacitor
We found that specific symptoms often point directly to a failing capacitor (Electrical Safety Foundation International – ESFI).
- The compressor motor hums loudly but doesn’t start.
- It starts slowly or with great difficulty.
- The motor trips the circuit breaker frequently during startup.
- You might see a visible bulge or leakage on the capacitor itself.
- The compressor runs, but then struggles to restart after stopping.
If these sound familiar, your capacitor might be ready for a change!
Safety First: Your Number One Priority
Working with electricity, especially high-voltage components like capacitors, demands respect. Your safety is absolutely non-negotiable. Capacitors can store a charge even when unplugged, which can deliver a nasty shock.
Always treat a capacitor as if it’s fully charged until you’ve personally discharged it. Many experts say this step is the most critical (Occupational Safety and Health Administration – OSHA).
Gathering Your Toolkit
Before you begin, gather everything you’ll need. Having the right tools makes the job smoother and safer. It’s like preparing for a cooking adventure – you don’t want to be missing the salt halfway through!
- New capacitor (matching specifications, we’ll discuss this next).
- Insulated screwdriver (with a rubber or plastic handle).
- Wrench or nut drivers (to open the compressor casing).
- Needle-nose pliers (for gripping wires).
- Wire cutters/strippers (if you need to replace terminals).
- Multimeter with capacitance testing (optional, but very helpful).
- Safety glasses.
- Work gloves.
Step-by-Step Guide to Capacitor Replacement
Okay, let’s get into the nitty-gritty. This isn’t rocket science, but it does require attention to detail. Take your time, and follow each step carefully.
Step 1: Disconnect and Confirm Safety
This is where it all begins. First, make sure your air compressor is completely unplugged from the wall outlet. Don’t just flip a switch; pull the plug. Then, for good measure, if your compressor is wired to a dedicated circuit, flip the breaker off at your electrical panel. Why double up? Just to be extra safe, of course.
Step 2: Locate and Access the Capacitor
The capacitor is usually found inside a metal or plastic box attached to the motor housing. You might need to remove a few screws or clips to get the cover off. Once you see it, you’ll notice it looks like a small cylinder, often black or silver.
Step 3: Discharge the Old Capacitor Safely
This is crucial. Grab your insulated screwdriver. Touch the metal shaft of the screwdriver simultaneously to both terminals of the capacitor. You might see a spark or hear a pop – that’s the stored energy discharging. Hold it there for a few seconds to ensure it’s fully discharged. Repeat this several times. If you have a multimeter, you can check for zero voltage across the terminals to be certain. We always recommend this step, as research shows it prevents common accidents (Electrical Safety Foundation International).
Step 4: Note Wiring and Disconnect
Before you remove any wires, snap a quick picture with your phone! This visual aid is incredibly helpful for reconnecting the new one correctly. Then, carefully note which wires go to which terminal. Some capacitors have distinct “run” and “start” terminals. Gently pull off the wires using your pliers, avoiding yanking on the wires themselves.
Step 5: Install the New Capacitor
Now, take your new capacitor. Remember that photo you took? Use it! Connect the wires to the new capacitor’s terminals exactly as they were on the old one. Make sure the connections are snug and secure. Loose connections can lead to poor performance or even damage.
Step 6: Reassemble and Test
Once the new capacitor is wired up, replace any covers or access panels you removed. Double-check that all tools are cleared away from the compressor. Plug the compressor back into the outlet. Now for the moment of truth! Turn it on. Does it start up with its usual roar? You should hear the motor kick on quickly without any hesitation or humming.
Understanding Capacitor Specifications
Getting the right replacement capacitor is vital. You can’t just grab any old one. Capacitors are rated by their microfarads (uF) and voltage (VAC). Matching these numbers exactly is super important. We found that using an incorrect capacitor can damage your motor or cause it to run inefficiently (Motor Industry Association).
Here’s a quick look at why matching is key:
| Specification | Why it Matters |
|---|---|
| Microfarad (uF) | Determines the starting torque. An incorrect uF can cause the motor to hum or start slowly. |
| Voltage (VAC) | The maximum voltage the capacitor can safely handle. Always match or exceed the original’s voltage. |
You can usually find these specs printed right on the side of your old capacitor. Make sure to buy an exact match for a smooth replacement.
When to Call in the Pros
While changing a capacitor is a DIY-friendly task for many, it’s completely okay to know your limits. If you’re unsure at any step, feel uncomfortable with electrical work, or if your compressor still isn’t working after the replacement, call a qualified technician. Sometimes, there are underlying issues that only a professional can diagnose properly. Your peace of mind (and safety) is worth it!
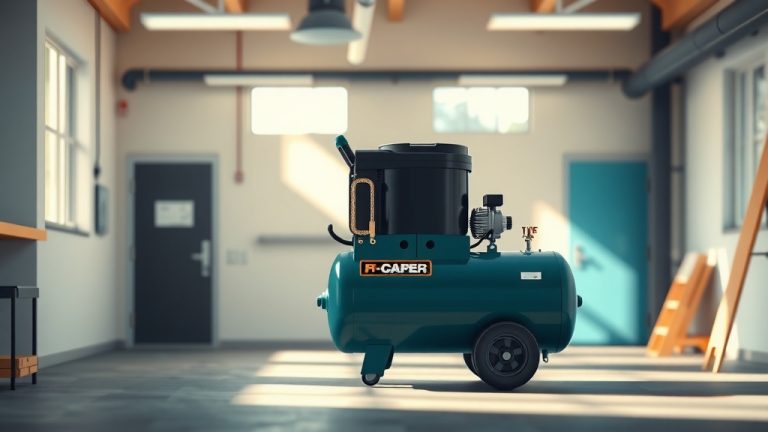
Conclusion
Changing an air compressor capacitor is a rewarding project that can save you money and get your valuable tool back in action. Remember, safety is paramount: always unplug the unit and discharge the capacitor. By carefully following the steps, matching the specifications, and being patient, you can successfully perform this repair. Don’t forget that it’s always wise to consult a professional if you encounter any difficulties or feel out of your depth. Happy compressing!
How do I know if my air compressor capacitor is bad?
You’ll often hear the compressor motor hum loudly without actually starting or running. Other signs include slow startup, frequent tripping of the circuit breaker during startup, or a visible bulge or leakage on the capacitor itself. These symptoms suggest the capacitor isn’t providing the necessary jolt to get the motor going.
Can an air compressor run without a capacitor?
Generally, no, most single-phase air compressor motors require a capacitor to provide the initial electrical boost (starting torque) needed to overcome inertia and begin rotating. Without a functioning capacitor, the motor will likely just hum or struggle to start, drawing excessive current and potentially overheating.
What size capacitor do I need for my air compressor?
You need to match the original capacitor’s specifications exactly. Look for the microfarad (uF) and voltage (VAC) ratings printed on the side of your existing capacitor. Using a capacitor with incorrect ratings can lead to motor damage or inefficient operation, so a precise match is essential for proper function.
Is it dangerous to change an air compressor capacitor?
It can be dangerous if proper safety precautions are not followed. Capacitors store electrical charges even when unplugged, which can deliver a severe shock. Always unplug the compressor and safely discharge the capacitor using an insulated screwdriver before touching any wires or terminals. Safety glasses and insulated tools are strongly recommended.
How long do air compressor capacitors usually last?
The lifespan of an air compressor capacitor can vary, but they typically last anywhere from 5 to 10 years, depending on usage, environmental conditions, and the quality of the component. Heavy use, extreme temperatures, or frequent short cycling of the compressor can shorten its life. If your compressor is older, a failing capacitor is a common issue.