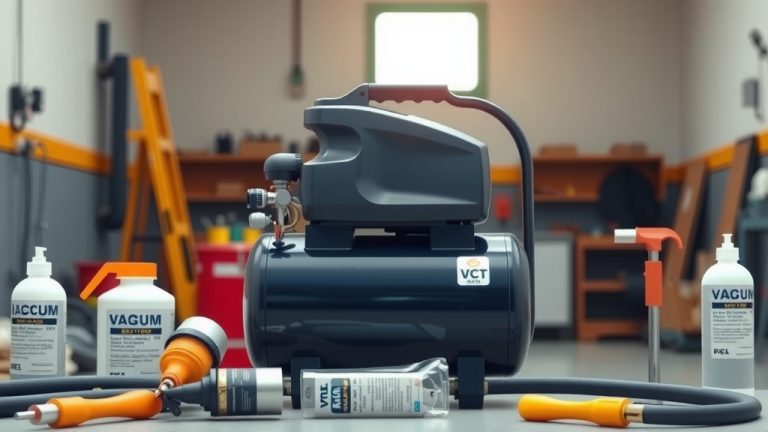
How To Regulate Air Compressor?
To regulate an air compressor, locate the pressure regulator valve, typically found near the output hose connection, then turn its knob clockwise to increase pressure or counter-clockwise to decrease it.
Always monitor the output pressure gauge as you make small adjustments to match the specific PSI requirements of your air tools for safe and efficient operation.
- Regulating your air compressor pressure protects your tools and yourself.
- You will find the main regulator valve and its gauge near where your air hose connects.
- To adjust, turn the knob slowly, checking the gauge for the desired PSI.
- Always release pressure before major adjustments for safety.
- Regular checks and cleaning can help prevent common regulator problems.
How To Regulate Air Compressor?
Regulating your air compressor is a straightforward process once you know where to look and what to do. It primarily involves adjusting a dedicated valve to control the air pressure delivered to your tools.
Why Is Air Compressor Pressure Regulation Needed?
Imagine trying to tighten a small screw with a powerful impact wrench – it just wouldn’t work. Air pressure regulation works much the same way for your tools. It ensures your compressor delivers the right amount of force.
Safety First, Always
Using too much pressure can be dangerous. It can cause air tools to operate unsafely or even lead to component failures. We found that matching pressure to the tool prevents accidents (Occupational Safety and Health Administration).
Optimal Tool Performance
Every air tool has a recommended operating pressure, usually stated in PSI. Running a tool at the correct pressure ensures it performs exactly as it was designed, like a paint sprayer applying an even coat or a nail gun driving fasteners perfectly.
Extending Tool Lifespan
Over-pressuring your tools can strain their internal mechanisms, leading to premature wear and tear. You want your tools to last, right? Proper regulation helps keep them in top shape for years of reliable use.
Understanding Your Air Compressor Regulator
Before you adjust anything, it helps to know what you’re looking at. The regulator is the “brain” of your air delivery system, controlling the outgoing pressure.
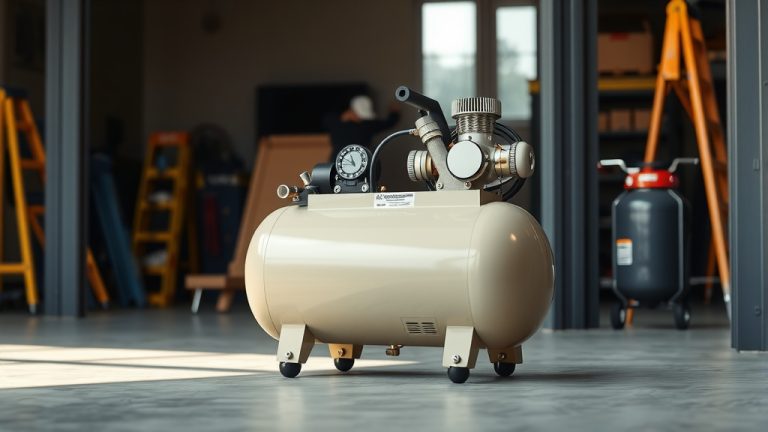
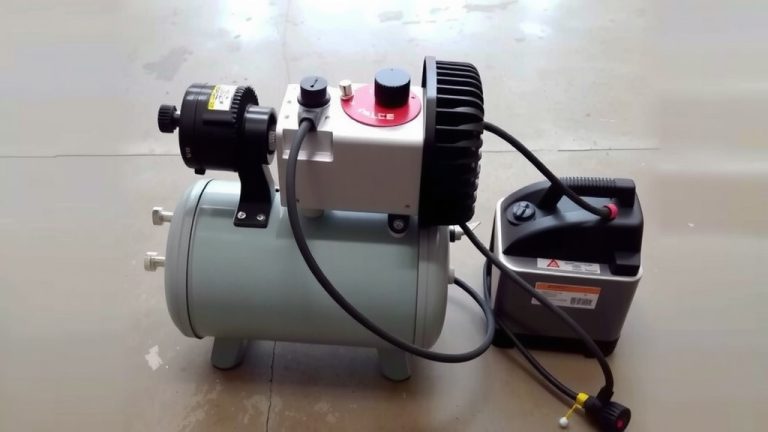
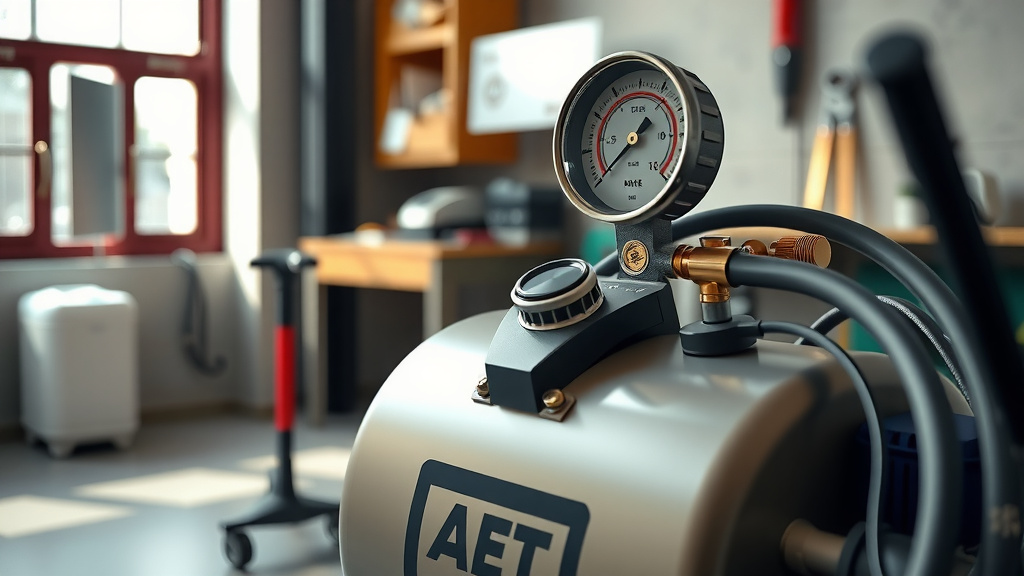
Locating the Regulator Valve
Most air compressors have a pressure regulator located on the unit itself, often near the tank’s output port where you attach the air hose. It usually looks like a knob or dial with a small gauge nearby.
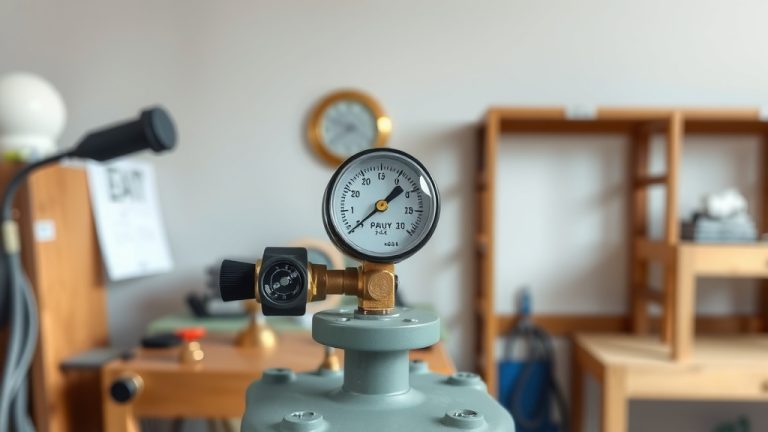
The Role of Gauges
You’ll typically see two gauges on your compressor. One shows the pressure inside the main tank, which builds up as the compressor runs. The other, often smaller, displays the regulated output pressure that your tools will receive.
Differences: Tank vs. Regulated Pressure
The tank pressure can be very high, perhaps 150 PSI or more. However, your tools rarely need that much. The regulator’s job is to take that high tank pressure and reduce it to a usable, safer level for your application.
Step-by-Step Guide to Adjusting Pressure
Adjusting the regulator is simple, but following these steps will make sure you do it safely and correctly.
Powering Down Safely
Always start by turning off your air compressor. You don’t want it cycling on and off while you’re trying to make precise adjustments.
Relieving System Pressure
Before making significant adjustments, release any remaining air pressure in the line. This prevents unexpected surges when you restart. Simply connect an air tool and trigger it a few times until the pressure drops, or use the bleed valve if your system has one.
Making Small Adjustments
To increase pressure, turn the regulator knob clockwise. For less pressure, turn it counter-clockwise. Make small turns, about a quarter turn at a time, then recheck the gauge.
Confirming Your Setting
Once you’ve made an adjustment, turn your compressor back on and let it build up full tank pressure. Then, check the output gauge again. If needed, repeat the adjustment process until you reach your desired PSI.
Common Regulator Issues and Simple Fixes
Even the best equipment can have a hiccup now and then. Don’t worry, many regulator issues are easy to troubleshoot.
Pressure Not Responding?
If you turn the knob and the pressure doesn’t change, the regulator might be stuck or faulty. Sometimes, a quick turn all the way open then all the way closed can free it up. If not, it may need replacing, which we found is a common wear item (Compressed Air Best Practices magazine).
Fluctuating Output Pressure
Does your output pressure jump around? This could mean debris is caught inside the regulator, preventing a consistent seal. Disconnecting air lines and attempting to clean it with compressed air can sometimes help.
Air Leaks Around the Regulator
If you hear a hiss, you might have an air leak. Check the connections around the regulator. Tighten any loose fittings or replace old, cracked O-rings. A soapy water solution can help you spot tiny leaks by forming bubbles.
Beyond Basic Regulation: Advanced Tips
Knowing your tools and their needs makes your work smoother and more effective.
Matching Pressure to Your Air Tools
Different tasks require different pressures. A paint gun might need a steady 30 PSI, while an impact wrench demands 90 PSI. Always consult your tool’s manual for its specific requirements.
| Air Tool Type | Typical PSI Range | Common Uses |
|---|---|---|
| Nail Gun/Stapler | 70-120 PSI | Framing, trim work |
| Impact Wrench | 90-120 PSI | Tire changes, heavy bolts |
| Die Grinder | 90 PSI | Metal shaping, deburring |
| Paint Sprayer | 20-40 PSI | Painting, coating |
| Blow Gun | 50-90 PSI | Cleaning, drying |
Maintaining Your Air Pressure Regulator
A little care goes a long way. Regular maintenance keeps your regulator working well and prevents problems.
- Check for air leaks regularly using soapy water.
- Keep the regulator assembly clean and free of dust or debris.
- Drain your compressor tank often to prevent moisture from reaching the regulator.
- Inspect gauges for clear readings; replace them if they are foggy or broken.
- Avoid overtightening the adjustment knob, as this can cause internal damage.
Conclusion
Regulating your air compressor is a simple yet vital skill for anyone using air tools. By understanding your regulator, following safe adjustment practices, and performing basic maintenance, you ensure your tools operate efficiently and safely. You’re not just controlling air pressure; you’re taking control of your projects and extending the life of your valuable equipment. Now, go create something great!
How do I know what PSI to set for my air tool?
Always check the manufacturer’s manual for your specific air tool. Most tools have a recommended operating PSI range. If you don’t have the manual, a quick online search for your tool model can often provide this information.
Can I damage my air tools by using too much pressure?
Yes, absolutely. Excessive pressure can put undue stress on the tool’s internal components, leading to faster wear, reduced performance, and potential failure. It can also create unsafe operating conditions.
What if my regulator knob is hard to turn?
A stiff regulator knob might indicate internal corrosion or debris. You can try turning it fully clockwise then counter-clockwise a few times to loosen it. If it remains difficult, the regulator may need to be cleaned internally or replaced.
Should I adjust the regulator while the air compressor is running?
It is generally safer to turn off your compressor and relieve system pressure before making significant adjustments. For fine-tuning, you can make small turns while the compressor is running, but always prioritize safety.
How often should I check my air compressor’s regulator?
We recommend checking your regulator’s settings and condition each time you plan to use an air tool. A quick visual inspection for leaks and confirming the pressure setting only takes a moment and can save you trouble down the road.