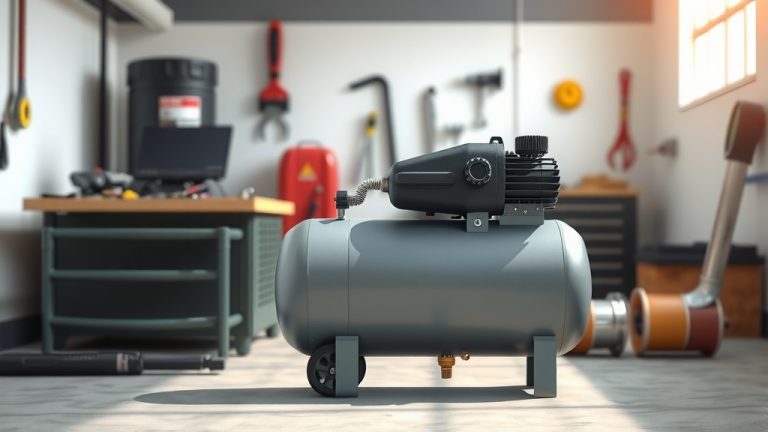
How To Change Air Compressor On Cummins Isx?

Changing the air compressor on your Cummins ISX engine typically involves safely draining the air system, disconnecting air and electrical lines, unbolting the old unit, and carefully installing the new compressor.
This essential maintenance task ensures your truck’s air brakes and accessories function correctly, helping to maintain optimal vehicle safety and performance.
-
Draining your air tanks fully is the first crucial step for safety.
-
Disconnecting both air lines and electrical connections requires careful attention.
-
Removing the old compressor involves unbolting it from the engine block.
-
Installing the new unit is essentially reversing the removal process, ensuring all connections are secure.
-
A thorough system test after installation confirms everything works as it should.
How To Change Air Compressor On Cummins Isx?
Changing the air compressor on a Cummins ISX engine means carefully removing the worn-out part and installing a fresh one to keep your air system working right. This job needs focus and the proper steps to do it safely and effectively.
Why Does Your Cummins ISX Air Compressor Need Changing?
Your truck’s air compressor is a bit like your heart, always pumping. It supplies compressed air for critical systems like your air brakes, suspension, and even air-powered accessories. When it starts to fail, you’ll know it.
Spotting the Warning Signs
How do you know it’s time for a change? You might notice a few tell-tale signs. Perhaps your air tanks are taking longer to fill up, or you hear a strange, new noise coming from the compressor area. Some drivers find that their air dryer purges more often, which can signal a struggling compressor trying to keep up. We found that a significant drop in air pressure build-up speed is a common indicator of wear (Service Manuals for Heavy Duty Trucks).
The Critical Role of the Air Compressor
Imagine your air brakes not working right on a big downhill stretch – not a pleasant thought, right? A failing compressor puts your safety at risk. It’s not just about brakes; your air ride suspension and other pneumatically operated components rely on that steady supply of compressed air. Keeping it in top shape means keeping your truck safe and running smoothly.
Gathering Your Gear: Tools and Parts
Before you even think about touching a wrench, you need to gather everything. Think of it like preparing for a big road trip; you wouldn’t leave home without packing the essentials, would you? Having the right tools and the correct replacement part saves you headaches and trips to the parts store.
Essential Tools You’ll Need
You’ll want a good set of basic hand tools: wrenches, sockets, a torque wrench for proper fastening, and maybe some pliers. Don’t forget safety glasses and gloves! A sturdy jack and jack stands are also a must if you need more clearance. Many experts say a drain pan for fluids and rags are also very helpful.
The Right Replacement Part
Getting the right air compressor for your specific Cummins ISX model is super important. There are different versions out there, so double-check your engine’s serial number. We found that using a high-quality, OEM-spec replacement helps ensure a perfect fit and long service life. Sometimes, people consider aftermarket options, but ensure they meet or exceed original equipment standards.
Safety First: Before You Begin
Working on any heavy machinery, especially with compressed air, demands respect and caution. Safety isn’t just a suggestion; it’s the rule. Taking a few moments to prepare can prevent accidents and ensure you walk away from the job unharmed.
Preparing Your Workspace
First, park your truck on a flat, stable surface. Turn off the engine, engage the parking brake, and block the wheels. Many industry professionals recommend disconnecting your battery’s negative terminal to prevent any accidental starts or electrical shorts. This simple step can prevent serious injury.
Here’s a quick checklist to make sure you’re ready:
- Park on level ground.
- Engage parking brake.
- Block all wheels securely.
- Disconnect battery (negative terminal).
- Wear safety glasses and gloves.
Step-by-Step Guide: Replacing Your Air Compressor
Okay, let’s get down to business. This is where the magic happens, so take your time and follow each step carefully. No need to rush; a steady pace means a job well done.
Draining the Air System
This is arguably the most crucial safety step. You need to completely drain all air from your truck’s air tanks. You can usually do this by opening the drain valves on each tank. You’ll hear the air hiss out. Let it drain until there’s no pressure left in the system. Don’t skip this!
Disconnecting Lines and Wires
Your old compressor has a few connections: air lines (supply and discharge) and electrical wiring. Carefully disconnect these. Labeling them with tape and a marker can be a lifesaver, ensuring you know exactly where each one goes when you install the new unit. Take a picture with your phone too! Many mechanics find that this step saves time later on.
Removing the Old Compressor
Now, locate the mounting bolts holding the compressor to the engine block. There might be some hose clamps or brackets you need to loosen first. Once everything is disconnected and unfastened, carefully remove the old air compressor. These units can be heavy, so be ready for that weight. Ask for help if you need it; there’s no shame in using an extra set of hands.
Installing the New Unit
This is essentially the reverse of removal. Position the new compressor into place and secure its mounting bolts. Make sure everything aligns perfectly. Tighten the bolts according to your service manual’s specifications. We found that proper torque is essential for secure mounting and prevents vibration issues.
Reconnecting Everything
Now, reconnect all those air lines and electrical wires. This is where your labels or photos come in handy. Double-check every connection to ensure it’s tight and secure. Any loose air lines could lead to leaks, and loose electrical connections might cause malfunctions. Take your time to confirm every connection is solid.
Testing the System
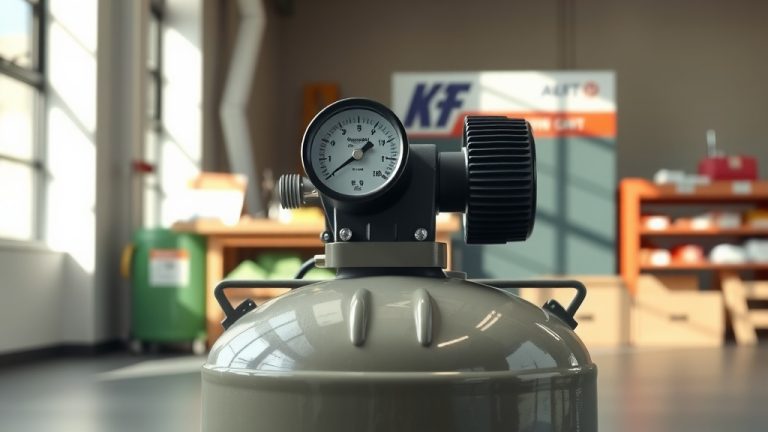
Once everything is reconnected, you’re almost done! Reconnect your battery. Start the engine and listen for air leaks. Allow the air system to build pressure. Watch your air pressure gauges to ensure they build up quickly and to the correct operating pressure. Many experts advise checking for any strange noises or warning lights on your dash. This final check is critical for peace of mind.
Troubleshooting Common Issues
What if something doesn’t seem right after the change? Don’t panic. Sometimes, a small issue can pop up. If your air system isn’t building pressure, recheck all your air line connections for leaks. A soapy water solution can help you spot tiny leaks. If you hear unusual noises, recheck mounting bolts or belt tension, if applicable. Persistent issues might point to a small installation error or even a faulty new part, though this is less common with quality replacement parts.
Maintaining Your New Air Compressor
Just because it’s new doesn’t mean you can forget about it. Regular maintenance extends its life. This includes regularly draining your air tanks to remove moisture and oil, checking your air dryer cartridge, and inspecting air lines for wear. Many industry guidelines recommend routine inspection and servicing to keep your air system in top condition (Fleet Maintenance Journals).
Conclusion
Changing the air compressor on your Cummins ISX engine might seem like a big job, but with careful planning, the right tools, and a step-by-step approach, it’s definitely something you can tackle. Remember, safety always comes first, and taking your time will ensure a successful replacement. Your truck’s air system is vital for operation, so keeping that compressor healthy means keeping you and your cargo safe on the road. Enjoy the peace of mind that comes with a well-maintained air system!
What are the typical signs of a failing air compressor on a Cummins ISX?
Common signs include slow air tank pressure build-up, excessive moisture in the air system, the air dryer purging too frequently, or unusual noises coming from the compressor itself, such as knocking or grinding sounds. You might also notice a loss of air pressure for accessories or the air suspension.
How long does it typically take to change an air compressor on a Cummins ISX?
For an experienced mechanic, this job might take anywhere from 3 to 6 hours. If you’re tackling it yourself for the first time, expect it to take longer, perhaps a full day, as you’ll be proceeding more cautiously and double-checking each step. Always budget more time than you think you’ll need.
Do I need any special tools for this job?
While most of the job can be done with standard mechanic’s tools like socket sets, wrenches, and a torque wrench, some specific fasteners or tight spaces might benefit from specialized extensions or swivel joints. Always consult your service manual for any recommended unique tools for your specific engine model.
Is it better to use an OEM or aftermarket air compressor replacement?
Many professionals often lean towards OEM (Original Equipment Manufacturer) parts for critical components like air compressors, citing their precise fit and quality standards. However, high-quality aftermarket compressors that meet or exceed OEM specifications can be a viable and sometimes more cost-effective option. The key is to ensure the aftermarket part has a good reputation and warranty.
What are the risks of driving with a failing air compressor?
Driving with a failing air compressor is extremely risky. The primary danger is compromised air brake performance, which can lead to extended stopping distances or complete brake failure. It can also cause issues with air suspension, clutch assist, and other air-powered systems, potentially leaving you stranded or, worse, causing an accident.