How To Use McGraw 3 Gallon Air Compressor?
To use your McGraw 3 Gallon Air Compressor, you first need to connect your air hose and the appropriate air tool. Next, plug in the unit, allow it to build sufficient pressure, and then you can start your project.
Proper usage of your McGraw 3 Gallon Air Compressor involves understanding its features and following safety guidelines. Always perform a quick check, connect your accessories securely, and manage air pressure for optimal performance.
- Get your tools ready and perform a quick safety check.
- Connect your air hose and chosen air tool firmly.
- Plug in the compressor and let it reach full pressure.
- Adjust the air pressure to suit your specific job.
- Always drain moisture from the tank after each use.
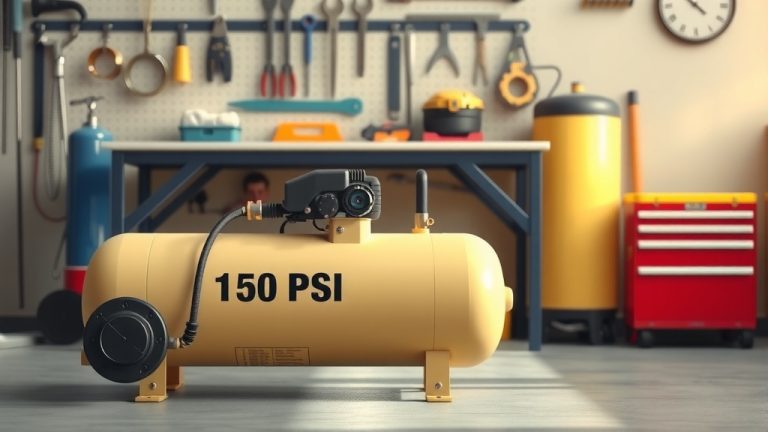
Ah, the trusty air compressor! You’ve got a McGraw 3 Gallon Air Compressor, a fantastic tool for countless DIY tasks around your home or garage. Perhaps you’re inflating tires, running a nail gun, or powering a small paint sprayer. Whatever your project, knowing how to use your compressor safely and effectively is key. Don’t worry; it’s simpler than you might think!
How To Use McGraw 3 Gallon Air Compressor?
Using this compressor involves basic steps: connect tools, power it up, and regulate air for your project needs. It’s designed to be user-friendly, putting power right into your hands.
Getting Started: Your Pre-Flight Checklist
Before you even plug in your McGraw 3 Gallon Air Compressor, let’s go over a few essentials. Think of this as your warm-up routine. A little preparation goes a long way to ensure safety and smooth operation.
Find a Good Spot
Where will you place your compressor? We found that a flat, stable surface is best. This prevents it from tipping over while running. Also, make sure it has good ventilation; it needs to breathe a bit!
Check Your Equipment
Take a quick look at your compressor, hose, and tools. Are there any visible cracks or damage? Many experts say a visual inspection can prevent problems down the line (OSHA guidelines often stress this). You’re just looking for anything obvious that might be out of place.
- Inspect the power cord for fraying.
- Ensure the air hose is free of kinks or cuts.
- Check that your air tools are clean and ready.
- Confirm the air filter is in place and clean.
- Locate the pressure gauge and regulator.
Connecting Your Air Tools
This is where the magic starts! Connecting your air hose and tools to your McGraw 3 Gallon Air Compressor is straightforward. You’ll typically use quick-connect fittings, which are super convenient.
Attaching the Air Hose
First, secure one end of your air hose to the compressor’s air outlet. It usually just pushes on and clicks into place. You’ll hear that satisfying “click!” that tells you it’s locked in. Many experts recommend giving a gentle tug to confirm a secure connection.
Connecting Your Tool
Now, attach your chosen air tool to the other end of the hose. Whether it’s a tire inflator, blow gun, or nailer, the process is similar. Again, push it on until it clicks. You want a snug, airtight fit here.
Powering Up Your Compressor
Okay, all connections are solid. It’s time to bring your McGraw 3 Gallon Air Compressor to life! This part is simple but important for building pressure.
Plug It In Safely
Plug the power cord into a grounded electrical outlet. We found that using an extension cord isn’t ideal if it’s too long or too thin (National Electrical Code recommends proper gauge for power tools). Keep it short and robust if you must use one.
Turn It On and Wait
Flip the power switch to the “on” position. You’ll hear the motor hum and the tank begin to fill with air. The pressure gauge will slowly climb. Be patient! The McGraw 3 Gallon Air Compressor needs a few minutes to reach its maximum pressure before it’s ready for work.
Regulating Air Pressure for Your Project
Different tasks require different amounts of air pressure. This is where your pressure regulator comes in handy. It’s like a volume knob for your air power!
Adjusting the Regulator
Once the tank is full and the compressor has stopped running (it will cycle on and off to maintain pressure), look for the regulator knob. Turn it clockwise to increase pressure or counter-clockwise to decrease it. You’ll see the output pressure gauge change as you adjust. Many tools have a recommended PSI range, so check your tool’s manual!
| Common Task | Recommended PSI Range | Why Adjust? |
|---|---|---|
| Inflating Tires | 25-35 PSI | Avoid over-inflation, specific vehicle needs. |
| Using a Blow Gun | 30-50 PSI | Effective dust removal without damage. |
| Brad Nailing | 60-80 PSI | Drive nails without damaging wood surface. |
| Light Painting | 40-60 PSI | Achieve smooth, even coating. |
Monitor Your Gauges
Always keep an eye on both the tank pressure gauge and the regulated output pressure gauge. This helps you maintain control and prevents over-pressurizing your tools or project. It’s your compressor’s dashboard, after all!
Starting Your Task
You’ve prepped, connected, powered up, and set the pressure. You’re ready to go! Use your air tool as intended, being mindful of your surroundings.
Listen to Your Compressor
The McGraw 3 Gallon Air Compressor will cycle on and off as you use it. This is normal! It’s refilling the tank to maintain your set pressure. If it’s running constantly without building pressure, you might have a leak somewhere.
Safety First, Always
Your air compressor is a powerful tool. Treating it with respect means prioritizing safety. We found that following basic safety rules protects both you and your equipment (WorkSafeBC guidelines emphasize this).
Wear Eye Protection
This is a big one! Air tools can kick up debris. Always wear safety glasses or goggles. Many experts agree this is non-negotiable for eye safety.
Keep Clear
Don’t point air nozzles at yourself or others. High-pressure air can cause serious injury. It’s like a forceful wind, but much more concentrated!
Unplug When Not in Use
When you’re done or stepping away, always unplug the compressor. This prevents accidental starts and is a basic safety measure. It’s like turning off the stove when you’re done cooking.
Post-Use Maintenance: Draining the Tank
One critical step after every use is draining your compressor’s tank. This prolongs its life and maintains its efficiency.
Why Drain the Tank?
As the compressor works, moisture from the air condenses inside the tank. If left there, it can cause rust and corrosion. We found that draining moisture regularly prevents internal damage (compressor manufacturer guides always highlight this).
How to Drain It
First, unplug the compressor. Then, locate the drain valve (usually a small valve at the bottom of the tank). Open it slowly to release any trapped water. Close it once only air comes out. Simple!
Troubleshooting Common Issues
Sometimes, your compressor might act a little finicky. Here are a few common hiccups you might encounter.
No Air Pressure?
Check if the power is on. Is the hose connected securely? Is the regulator knob turned up? Sometimes, it’s just a simple oversight.
Compressor Runs Constantly?
This often points to an air leak. Listen for a hissing sound around connections. You can even spray a little soapy water on connections; bubbles will show you the leak.
Strange Noises?
A new sound could indicate a problem. Turn off and unplug the compressor immediately. It’s best to consult your user manual for specific diagnostic steps.
Conclusion
Using your McGraw 3 Gallon Air Compressor is a rewarding experience when done correctly. By following these steps—from proper setup and connection to safe operation and routine maintenance—you’ll ensure your compressor performs reliably for years to come. Remember, a little care and attention go a long way in extending the life of your tools and keeping you safe. Now go ahead and tackle those projects with confidence!
How do I set the correct PSI for my air tools?
To set the correct PSI, first consult your air tool’s instruction manual for its recommended operating pressure range. Then, use the pressure regulator knob on your compressor to adjust the output pressure while watching the regulator gauge. Always start at the lower end of the recommended range and increase as needed.
What kind of maintenance does a McGraw 3 Gallon Air Compressor need?
The primary maintenance for your McGraw 3 Gallon Air Compressor is draining moisture from the tank after every use to prevent rust. Additionally, regularly check the air filter and clean or replace it if it’s dirty, and inspect hoses and connections for leaks or damage.
Can I use an extension cord with my air compressor?
While possible, it’s generally recommended to plug your air compressor directly into a wall outlet. If an extension cord is necessary, we found that it should be a heavy-duty, outdoor-rated cord with the correct gauge (e.g., 12-gauge) and as short as possible to minimize voltage drop and potential overheating (National Electrical Code guidance).
Why is my air compressor motor always running?
If your air compressor motor runs continuously, it usually indicates an air leak. Check all hose connections, fittings, and the tank for any hissing sounds. A common method to find leaks is to spray a soapy water solution on connections; bubbles will form where air is escaping.
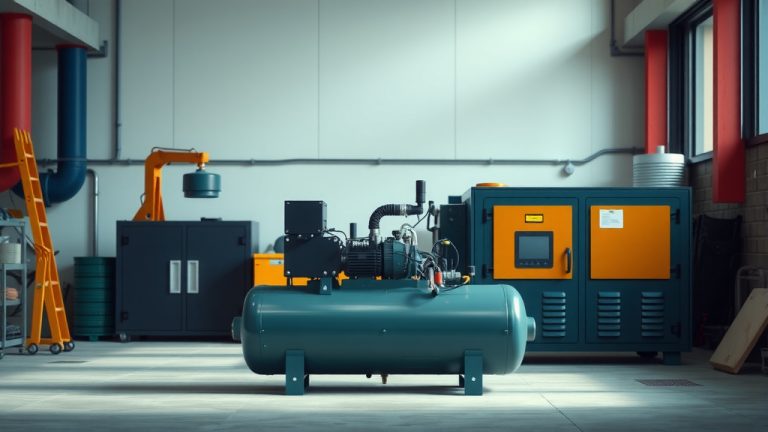
What types of projects is a 3-gallon air compressor best for?
A 3-gallon air compressor like the McGraw model is ideal for smaller, intermittent tasks. This includes inflating car or bicycle tires, sports equipment, and air mattresses. It’s also great for operating small air tools like brad nailers, staplers, blow guns for cleaning, and touch-up paint sprayers.