
Can You Run an Airbrush Off a Regular Air Compressor?
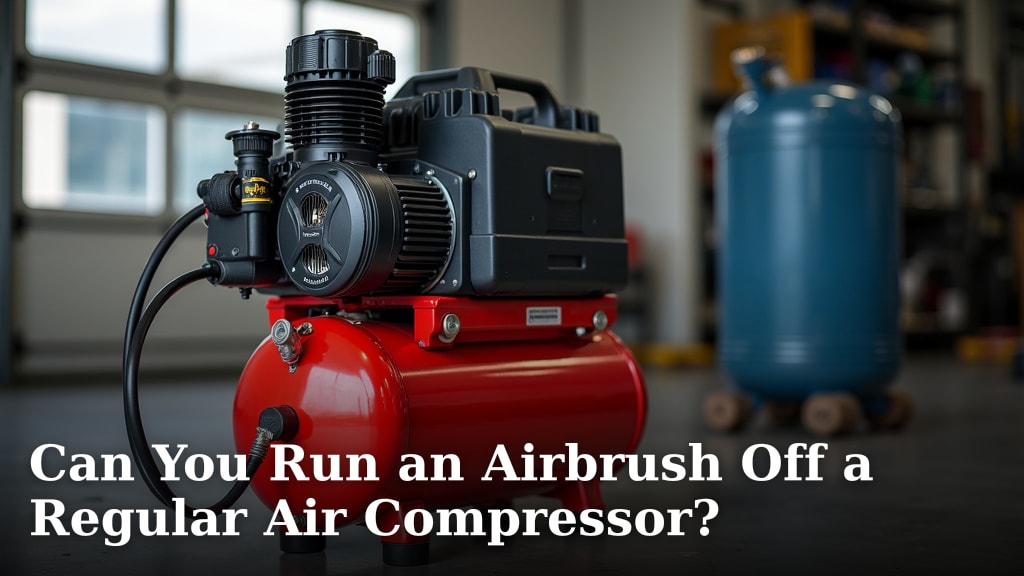
Yes, you can run an airbrush off a regular air compressor, but there are important considerations. You will likely need some adapters and a pressure regulator to make it work properly. Not just any compressor will do; you need one that offers steady, low pressure.
Many people wonder if their garage compressor can pull double duty for their delicate airbrushing projects. We found that while it’s technically possible, matching the compressor to your airbrush’s needs is key. Getting the right pressure and consistent airflow prevents common airbrushing frustrations.
- You can use a regular air compressor.
- Adapters and a regulator are often needed.
- Pressure control is vital for airbrushing.
- Compressor size and features matter.
Let’s walk through exactly what you need to know and how to set up your existing compressor for airbrushing success.
Adapting Your Standard Air Compressor for Airbrushing
You can certainly use a regular air compressor for your airbrush, but it’s not as simple as just plugging it in. The main challenge is controlling the pressure.
Most standard compressors deliver high pressure, far too much for an airbrush. Airbrushes need much lower, very consistent pressure to spray properly. Think of it like trying to sip a drink through a fire hose!
Understanding Compressor Types and Their Suitability
Not all compressors are created equal when it comes to airbrushing. You probably have a general-purpose compressor in your garage. Let’s see how it stacks up.
Piston Compressors (Your Garage Workhorse)
These are the most common type. They use a piston to compress air into a tank. They’re great for powering air tools, inflating tires, or even painting cars.
The problem? They often produce a lot of moisture and can be very noisy. They also typically have a high minimum pressure cut-in, meaning they kick on at a pressure much higher than an airbrush needs.
Diaphragm Compressors
These are often designed specifically for airbrushing. They use a flexible diaphragm to compress air. They are usually quieter and produce less moisture than piston compressors.
You’ll find these are smaller, more portable, and often come with built-in regulators. They are ideal but might not be what you already own.
Oil-Free vs. Oil-Lubricated
Oil-lubricated compressors need regular oil changes, but they tend to be more durable and quieter. Oil-free compressors are lower maintenance but often noisier.
For airbrushing, an oil-free compressor is often preferred because there’s no risk of oil mist contaminating your paint. However, if your existing oil-lubricated compressor has good filters, it can still work.
Essential Accessories for Airbrushing Success
Turning a high-pressure compressor into an airbrush-friendly machine requires a few key components. These accessories are non-negotiable for good results.
The All-Important Pressure Regulator
This is your most critical piece of equipment. A pressure regulator attaches to your compressor’s air outlet. It reduces the high tank pressure to the low, steady pressure your airbrush needs.
Look for a regulator with a gauge so you can precisely set the working pressure. Most airbrushes operate between 15-30 PSI (pounds per square inch). Without a regulator, your paint will splatter or not spray at all.
Moisture Trap (Water Separator)
Compressors, especially piston types, generate moisture as they compress air. This water can mix with your paint, causing sputtering, uneven coverage, and clogged nozzles. It’s a common problem.
A moisture trap fits after the regulator and catches condensed water vapor. It’s a small investment that saves you a lot of frustration. Many regulators come with an integrated moisture trap.
Air Hose and Adapters
Your garage compressor likely has a standard industrial quick-disconnect fitting. Your airbrush will have a much smaller, often proprietary fitting. You’ll need an adapter or a specialized hose.
Make sure the hose is flexible enough to allow comfortable movement. We’ve found that a good quality braided airbrush hose is usually durable and reliable.
Quick-Disconnect Couplings
While not strictly essential, quick-disconnects make your life much easier. They allow you to easily attach and detach your airbrush from the hose without unscrewing connections every time.
It’s like the difference between screwing in a light bulb every time you want to turn on a lamp, versus just flipping a switch. Convenience is a huge factor here.
Setting Up Your Compressor for Airbrushing
Once you have your accessories, the setup process is straightforward. Safety first, always.
- Attach the pressure regulator to your compressor’s outlet.
- If separate, connect the moisture trap after the regulator.
- Connect your air hose to the moisture trap (or regulator if integrated).
- Attach the correct adapter (if needed) to your airbrush.
- Connect your airbrush to the air hose.
It sounds like a lot of steps, but it’s just connecting a few components in a logical order.
Optimizing Pressure and Airflow
This is where the magic happens. Getting the right pressure is key to smooth airbrushing.
Start with a low PSI setting on your regulator, around 15-20 PSI. Spray some water or practice paint on a scrap surface. Adjust the pressure up or down until you achieve a consistent, fine mist (Mayo Clinic).
Different paints and airbrushes require different pressures. Thicker paints often need more pressure. Experimentation is your friend here.
Addressing Common Challenges
Using a general-purpose compressor has its quirks. Be prepared for them.
Noise Levels
Garage compressors can be very loud. This is often the biggest drawback. Consider wearing hearing protection, especially during long sessions. We found that placing the compressor in another room or inside a sound-dampening box helps a lot.
Pulsation and Inconsistent Airflow
Some compressors, especially smaller tankless models, can produce pulsating airflow. This means the air comes out in uneven bursts, leading to choppy paint application. A good regulator and a small air tank (even a separate one) can help smooth this out.
Condensation and Moisture
Even with a moisture trap, humidity can still be an issue. Periodically drain the tank on your compressor. If you live in a very humid environment, consider adding an inline air filter closer to your airbrush. You want the air to be as dry as possible.
Checking for Leaks
After assembling everything, it’s a good idea to check for air leaks. Spray a little soapy water on all connections while the compressor is pressurized. Bubbles indicate a leak that needs tightening.
Leaks reduce efficiency and can cause your compressor to run more often. This creates more noise and wears out your compressor faster.
Maintenance Tips for Longevity
Keep your setup running smoothly with some basic maintenance.
- Drain your compressor tank regularly to remove moisture.
- Clean your moisture trap bowl often.
- Inspect hoses for cracks or damage.
- Keep your airbrush clean after every use.
- Check and tighten connections periodically.
Proper care extends the life of your equipment and prevents frustrating interruptions during your projects.
| Feature | Dedicated Airbrush Compressor | Regular Shop Compressor (Adapted) |
|---|---|---|
| Noise Level | Generally Quiet | Often Loud |
| Portability | High | Low (due to size/weight) |
| Cost (Initial) | Moderate | Potentially Low (if already owned) |
| Pressure Control | Built-in, Precise | Requires External Regulator |
| Moisture Control | Often Integrated | Requires External Trap |
| Air Purity | Very High | Requires Good Filtration |
Your Airbrushing Setup Checklist
To ensure you have everything you need for a successful airbrushing experience with your existing compressor, here’s a quick checklist:
- Functional Air Compressor: Make sure it runs well.
- Pressure Regulator with Gauge: Essential for pressure control.
- Moisture Trap/Water Separator: To prevent paint contamination.
- Air Hose: Long enough and flexible.
- Appropriate Adapters: To connect your airbrush to the hose.
- Airbrush: Ready for action!
Having these components will help you get started with confidence and minimize common airbrushing headaches.
Conclusion
You
