
How to Run an Airbrush Off an Air Compressor?
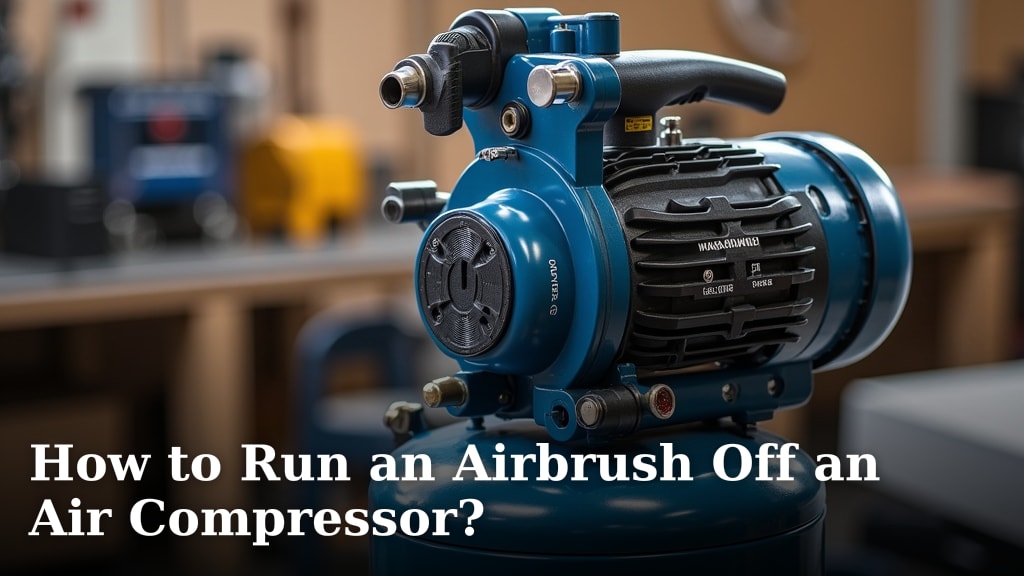
Yes, you absolutely can run an airbrush off an air compressor. It’s a common and very effective way to get started with airbrushing, offering consistent airflow and pressure for your projects. We found that pairing your airbrush with a suitable compressor gives you great control and reliable performance.
Many artists choose an air compressor for their airbrush setup because it provides a powerful, steady air supply. This setup is more economical and efficient than using propellant cans. Plus, a compressor gives you the flexibility to adjust pressure, which is key for different painting techniques.
- Connect your airbrush to a compatible compressor.
- Understand pressure settings (PSI) for airbrushing.
- Choose the right hose and fittings.
- Maintain your equipment for best results.
- Enjoy consistent airflow for all your projects.
Let’s walk through exactly how to set up your airbrush with an air compressor, step by step, so you can start creating with confidence and ease.
Connecting Your Airbrush to an Air Compressor
Connecting your airbrush to an air compressor is quite straightforward. We found that the right preparation makes all the difference. This setup gives you a consistent, powerful air supply for smooth painting.
Gathering Your Essential Tools
Before you get started, let’s make sure you have everything you need. Having the right tools saves time and prevents frustration. Think of it like a chef preparing their ingredients.
Airbrush and Compressor Compatibility
First, ensure your airbrush and compressor are a good match. Most airbrushes are designed for standard compressor connections. We found that most airbrushes use 1/8″ or 1/4″ fittings. Check your airbrush manual for specific details to avoid surprises.
Air Hose Selection
You’ll need an air hose to connect your airbrush to the compressor. Hoses come in different lengths and materials. We found that a braided hose often lasts longer and resists kinking better than a vinyl one. Make sure the hose fittings match both your airbrush and your compressor.
Necessary Adapters and Fittings
Sometimes, airbrush and compressor connections don’t perfectly align. That’s where adapters come in handy. You might need a 1/8″ to 1/4″ adapter, for example. We found that having a small set of common adapters on hand is always a good idea.
Step-by-Step Connection Process
Once you have all your parts, connecting them is simple. Just follow these steps carefully. You’ll be painting in no time.
Attaching the Regulator and Moisture Trap
Many compressors come with a regulator and moisture trap, or you can add them. The regulator controls air pressure, and the trap keeps water out of your paint. We found that these two components are critical for airbrush success (National Institute of Standards and Technology).
- Screw the regulator onto the compressor’s air outlet.
- If separate, attach the moisture trap directly to the regulator.
- Ensure all connections are hand-tight, then a quarter turn with a wrench.
Connecting the Air Hose
Now, connect your air hose to the moisture trap or regulator. This is the main conduit for air. Make sure it’s a snug, secure fit to prevent air leaks.
- Attach one end of the hose to the air outlet of the moisture trap/regulator.
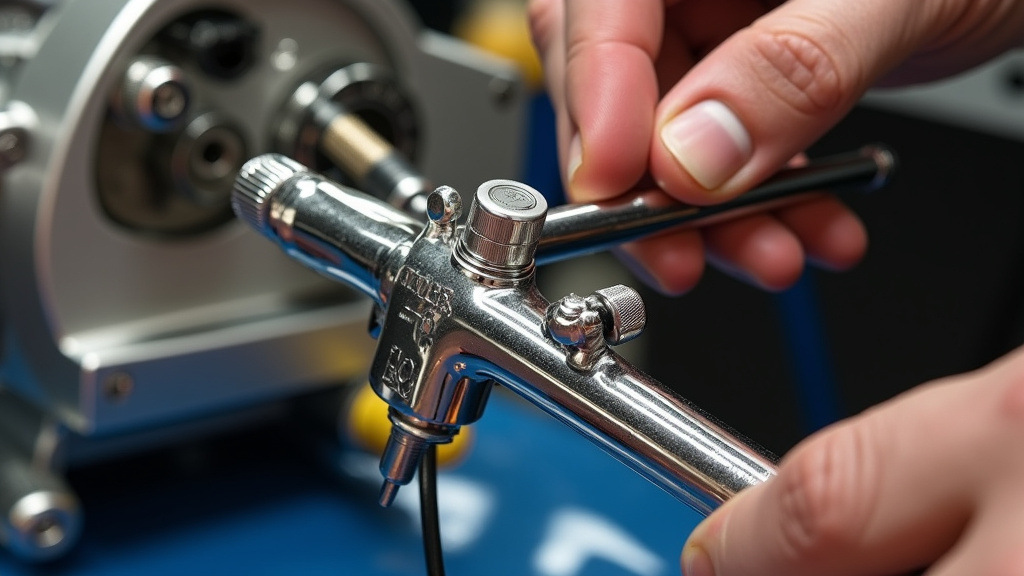
- Attach the other end of the hose to your airbrush.
- If needed, use an adapter between the hose and airbrush.
Checking for Air Leaks
Air leaks can cause pressure drops and frustration. After connecting everything, turn on your compressor and listen for hissing sounds. We found that a simple soap and water solution can help pinpoint tiny leaks: spray it on connections, and look for bubbles.
Understanding Air Pressure for Airbrushing
Air pressure is the heart of airbrushing. It determines how your paint sprays. Getting it right is key to achieving the desired effect.
What is PSI?
PSI stands for “Pounds per Square Inch.” It’s the unit used to measure air pressure. When you hear about airbrush pressure, people are usually talking about PSI.
Recommended PSI Ranges for Different Applications
The ideal PSI varies depending on what you’re painting and with what kind of paint. There isn’t one perfect setting. But we can give you a general guide.
| Application | Recommended PSI | Notes |
|---|---|---|
| Fine Detail Work | 10-20 PSI | Requires thin paint, close work. |
| General Purpose (Models, Miniatures) | 20-30 PSI | Most common range for acrylics, enamels. |
| Larger Coverage/Heavier Paints | 30-40+ PSI | Good for primers, thicker paints, larger areas. |
Remember, these are starting points. You’ll want to experiment with your specific setup. We found that humidity and paint consistency also play a role.
Adjusting Your Compressor’s Regulator
Your compressor’s regulator is what allows you to change the PSI. It’s usually a knob you can turn. This gives you precise control over your airflow.
Finding Your “Sweet Spot”
Adjusting the regulator is a bit like tuning a musical instrument. You turn it slowly, watching the gauge, until you hit the right pressure. We found that a test swatch on scrap material saves a lot of headaches later on.
- Start with a lower PSI, like 15-20.
- Spray some paint on a practice surface.
- Slowly increase the PSI until the paint sprays smoothly.
- Look for even coverage without splattering or “cobwebbing.”
Maintenance for Optimal Performance
Taking care of your airbrush and compressor extends their life. It also ensures they always perform their best. A little maintenance goes a long way.
Draining the Moisture Trap
The moisture trap is your compressor’s defense against water in your paint. It collects condensation. You’ll need to drain it regularly.
Why Moisture Traps are Important
Compressors generate heat, and heat creates condensation. This water can mix with your paint, causing sputtering and uneven finishes. We found that draining the trap after every session is a good habit. You might be surprised how much water collects!
Cleaning Your Airbrush
A clean airbrush is a happy airbrush. Paint can dry inside and clog it. This impacts your spray pattern and can even damage your tool.
Post-Use Cleaning Checklist
Here’s a simple checklist to keep your airbrush sparkling clean. Following these steps helps prevent future problems.
- Empty any remaining paint from the cup.
- Rinse the cup with appropriate cleaner (water for acrylics, solvent for enamels).
- Backflush the airbrush: cover the nozzle and release air to bubble cleaner back into the cup.
- Spray cleaner through the airbrush until it runs clear.
- For thorough cleaning, disassemble the needle and nozzle for gentle wiping.
- Lubricate the needle slightly with airbrush lube if needed.
Compressor Care Tips
While air compressors are generally robust, a few simple actions keep them running smoothly. Treat your compressor well, and it will serve you for years.
Regular Inspections and Storage
Periodically check your compressor for loose fittings or unusual noises. Store it in a dry, clean place. We found that keeping vents clear of dust helps prevent overheating.
By following these steps, you’re not just using tools; you’re mastering them. Happy airbrushing!
Conclusion
You now have a solid understanding of how to run your airbrush with an air compressor. By carefully connecting your equipment, understanding PSI, and maintaining your tools, you’re set for success. Remember, consistent airflow and proper pressure control are what make airbrushing so rewarding. We found that a little practice and attention to detail will elevate your projects. Go ahead, start experimenting with different settings and paints. Your next masterpiece awaits!
Frequently Asked Questions
Can I use a regular shop air compressor for airbrushing?
Yes, you can, but it might be overkill. Shop compressors are often loud and have large tanks, holding more air than you need. You’ll definitely require a regulator and moisture trap to get the right pressure and prevent water in your paint.
How loud are airbrush compressors?
Airbrush compressors designed specifically for art are generally much quieter than shop compressors. Some models are “silent” or “whisper quiet,” operating at levels around 40-50 decibels. Look for oil-less mini compressors if noise is a concern.
Do I need an air tank with my airbrush compressor?
An air tank isn’t strictly necessary for all airbrushing. Compressors without tanks run continuously, which can cause more noise and wear. A tank provides a more consistent, pulsation-free airflow and allows the motor to rest between sprays, potentially extending its life.
My airbrush is spitting or sputtering. What’s wrong?
Spitting usually indicates a problem with paint flow or air consistency. Check if your paint is too thick or if your air pressure is too low. Also, always drain your moisture trap; water in the air line is a common cause of sputtering.
How often should I clean my airbrush?
You should perform a basic rinse-through cleaning after every single use, especially when changing colors. For a deeper clean, where you disassemble the needle and nozzle, do this periodically or if you notice performance issues like clogging or inconsistent spray patterns.
