
How to Fill a Pcp Air Rifle with a Compressor?
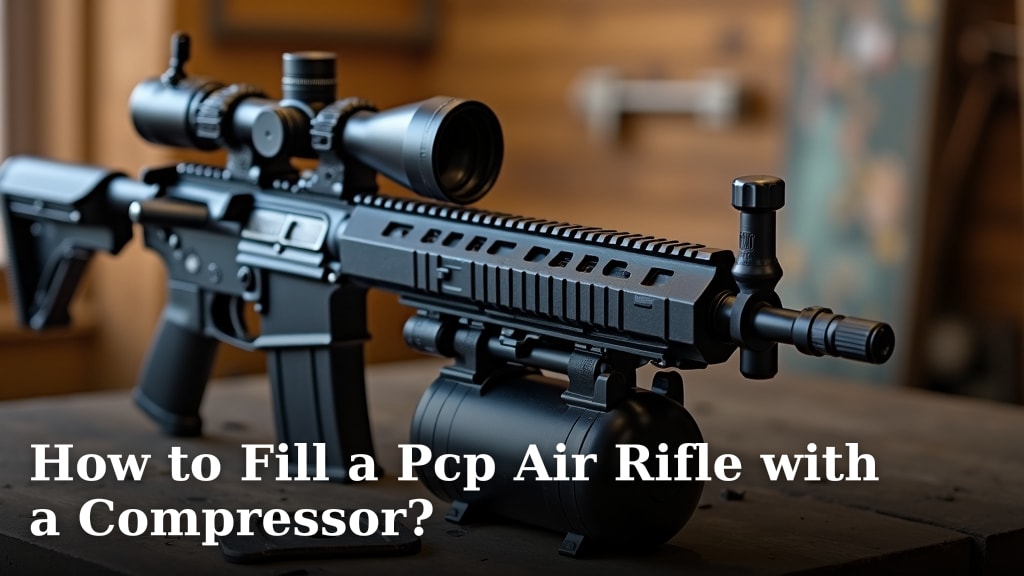
To fill a PCP air rifle with a compressor, you connect the compressor’s hose to your air rifle’s fill probe or fitting, then slowly start the compressor and monitor the pressure gauge until you reach your rifle’s maximum fill pressure. This method is efficient and provides a consistent air supply for your shooting needs.
Using a dedicated PCP air compressor makes keeping your rifle ready much simpler than hand pumps. We found that compressors save you effort and ensure your air tanks are filled correctly. You’ll avoid the strenuous workout that comes with manual pumping, making your shooting experience more enjoyable.
- Hook up your compressor and rifle correctly.
- Understand your rifle’s fill pressure limits.
- Monitor the pressure gauge carefully while filling.
- Always follow safety guidelines when using high-pressure air.
- Learn how to maintain your compressor for long-lasting use.
Let’s walk through exactly how to fill a PCP air rifle with a compressor, step by step, so you can get back to shooting with confidence.
Prepping Your PCP Air Rifle for Compressor Filling
Before you even think about connecting your compressor, there are a few important steps. Taking these seriously will ensure your safety and the longevity of your equipment. We’ll guide you through setting up safely and effectively.
Understanding Your Air Rifle’s Specifications
Every PCP air rifle has specific requirements. You need to know your rifle’s maximum fill pressure. This information is usually printed on the rifle itself or found in your owner’s manual. Exceeding this pressure can be extremely dangerous. It could damage your rifle or even cause an explosion. We found that most PCP rifles operate between 2000 and 3000 PSI, but always confirm your specific model’s limits.
You should also know your rifle’s fill port type. Some use a quick-disconnect probe, while others might have a threaded fitting. Your compressor hose will need to match this. Getting this right prevents leaks and ensures a secure connection.
Gathering Your Essential Equipment
Having the right tools on hand makes the process smooth and safe. We’ve put together a quick checklist for you.
- PCP Air Compressor: This is obvious, but ensure it’s in good working order.
- Compressor Hose: Make sure it has the correct fitting for your rifle.
- Fill Probe/Adapter: If your rifle uses a probe, have it ready.
- Owner’s Manual: Always keep it handy for reference.
- Safety Glasses: Eye protection is a must when dealing with high-pressure air.
- Hearing Protection: Compressors can be loud, so protect your ears.
- Wrench (if needed): For securely attaching threaded fittings.
Having everything organized beforehand saves time and reduces the chance of errors. It’s like preparing your ingredients before cooking a meal – everything flows better.
Connecting Your Air Compressor to Your PCP Rifle
Once you’ve prepped, it’s time to make the connection. This step needs care and attention to detail. A secure connection prevents air leaks and ensures safe operation.
Attaching the Fill Probe or Adapter
First, locate your rifle’s fill port. If it uses a quick-disconnect probe, simply insert the probe firmly into the port. You’ll often hear a small click, which indicates it’s seated properly. If your rifle has a threaded fitting, screw the adapter onto the port. Make sure it’s hand-tight, then use a wrench if needed for a snug fit. Do not overtighten, as this can damage the threads.
Next, attach the compressor hose to your fill probe or adapter. Again, for quick-disconnects, just snap it on. For threaded connections, screw the hose fitting onto the adapter. Check all connections for tightness. We found that a common source of frustration is a loose connection causing air to leak out.
Positioning Your Equipment for Safety
Safety is key. Place your air rifle on a stable surface. Keep it away from anything that could accidentally knock it over. Position your compressor on a flat, level surface, too. Ensure there’s plenty of ventilation around the compressor. Compressors generate heat, and good airflow prevents overheating. We recommend keeping children and pets away from the filling area. High-pressure air can be dangerous if mishandled.
The Filling Process: Step-by-Step
Now that everything is connected and positioned, we can start filling. This part requires careful monitoring and patience. Rushing the process can lead to mistakes and potential hazards.
Starting the Compressor and Monitoring Pressure
With your safety glasses and hearing protection on, turn on your compressor. Many compressors have an ON/OFF switch. Start it up and listen for the motor. At this point, air should begin flowing into your rifle. Most compressors have a pressure gauge that shows the current pressure in your rifle’s air cylinder. You’ll see the needle slowly climb.
Crucially, never walk away from a compressor while it’s filling. You need to watch that pressure gauge like a hawk. Your rifle’s maximum fill pressure is your absolute limit. Filling too fast can also cause issues. Some experts suggest filling in stages, letting the rifle cool slightly between fills if the fill time is long. This helps manage heat buildup. We found that a slow, steady fill is always the best approach.
Reaching the Maximum Fill Pressure
As the pressure gauge approaches your rifle’s maximum fill pressure, slow down. Get ready to stop the compressor. Once the gauge hits that maximum number, immediately turn off the compressor. Do not go over the recommended pressure. Even a little bit too much can stress your air rifle. It’s better to be slightly underfilled than overfilled. Most modern compressors have an auto-shutoff feature, but it’s always wise to manually monitor and be ready to stop it yourself as a backup. Think of it like filling your car’s gas tank – you stop when it’s full, not when it’s overflowing.
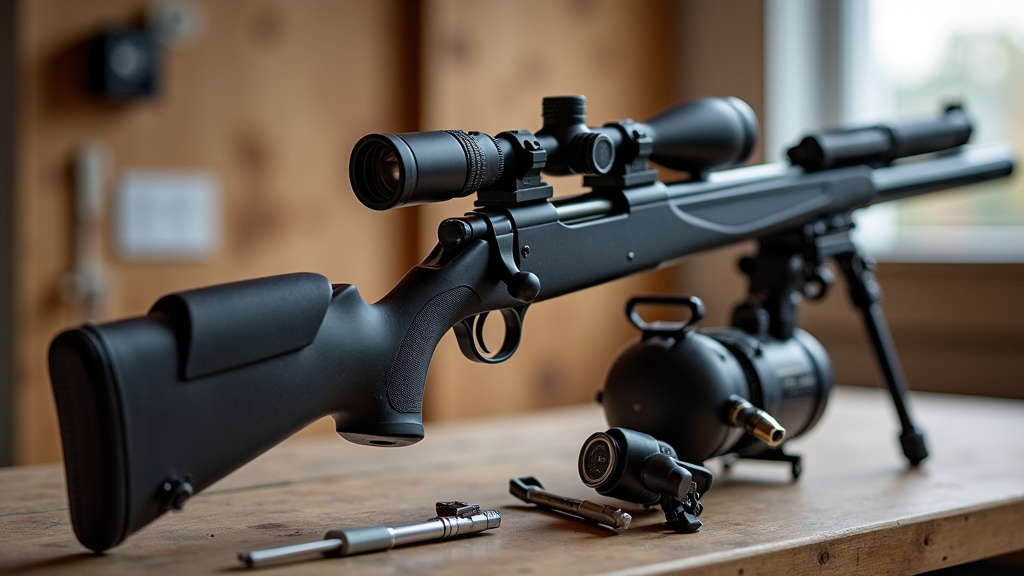
Disconnecting and Post-Fill Checks
You’ve filled your rifle! But you’re not done yet. Safely disconnecting and performing a few quick checks are just as important as the filling itself.
Depressurizing the System
After turning off the compressor, you’ll need to release the pressure in the hose. Most compressor hoses have a bleed valve or knob. Slowly open this valve. You’ll hear a hiss as the air escapes from the hose. This depressurizes the connection between the compressor and your rifle. Never disconnect the hose before bleeding off this residual pressure. It can cause fittings to shoot off and could cause injury.
Once the air has stopped hissing, and the hose’s gauge (if it has one) reads zero, it’s safe to disconnect. For quick-disconnects, simply pull back the collar and remove the probe. For threaded fittings, unscrew the hose and then the adapter.
Checking for Leaks and Storing Your Rifle
After filling, take a moment to check your rifle’s fill port and connections for any leaks. You can listen for a hiss or use a bit of soapy water on the connection point – if you see bubbles, you have a leak. If you find a leak, ensure everything is tightened correctly or inspect for damaged O-rings. Fixing a small leak now prevents bigger problems later.
Once you’ve confirmed no leaks, your PCP air rifle is ready for use or storage. Store it in a safe place, unloaded and pointed in a safe direction. Always remember that even when stored, a filled PCP rifle contains high-pressure air and should be handled with respect and caution. We found that regular maintenance, like checking O-rings, can prevent many common leak issues.
Troubleshooting Common Compressor Filling Issues
Sometimes, things don’t go perfectly. Don’t worry! Many common issues have simple solutions. We’ve outlined a few here.
Why Won’t My Rifle Fill?
If your rifle isn’t filling, or the pressure isn’t rising, here are a few things to check: If your air compressor isn’t building pressure, our guide on why an air compressor not building pressure can help you troubleshoot the issue.
- Loose Connection: Is the fill probe/adapter securely seated? Is the compressor hose tightly attached?
- Bleed Valve Open: Did you forget to close the bleed valve on your compressor hose? If it’s open, air will just escape.
- Compressor Issue: Is your compressor actually running and building pressure? Check its power source and any error lights.
- Rifle Fill Port Blocked: Is there any debris in your rifle’s fill port?
We’ve often found that a simple loose connection is the culprit. Double-checking these basics can save you a lot of headache.
What If My Compressor Overheats?
Compressors can get warm, especially during longer fills. However, if yours is getting excessively hot or shutting off due to overheating, consider these points:
- Ventilation: Is there enough airflow around the compressor? Move it to a more open area if needed.
- Fill Time: Are you trying to fill a very large tank or multiple tanks back-to-back? Give the compressor time to cool down between uses.
- Ambient Temperature: Is the room temperature very high? This can contribute to overheating.
- Maintenance: When was the last time you checked your compressor’s cooling fan or air filter? (National Institutes of Health) suggests regular maintenance for optimal device function.
Most compressors have built-in thermal protection, so if it shuts off, let it cool down completely before attempting to restart it. Pushing it too hard can shorten its lifespan.
Conclusion
Successfully filling your PCP air rifle with a compressor is a straightforward process once you understand the steps. You’ve learned the importance of knowing your rifle’s specifications, using the right equipment, and connecting everything securely. Careful monitoring of pressure and safe disconnection practices are key to protecting both yourself and your gear. We found that taking these precautions ensures a reliable and safe air supply every time.
Now that you’re equipped with this knowledge, you can confidently keep your PCP rifle charged and ready for action. Always prioritize safety, and happy shooting!
Frequently Asked Questions
How often should I fill my PCP air rifle with a compressor?
You should fill your PCP air rifle whenever the pressure drops below your rifle’s optimal shooting range, or before a shooting session. We recommend checking the pressure before each use. This ensures consistent performance and accuracy.
Can I use a regular air compressor, like one for tires, to fill my PCP air rifle?
No, you cannot use a regular air compressor designed for tires. Those compressors typically only reach about 150-200 PSI. PCP air rifles require specialized compressors that can generate pressures of 2000-4500 PSI. Using the wrong compressor is ineffective and could damage your rifle.
Is it okay to leave my PCP air rifle fully charged for long periods?
It’s generally okay to leave your PCP air rifle fully charged, but some experts suggest storing it at a slightly lower pressure, around 1500-2000 PSI, for very long periods. This can help extend the life of your rifle’s seals and O-rings. Always check your rifle’s manual for specific storage recommendations.
How do I know if my compressor’s hose connection is compatible with my air rifle?
You need to check the fill port type on your air rifle and the fitting type on your compressor hose. Many rifles use quick-disconnect fittings, while others use threaded adapters. We found that most compressor kits include various adapters, or you can purchase specific ones separately to ensure a secure match.
What should I do if my compressor starts making unusual noises during filling?
If your compressor makes unusual noises (grinding, clunking, or excessive vibrating), immediately turn it off. This could indicate a mechanical issue or overheating. Let it cool down, check for any visible problems, and consult your compressor’s manual or a qualified technician before attempting to use it again.
