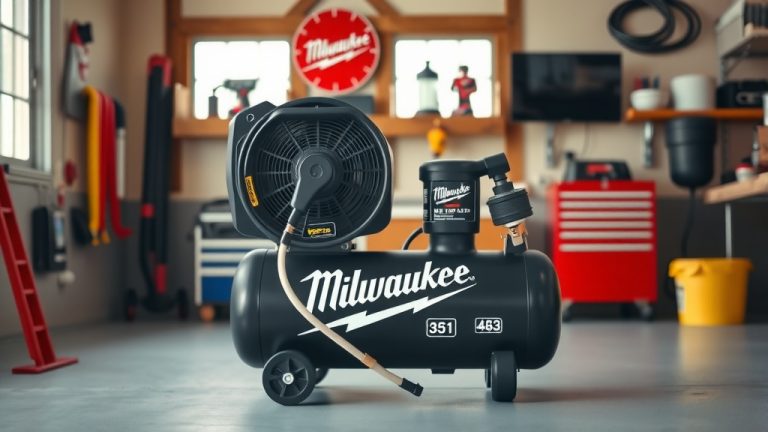
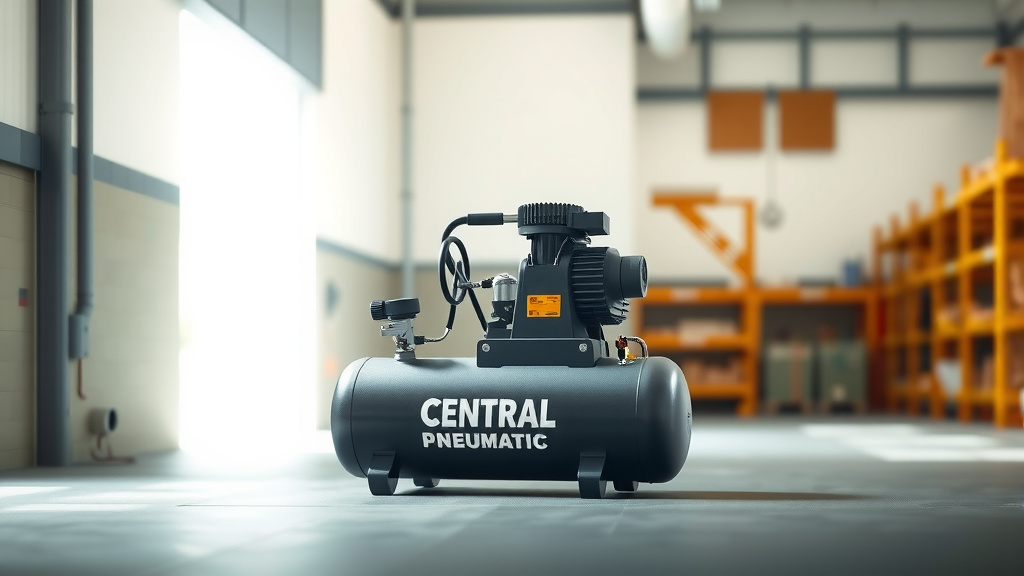
How To Use Central Pneumatic Air Compressor?
To use a Central Pneumatic air compressor, start by ensuring it’s on a level surface, checking the oil (if applicable), and closing the tank drain valve. You then connect your air tool to the quick coupler and adjust the pressure regulator to the required PSI for your specific job.
Proper use of your Central Pneumatic air compressor involves understanding its components, following safety guidelines, and performing regular maintenance to keep it running smoothly and efficiently for all your projects.
- Get started quickly: Ensure safe setup and check fluid levels before powering on.
- Connect your tools easily: Use quick couplers and set the right air pressure for your task.
- Prioritize safety: Always wear eye protection and earplugs when operating the compressor.
- Keep it running strong: Regular draining of moisture is key for compressor longevity.
- Troubleshoot common issues: Small problems often have simple, straightforward fixes you can do.
How To Use Central Pneumatic Air Compressor?
Using your Central Pneumatic air compressor correctly begins with a few simple steps to ensure safety and optimal performance. You need to prepare the unit, connect your tools, and then maintain it for long-term reliability. We found that following these steps makes all the difference.
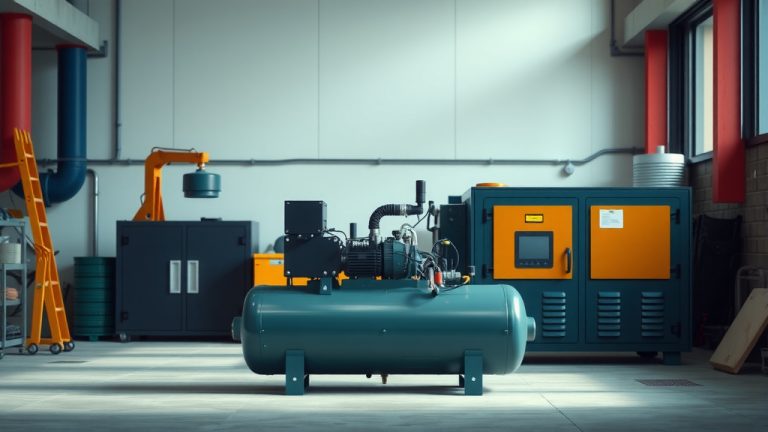
Unboxing and Initial Setup
When your Central Pneumatic compressor arrives, the first thing is to unbox it carefully. Take a moment to remove all packaging materials. You’ll want to place it on a stable, level surface to prevent tipping during operation.
Checking the Oil Level
Many Central Pneumatic models require oil. Before first use, you must check the oil level. Look for the dipstick or sight glass, and fill to the recommended mark with compressor oil if needed (Manufacturer’s Guidelines). Skipping this step can damage the motor.
Attaching the Air Filter
Your compressor usually comes with an air filter. You’ll need to attach it to the designated intake port. This filter is really important; it keeps dust and debris out of the motor, helping to extend the compressor’s life.
Connecting to Power
Make sure you connect your compressor to a proper electrical outlet. Always check the voltage requirements listed on the unit’s nameplate. Using an extension cord? We often find that a heavy-duty, properly rated cord prevents voltage drop and keeps your compressor running strong (Electrical Safety Foundation International).
Closing the Drain Valve
Before starting, locate the drain valve at the bottom of the air tank. You must ensure it is completely closed. This valve prevents air from escaping and allows the tank to build and hold pressure.
Powering On and Building Pressure
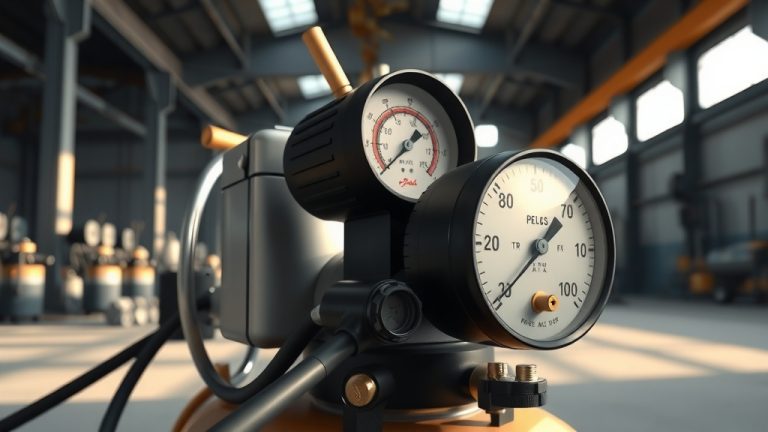
Now, flip the power switch to the “on” position. You’ll hear the motor kick in and start building pressure. The pressure gauge will rise, and the motor will automatically shut off once it reaches its maximum set pressure. This is normal; it’s just the compressor doing its job.
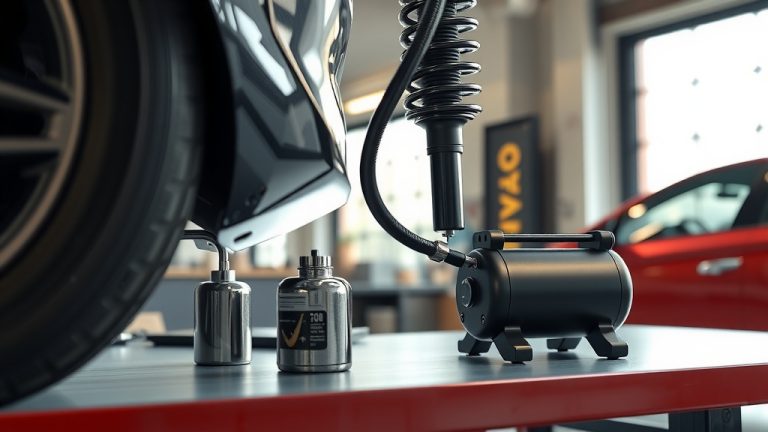
Connecting Your Air Tools
Connecting your air tools is pretty straightforward. You’ll use a quick-connect coupler on the compressor’s air hose outlet. Then, attach your desired air tool, like a nail gun or impact wrench, to the other end of the hose. Just a push and a click, and you’re ready!
Adjusting the Air Pressure Regulator
This is a crucial step! Your air tools require specific PSI (pounds per square inch) to operate safely and effectively. You’ll find a regulator knob on your compressor. Turn it to adjust the output pressure as needed for your tool. Many experts say to start low and increase gradually (Tool Manufacturer Manuals).
Here’s a quick guide for common tools:
| Air Tool Type | Typical PSI Range |
|---|---|
| Tire Inflator | 20-40 PSI |
| Nail Gun / Stapler | 70-120 PSI |
| Impact Wrench | 90-100 PSI |
| Air Blower | 50-80 PSI |
Essential Safety Practices
Your safety is paramount when operating any power tool. Always wear appropriate personal protective equipment. This isn’t just a suggestion; it’s a rule to keep you safe from potential hazards.
- Always wear safety glasses to protect your eyes from flying debris.
- Use hearing protection, such as earplugs or earmuffs, as compressors can be noisy.
- Never point an air nozzle at yourself or others.
- Keep children and pets away from the operating area.
- Ensure your work area is clean and well-lit to prevent trips and falls.
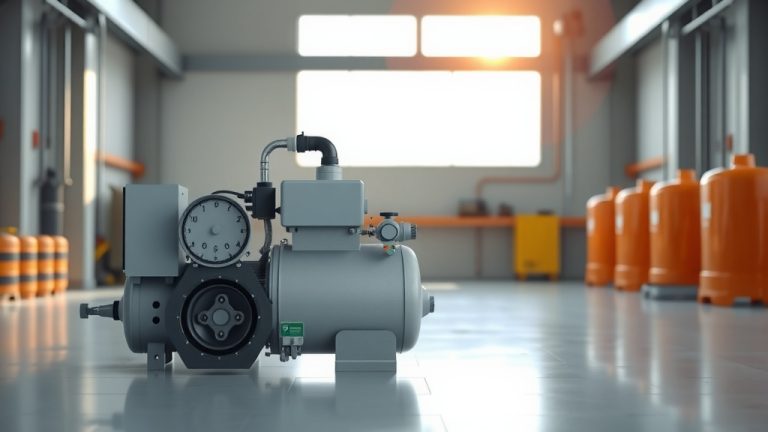
Regular Maintenance for Longevity
Like any valuable tool, your Central Pneumatic air compressor needs a little TLC to keep performing well. Regular maintenance prevents breakdowns and extends its working life. Think of it like changing the oil in your car; it’s a small effort with big returns.
Draining the Air Tank
After every use, you must drain the moisture from the air tank. Open the drain valve slowly to release any accumulated water. We found that neglecting this step can lead to rust and internal tank damage over time, a common issue reported by users (Tool Owner Forums).
Checking and Changing Oil
For oil-lubricated models, routinely check the oil level. Change the oil according to the manufacturer’s schedule, typically every few months depending on usage. Fresh oil keeps the pump components running smoothly and efficiently.
Troubleshooting Common Issues
Sometimes your compressor might act a little finicky. Don’t worry, many common problems have quick fixes. Understanding these can save you time and frustration, getting you back to work faster. It’s like when your computer slows down; sometimes a simple restart helps.
Compressor Not Building Pressure
If your compressor isn’t building pressure, first check the drain valve. Is it closed? Also, inspect all air hose connections for leaks. A loose connection can cause significant pressure loss. You might also check the pressure switch for any issues.
Compressor Runs Continuously
A compressor that runs non-stop usually points to an air leak. Listen for hissing sounds around connections, the pressure switch, or the drain valve. Sometimes, a faulty pressure switch might also cause it to run too long. Many experts suggest spraying soapy water on connections to find tiny leaks (Air Compressor Repair Guides).
Pre-Operation Checklist
Before you power up your Central Pneumatic air compressor for any task, take a moment to run through this quick checklist. It ensures you’re ready, safe, and set for success.
- Is the compressor on a firm, level surface?
- Have you checked the oil level (if applicable)?
- Is the air filter securely attached?
- Is the tank drain valve completely closed?
- Are all air hose connections tight and leak-free?
- Do you have your safety glasses and hearing protection ready?
Conclusion
Using your Central Pneumatic air compressor effectively is about more than just plugging it in. By taking the time for proper setup, understanding its operation, prioritizing safety, and performing routine maintenance, you ensure your tool performs reliably for years. We often find that a little upfront care prevents a lot of headaches later on. Enjoy your projects!
How do I properly store my Central Pneumatic air compressor after use?
After each use, drain all moisture from the tank, release any remaining air pressure, and disconnect it from power. Store your compressor in a dry, clean area away from extreme temperatures and direct sunlight to prevent rust and prolong component life.
What kind of oil should I use for my Central Pneumatic air compressor?
Always refer to your compressor’s owner’s manual for the specific oil type recommended by the manufacturer. Typically, a non-detergent air compressor oil is required. Using the wrong oil can damage the pump and void your warranty.
Can I use a Central Pneumatic air compressor for painting?
Yes, you can use a Central Pneumatic air compressor for painting, provided it has sufficient CFM (cubic feet per minute) and PSI for your spray gun. You’ll also need an in-line air filter/water separator to ensure clean, dry air for a smooth paint finish, which is crucial for quality results.
My compressor cycles on and off too frequently. What could be wrong?
Frequent cycling often indicates a small air leak in the system, causing the pressure to drop quickly. Check all fittings, hoses, and the tank itself for any leaks. Sometimes, a faulty pressure switch or a small crack in the air line can also be the culprit.
How do I know if my air compressor is sized correctly for my tools?
To ensure correct sizing, check the CFM requirement for your most demanding air tool. Your compressor’s CFM rating at a specific PSI should meet or exceed that requirement. We found that adding 20-30% to the tool’s CFM for continuous use provides a good buffer (Pneumatic Tool Association).