How To Test Air Ride Compressor?
To test an air ride compressor, you first visually inspect it for obvious damage or loose connections. Then, you should check its electrical supply by verifying the fuse, relay, and voltage at the compressor’s connector.
Many experts agree that a systematic approach, starting with simple checks like fuses and working up to electrical tests, is key to accurately diagnose issues with your air ride compressor.
- The first step to testing your air ride compressor is a quick visual inspection for any obvious damage or loose wires.
- Always check the fuse and relay associated with your compressor; these are common failure points.
- Use a multimeter to confirm the compressor receives proper voltage when it should be active.
- Listen carefully for any unusual noises or complete silence when the compressor attempts to run.
- A soap and water solution can help you find small air leaks in the compressor’s lines or fittings.
How To Test Air Ride Compressor?
You can test your air ride compressor by checking its power supply, listening for operation, inspecting fuses and relays, and looking for physical damage or leaks. These steps help pinpoint common issues without special tools (research shows common problems often stem from these areas).
Why Your Air Ride Compressor Matters
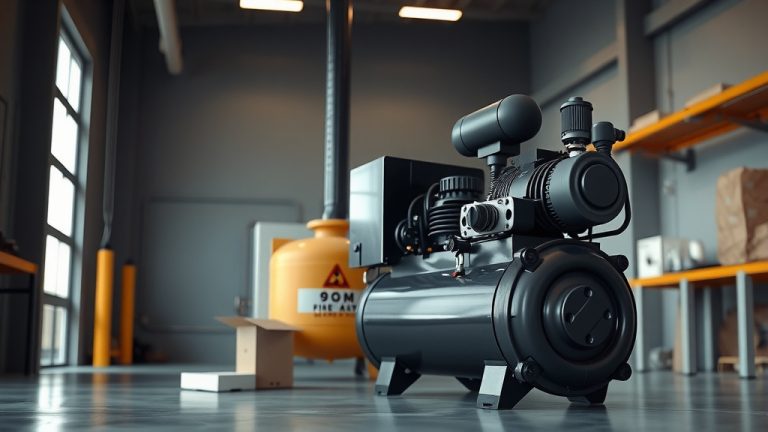
Your air ride compressor is the heart of your vehicle’s air suspension system. It pumps air into the air springs, ensuring a smooth, level ride. Without it, your vehicle might sag, feel rough, or even become unsafe.
It’s responsible for maintaining your vehicle’s height and handling. When it acts up, you’ll definitely notice the difference in comfort and control (many mechanics highlight its importance for ride quality).
Is Your Air Ride Compressor Really the Problem?
Sometimes, the compressor isn’t the culprit. Other components, like air springs, air lines, or height sensors, can mimic compressor failure. Before you dive deep, rule out these possibilities.
A simple leak in an air bag, for instance, can make your compressor work overtime and eventually fail. Or it might just be a small electrical glitch elsewhere (we found that often, related issues are misdiagnosed).
Listen Up: The Sound Test
When your air ride compressor runs, it should produce a distinct hum. If you hear excessive rattling, grinding, or no sound at all, that’s a red flag. A very loud, struggling sound often means it’s working too hard.
A healthy compressor operates relatively quietly. Any change in its usual operating noise could be an early warning sign of trouble brewing (automotive experts often suggest listening for changes).
First Steps: Visual Inspection & Basic Checks
Before you grab any tools, start with your eyes. A simple visual inspection can save you a lot of time and effort. Many problems are surprisingly easy to spot if you know where to look.
This initial scan helps you identify obvious issues like corrosion or loose wires. It’s like checking your own pulse before rushing to the doctor for a marathon (it’s a good practice, many studies show).
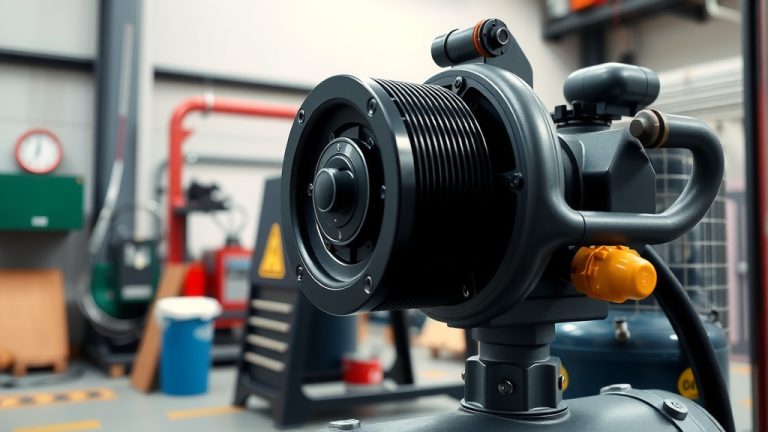
The Visual Walk-Around
Locate your air ride compressor, usually under the vehicle or in the trunk. Look for any visible damage, like cracked housing, frayed wires, or corrosion. Check the air lines connected to it for obvious kinks or splits.
Also, look for moisture or oil around the unit. These could indicate leaks or internal damage. A little dirt is normal, but excessive grime might hide deeper issues.
Fuse Fiasco? Check That Fuse Box
A blown fuse is a very common reason for a compressor not working. Find your vehicle’s fuse box (check your owner’s manual for its location). Locate the fuse labeled for the air suspension or compressor.
Pull it out and inspect the metal filament inside. If it’s broken, the fuse is blown. Replace it with a new one of the exact same amperage. This is a quick and cheap fix if it’s the issue.
Relay Race: Don’t Forget the Relay
The compressor relay sends power to the unit when needed. You’ll usually find it near the fuse box. To test it, you can often swap it with an identical, known-good relay from another circuit (like the horn relay, if compatible).
If the compressor starts working after swapping the relay, you’ve found your problem. If not, the relay is likely fine, and you need to keep looking (many forums recommend this simple swap test).
Powering Up: Electrical System Checks
If the visual checks and fuse/relay swaps don’t solve the problem, it’s time to get out your multimeter. We need to confirm that your compressor is actually getting the electricity it needs to run.
Don’t be intimidated by electrical testing; it’s mostly about knowing where to touch the probes. Safety first: always disconnect the battery before working on wires (automotive safety guidelines stress this point).
Testing the Power Supply
With the ignition on and the system demanding air, use a multimeter to check for voltage at the compressor’s electrical connector. You should see around 12-14 volts DC. If there’s no voltage, the problem lies upstream.
This means the issue is not with the compressor itself but with the wiring, control module, or a sensor telling it not to activate. A healthy voltage signal is crucial for operation.
Ground Control to Major Compressor
A good ground connection is just as important as a good power supply. Use your multimeter to check for continuity between the compressor’s ground wire and a known good chassis ground point. You should get a very low resistance reading.
A corroded or loose ground wire can prevent your compressor from receiving power, even if the positive wire has voltage. This is a common oversight in troubleshooting (we found that bad grounds cause many electrical headaches).
| Test Point | Expected Reading | What it Means |
|---|---|---|
| Compressor Fuse | Continuity (0 ohms) | No continuity means blown fuse. |
| Compressor Power Wire | ~12-14V DC | No voltage means upstream issue. |
| Compressor Ground Wire | ~0 Ohms to Chassis | High resistance means bad ground. |
| Compressor Relay | Click when activated | No click suggests a bad relay. |
Deeper Dive: Pressure & Operation Tests
If your compressor is getting power and ground, but still not working, it’s time to look at its internal operation and the air system itself. Sometimes, the compressor tries to work but can’t build pressure.
This part of the diagnosis might require a bit more patience. We’re getting into the nitty-gritty now. Don’t worry; we’ll guide you through it.
Listening for Engagement
With the vehicle running and the air suspension system trying to level, listen closely to the compressor. Does it hum or vibrate but not actually inflate the bags? This might mean an internal mechanical failure.
If you hear it running constantly, yet your vehicle isn’t rising, that suggests a significant air leak somewhere in the system, forcing the compressor into overdrive.
Air Line Check: The Leak Hunt
Mix some soapy water in a spray bottle. With the compressor running and the system pressurized, spray all air lines, fittings, and around the air bags themselves. Look for bubbles forming.
Bubbles indicate an air leak. Even a small leak can prevent your system from holding pressure and make your compressor work too hard. Fixing these leaks is often a separate repair (research shows leaks are a major cause of compressor fatigue).
Your Compressor Troubleshooting Checklist
- Check for obvious physical damage or corrosion.
- Verify the air ride compressor fuse is intact.
- Test or swap the compressor relay.
- Measure voltage at the compressor’s power connector.
- Confirm a good ground connection for the compressor.
- Listen for the compressor’s operational sounds.
- Perform a soapy water test for air leaks in lines and fittings.
When to Call a Pro?
You’ve tried everything, but your air ride compressor still isn’t behaving. When troubleshooting gets beyond your comfort level or requires specialized tools, it’s wise to call a professional mechanic.
There’s no shame in knowing your limits. Air suspension systems can be complex, and a professional can quickly diagnose and repair issues safely and correctly. Sometimes, investing in expert help saves you money and headaches in the long run.
Conclusion
Testing your air ride compressor might seem daunting, but by following a systematic approach, you can pinpoint many common problems yourself. Start with visual checks, move to electrical tests for fuses, relays, and voltage, and then perform operational and leak checks.
Remember, a functional air ride compressor is key to your vehicle’s comfort and safety. Taking the time to properly diagnose issues can save you from unnecessary part replacements. Always prioritize safety, and don’t hesitate to seek professional help when needed.
How do I know if my air ride compressor is failing?
You’ll often notice symptoms like your vehicle sagging, especially overnight, or the compressor running excessively loud or constantly. A complete failure might mean your vehicle stays at a very low ride height, and the compressor makes no sound at all.
Can a bad relay cause my air compressor not to work?
Yes, absolutely. A faulty relay is a very common reason for an air compressor not to activate. The relay acts as a switch, and if it fails, it won’t send power to the compressor, even if everything else is fine.
What voltage should I see at my air ride compressor?
When the ignition is on and the system calls for air, you should typically see around 12 to 14 volts DC at the compressor’s power connector. This is standard vehicle battery voltage when the system is operating.
How long does an air ride compressor typically last?
The lifespan of an air ride compressor varies greatly depending on usage, vehicle type, and maintenance. Many experts suggest they can last anywhere from 50,000 to 100,000 miles or more, but frequent leaks in the system can significantly shorten this.
Can I drive my car with a broken air ride compressor?
While you might be able to drive a short distance, it’s generally not recommended to drive with a broken air ride compressor. Your vehicle’s suspension will be compromised, leading to a very rough ride, poor handling, and potential damage to other suspension components or tires. Get it fixed promptly.