How To Use Central Pneumatic Air Compressor 3 Gallon?
Using your Central Pneumatic 3 Gallon air compressor involves connecting it to power, attaching the right air tool, and adjusting the pressure for your specific task. Always read your manual for model-specific safety information.
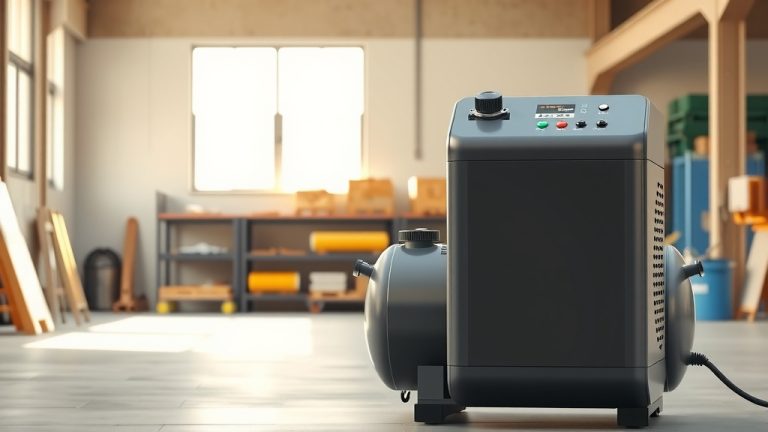
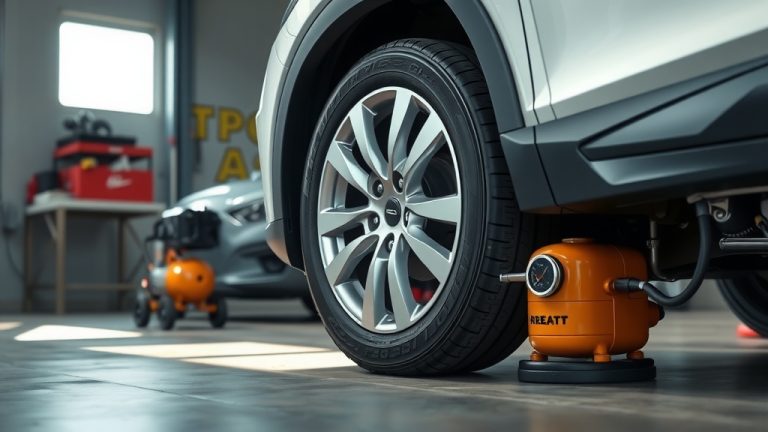
This compact compressor is excellent for light-duty tasks like inflating tires or operating small airbrushes, offering portable power for your workshop or garage.
- Get started with your Central Pneumatic 3 Gallon air compressor by understanding its basic parts and how to keep it safe.
- Setting up is straightforward: plug it in, let it build pressure, and attach your air tool.
- Regulating the air pressure is key for different jobs, from tire inflation to nail guns.
- Remember to perform quick maintenance, like draining condensation, to keep it running smoothly.
How To Use Central Pneumatic Air Compressor 3 Gallon?
Using your Central Pneumatic 3 Gallon air compressor is straightforward once you grasp the basics. It’s designed for portability and lighter tasks around your home or garage. We’ll walk through each step, making sure you feel confident and ready to tackle your projects.
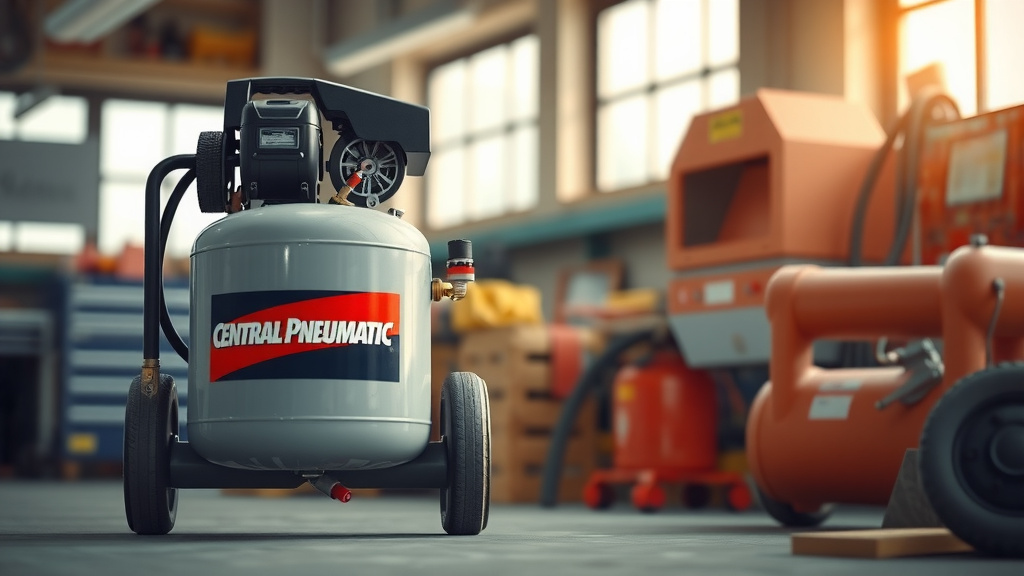
Understanding Your Compressor: The Basics
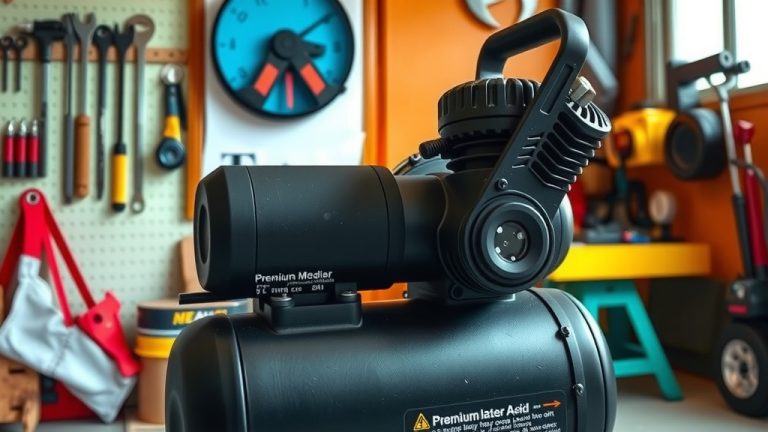
Before you even plug it in, let’s get acquainted with your machine. This small compressor is a powerhouse for its size. Knowing its components helps you use it safely and effectively. You’ll find a tank, a motor, a pump, and a few gauges.
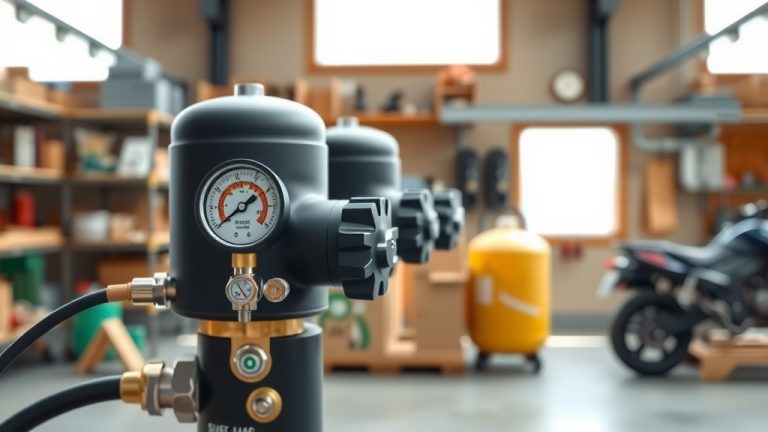
Essential Components You’ll See
Your compressor has a pressure gauge to show tank pressure and a regulator gauge for output pressure. There’s also a pressure regulator knob, an air outlet, and a drain valve at the bottom. Getting familiar with these will make usage a breeze.
Safety First: Always Your Priority
Whenever you work with power tools, safety isn’t just a suggestion; it’s a rule. Air compressors generate high pressure, so a little caution goes a long way. Think of it like cooking: you wouldn’t touch a hot pan without protection, right? The same applies here.
Key Safety Practices to Remember
- Always wear safety glasses or goggles to protect your eyes from debris.
- Wear hearing protection if operating for extended periods, as compressors can be noisy.
- Ensure your work area is clean and well-lit, free from clutter.
- Never point the air nozzle at yourself or others.
- Disconnect the power before performing any maintenance or adjustments.
Setting Up Your Compressor for First Use
Alright, let’s get this machine running! The initial setup is simple, much like assembling a piece of furniture. You just need to connect a few things and prepare for operation. It’s less intimidating than it sounds, trust us.
Placement and Power Connection
Place your compressor on a flat, stable surface to prevent tipping. Ensure it’s in a well-ventilated area. Then, plug the power cord into a grounded electrical outlet. Always use an extension cord rated for outdoor use if needed (OSHA guidelines).
Attaching Your Air Hose
Most Central Pneumatic compressors come with a universal quick-connect coupler. Simply pull back the collar, insert your air hose fitting, and release the collar. You’ll hear a slight click, meaning it’s securely fastened. Give it a gentle tug to confirm.
Powering On and Building Pressure
Ready to hear that familiar hum? Turning on your compressor is the next step. It will begin to fill its tank with compressed air. This process takes a few minutes, so be patient and let it work.
The Initial Run
Flip the power switch to the “ON” position. The motor will start, and the pump will begin compressing air into the tank. You’ll notice the tank pressure gauge needle slowly rise. It’s quite fascinating, isn’t it?
Waiting for Auto Shut-Off
Your compressor will run until it reaches its maximum preset pressure, then automatically shut off. This is a normal safety feature. It will cycle on and off during use to maintain pressure. This is how it conserves energy and prevents over-pressurization.
Adjusting Air Pressure for Your Tools
Different air tools and tasks require different air pressures. This is where the regulator comes in handy. Think of it like a faucet, letting out just the right amount of water. You don’t want to use a firehose for watering a delicate plant, do you?
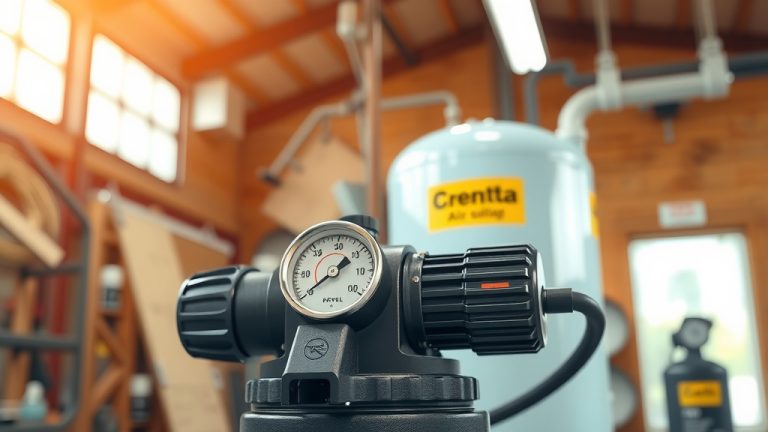
Using the Pressure Regulator
To adjust the output pressure, turn the regulator knob. Turn it clockwise to increase pressure and counter-clockwise to decrease it. Watch the regulator gauge, not the tank gauge, as you make adjustments. Many experts say to start with a lower pressure and increase it as needed.
Checking Your Tool’s Requirements
Always consult your air tool’s manual for its recommended operating pressure. Over-pressurizing a tool can damage it or even cause a safety hazard. We found that most tools have a specific PSI range for optimal performance.
Using Your Air Compressor: Common Tasks
Now for the fun part: putting your compressor to work! Whether it’s inflating or powering small tools, your 3-gallon unit is quite versatile. It’s like having a little assistant for those tricky jobs.
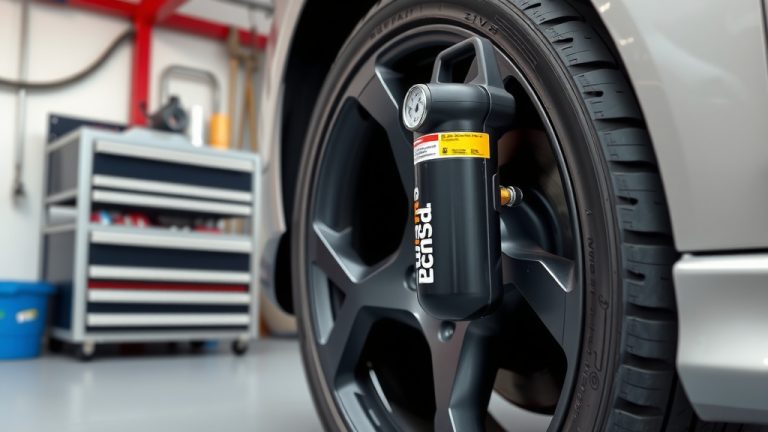
Inflating Tires or Sports Equipment
Attach the appropriate inflation nozzle to your air hose. Set your regulator to the recommended PSI for the item you’re inflating (e.g., car tires are usually 30-35 PSI, bicycle tires can be higher). Slowly add air, checking the pressure often with a separate gauge.
Operating Small Air Tools
For tools like a brad nailer, stapler, or airbrush, connect the tool directly to the air hose. Adjust the regulator to the tool’s required PSI. Always ensure the tool is properly secured before use. Many users find this size perfect for crafts and light repairs.
Here’s a quick reference for common tasks and recommended PSI:
| Task | Recommended PSI Range | Notes for Central Pneumatic 3 Gallon |
|---|---|---|
| Inflating Car Tires | 30-35 PSI | Good for topping off. |
| Inflating Bicycle Tires (Road) | 80-120 PSI | Check tire wall for max PSI. |
| Inflating Sports Balls | 8-12 PSI | Use a needle attachment. |
| Brad Nailing/Stapling | 70-90 PSI | Ideal for small projects. |
| Airbrushing | 15-50 PSI | Excellent control for delicate work. |
Finishing Up and Storing Your Compressor
When your task is complete, it’s not just about turning it off. Proper shutdown and storage extend the life of your compressor. It’s like putting your car away clean after a long drive.
Releasing Air and Shutting Down
First, turn off the power switch. Then, disconnect your air hose and tools. Next, you need to release all the air pressure from the tank. You can do this by opening the drain valve or by using an air tool until the tank is empty. The tank pressure gauge should read zero.
Draining Condensation: A Critical Step
Water condensation builds up inside the tank, especially in humid environments. If not drained, this water can cause rust and damage. Many experts emphasize draining the tank after every use. Simply open the drain valve located at the bottom of the tank until all water and air are expelled. Then, close it tightly. We found that this small step makes a huge difference in longevity.
Simple Maintenance Checklist for Longevity
A little care goes a long way with your air compressor. Think of it as a brief check-up after each use. These steps are quick and help your machine stay reliable for years.
- Drain the air tank: Do this every time you finish using it.
- Check for air leaks: Listen for hissing sounds around connections.
- Clean the air filter: Inspect and clean or replace as per your manual.
- Inspect the power cord: Look for any fraying or damage.
- Store in a dry place: Protect it from moisture and extreme temperatures.
Conclusion
Using your Central Pneumatic 3 Gallon air compressor doesn’t have to be daunting. By following these steps, you can confidently tackle various household and workshop tasks. Remember, safety, proper setup, and consistent maintenance are your best friends for a long-lasting, efficient machine. Go ahead, inflate those tires, or power that brad nailer with ease!
Can I use a Central Pneumatic 3 Gallon compressor for painting cars?
While a 3-gallon compressor can handle very small touch-up jobs with an airbrush, it’s generally not suitable for painting entire car panels. Car painting requires a much larger, continuous volume of air (CFM) that a small tank cannot sustain. You’ll get better, more even results with a larger compressor.
How often should I drain the tank on my Central Pneumatic 3 Gallon compressor?
It’s best practice to drain the tank after every use, especially if you live in a humid area. This prevents water buildup and rust inside the tank, which can significantly extend your compressor’s lifespan and maintain air quality.
What kind of extension cord is safe to use with my air compressor?
Always use a heavy-duty, outdoor-rated extension cord that matches or exceeds the compressor’s amperage requirements. A cord that is too long or too thin can cause a voltage drop, leading to motor damage. Consult your compressor’s manual for specific gauge recommendations.
Why is my Central Pneumatic 3 Gallon compressor constantly running?
If your compressor is constantly running, it could indicate an air leak in the tank, hose, or fittings. It might also mean the pressure switch isn’t working correctly, or the check valve is faulty. Check all connections for leaks and consult your owner’s manual for troubleshooting steps.
Can this 3-gallon compressor run an impact wrench?
A 3-gallon compressor is typically too small to run an impact wrench effectively for any significant period. Impact wrenches demand a high CFM (cubic feet per minute) and sustained pressure. While it might power one for a brief moment, it will struggle to keep up, leading to poor performance and constant cycling.