How To Use Husky Air Compressor?
To use a Husky Air Compressor, you first connect the appropriate air tool to the air hose, ensuring all connections are secure and leak-free.
Next, plug in the compressor, turn it on, and allow it to build up to the desired pressure before engaging the tool’s trigger for operation.
Here’s a quick look at using your Husky Air Compressor effectively:
- Always prioritize safety gear like eye and ear protection before starting.
- Connect your air tools securely, then plug in and power on the compressor.
- Let the tank build full pressure before you begin any task.
- Regularly drain condensation from the tank to prevent rust and damage.
- Proper maintenance extends your compressor’s life and ensures safe operation.
How To Use Husky Air Compressor?
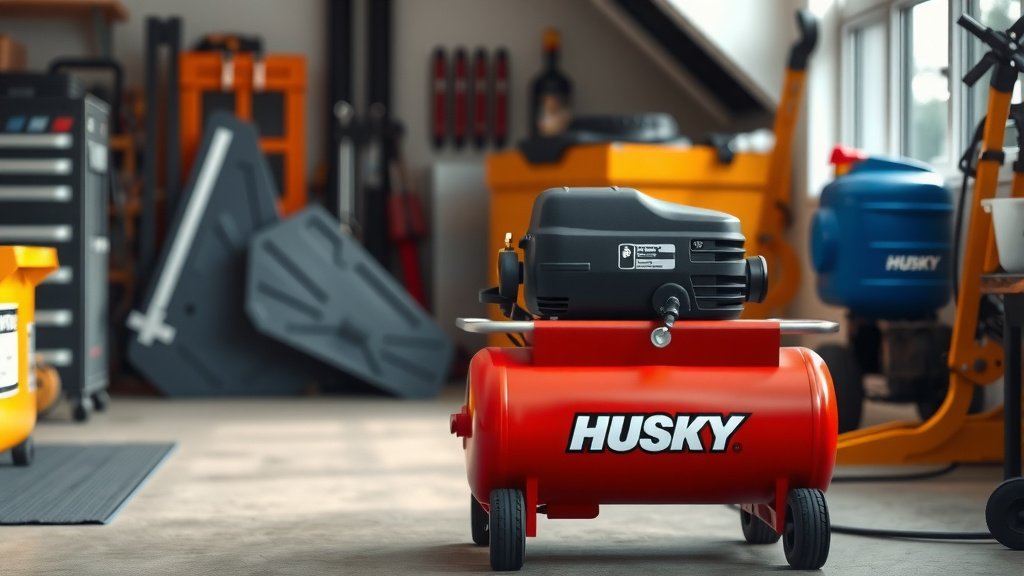
Using your Husky Air Compressor involves a few straightforward steps, ensuring both safety and efficient operation for all your home or workshop projects.
We find that understanding your specific model and its features helps tremendously in getting started smoothly.
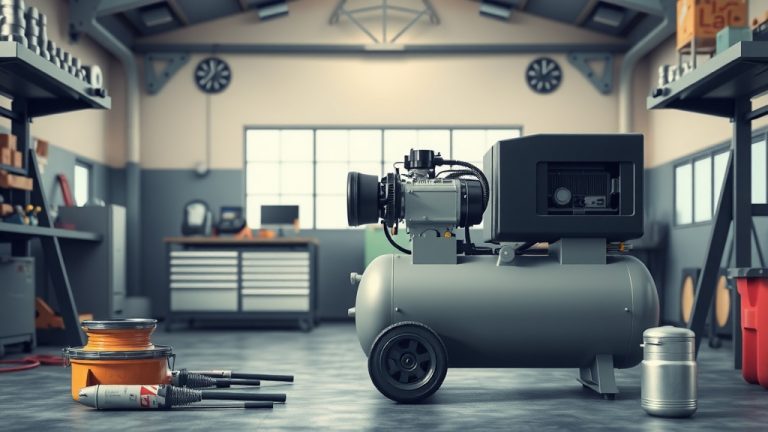
Getting Familiar with Your Machine
Before you even think about plugging in your Husky air compressor, take a moment to look it over. Locate the pressure gauge, the regulator knob, and the air outlet connection.
Each part plays a key role in its operation, and knowing them makes using your compressor much easier and safer.
Safety Gear Essentials
Your safety is paramount. Many experts say that proper personal protective equipment (PPE) is non-negotiable when operating power tools, including air compressors (OSHA).
Always wear safety glasses or goggles to protect your eyes from flying debris. Additionally, air compressors can be noisy, so ear protection is crucial to prevent hearing damage.
Here’s a quick safety checklist before you begin:
- Eye Protection (Safety Glasses/Goggles)
- Ear Protection (Ear Plugs/Muffs)
- Work Gloves (Optional, but recommended)
- Clear Work Area (Free of clutter)
- Ventilated Space (Especially if using oil-lubricated models)
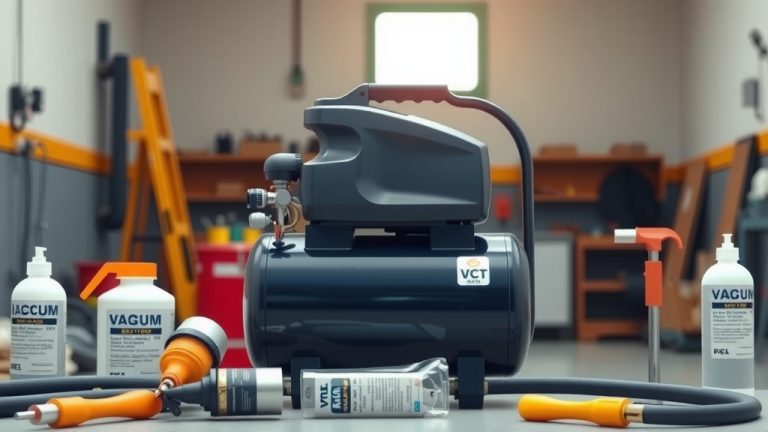
Setting Up Your Compressor
Once you’re geared up, it’s time for the physical setup. Find a stable, level surface for your compressor.
Avoid placing it on soft ground where it might tip over or where debris could easily get into the intake filter.
Connecting the Air Hose
Your air hose is the lifeline for your tools. Connect one end of the air hose to the air outlet of your Husky compressor.
Ensure it’s a tight, secure connection to prevent air leaks, which can reduce efficiency and put a strain on your compressor.
Attaching Your Air Tool Securely
Now, select the air tool you plan to use, whether it’s a nailer, inflator, or impact wrench. Attach the other end of your air hose to the inlet port of your chosen tool.
Again, confirm that the connection is firm and without play. A loose connection can be dangerous and inefficient.
Powering Up and Building Pressure
With everything connected, you’re ready to power on. Plug your Husky air compressor into a suitable electrical outlet.
Flip the power switch to the “On” position and listen as the compressor begins to build air pressure in its tank.
Adjusting the Pressure Regulator
As the tank fills, you’ll see the pressure gauge climb. Once it reaches its maximum (and often cuts off automatically), you can adjust the working pressure.
Turn the regulator knob to set the desired PSI (pounds per square inch) for your specific tool. Always check your tool’s manual for its recommended operating pressure.
Research often connects proper PSI settings with optimal tool performance and longevity (Tool Review Guide).
| Common Air Tool | Typical PSI Range | Helpful Tip |
|---|---|---|
| Tire Inflator | 30-50 PSI | Check tire sidewall for max PSI. |
| Brad Nailer | 70-90 PSI | Test on scrap material first. |
| Impact Wrench | 80-100 PSI | Requires higher airflow (CFM). |
| Blow Gun | 40-60 PSI | Great for cleaning dusty areas. |
Operating Your Tools: Best Practices
With the pressure set, you’re ready to work. Before starting, confirm the tool is pointing away from yourself and others.
Engage the tool’s trigger, and your Husky compressor will provide the necessary air to get the job done efficiently.
Common Uses for Husky Air Compressors
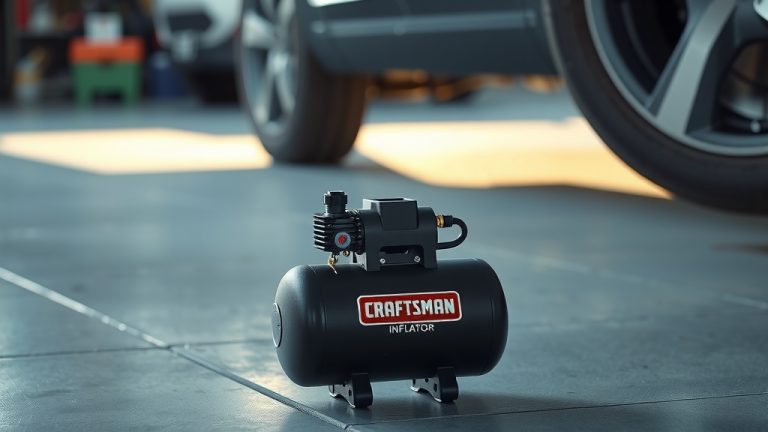
Husky air compressors are incredibly versatile. You might use yours for simple tasks like inflating tires or sports equipment.
Many people find them indispensable for more demanding jobs, such as framing with a nail gun, painting, or powering automotive tools.
Essential Maintenance for Longevity
Just like any other tool, your Husky air compressor needs a little love to keep running smoothly. Regular maintenance can significantly extend its lifespan.
We found that simple, consistent care prevents most common operational issues.
Draining Condensation: A Critical Step
One of the most important maintenance tasks is draining the air tank. Compressed air contains moisture, which condenses into water inside the tank.
This water can cause rust, leading to leaks and tank damage. Always drain the tank after each use by opening the drain valve at the bottom (EPA guidelines often emphasize moisture removal).
Filter Checks and Oil Care
If your Husky compressor is an oil-lubricated model, regularly check the oil level and change it according to the manufacturer’s recommendations. For all models, inspect the air intake filter.
A dirty filter can restrict airflow, making your compressor work harder and less efficiently. Clean or replace filters as needed to maintain peak performance.
Troubleshooting Simple Compressor Problems
Even with great care, you might encounter minor hiccups. Don’t worry; many issues are easy to fix.
A little troubleshooting can save you time and money, getting you back to work quickly.
What to Do If Air Pressure is Low
If your tools aren’t getting enough pressure, first check your regulator setting. Is it too low? Next, inspect your air hose and connections for any visible leaks.
Even a small leak can drastically reduce effective pressure. Ensure your tank is fully pressurized before starting.
Conclusion
Using your Husky Air Compressor doesn’t have to be intimidating. By following these straightforward steps for setup, operation, and maintenance, you can confidently tackle a wide range of tasks.
Remember to always put safety first, understand your tools, and give your compressor the little bit of care it needs to serve you well for years to come.
FAQ: How Do I Know If My Husky Compressor Is Oil-Free?
Many Husky air compressors are designed to be oil-free, meaning they do not require oil for lubrication. You can typically find this information clearly marked on the compressor’s housing or in its owner’s manual. Oil-free models are often lighter and require less maintenance regarding oil changes.
FAQ: What Size Air Hose Should I Use?
The best air hose size depends on your tools’ airflow requirements and the distance from the compressor. For most common home and workshop tasks with shorter runs, a 1/4-inch diameter hose is usually sufficient. However, for tools needing higher CFM or longer hose runs, a 3/8-inch hose can help prevent pressure drop.
FAQ: Is It Okay to Leave My Air Compressor Plugged In?
While most modern compressors have automatic shut-off features, it is generally recommended to unplug your Husky air compressor when not in use. This prevents accidental power surges, reduces unnecessary electricity consumption, and can be a good safety practice, especially in a home setting.
FAQ: How Do I Prepare My Compressor for Winter Storage?
For winter storage, especially in cold climates, ensure the air tank is completely drained of all condensation to prevent freezing and rust. If it’s an oil-lubricated model, check and top off the oil. Store it in a dry, protected area. Some experts even suggest releasing all air pressure from the tank for long-term storage.
FAQ: Can I Paint With My Husky Air Compressor?
Yes, many Husky air compressors are suitable for painting, particularly smaller projects or touch-ups, when paired with the right spray gun. The key is to match the compressor’s CFM (cubic feet per minute) output to your spray gun’s requirements at the necessary PSI to ensure consistent paint flow and finish.