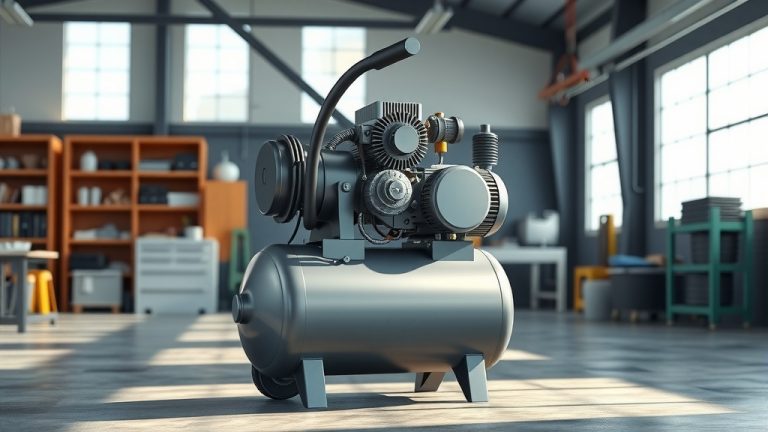
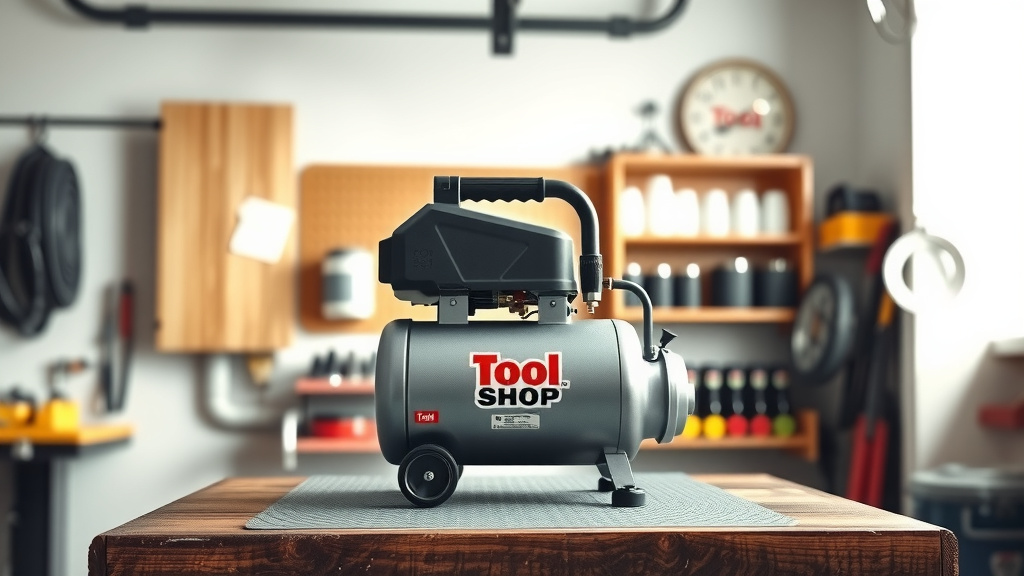
How To Use Tool Shop 2 Gallon Air Compressor?
To use your Tool Shop 2 Gallon Air Compressor, first connect your air tool securely, then plug in the compressor and allow it to build sufficient pressure. Always adjust the air regulator to match the specific PSI needed for your task before you start working.
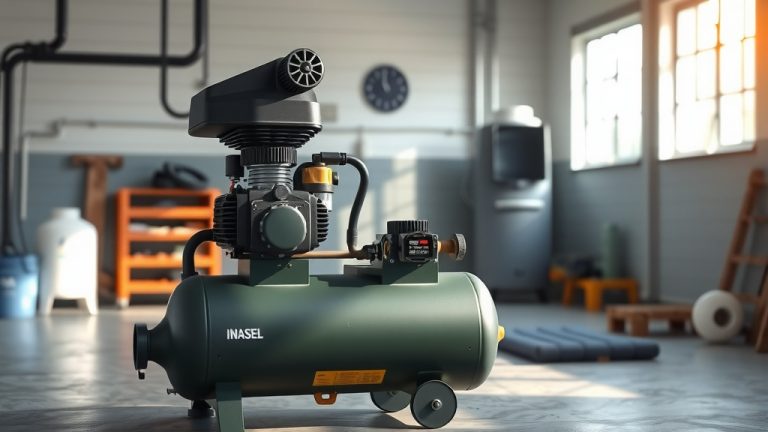
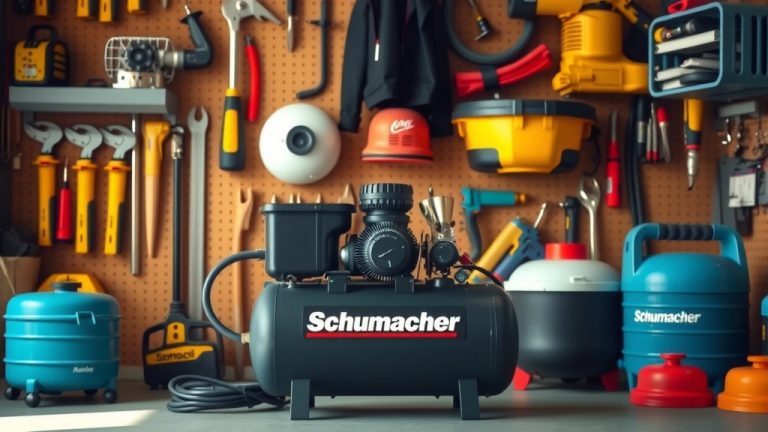
The Tool Shop 2 Gallon Air Compressor is ideal for small, quick jobs around your home or workshop, offering portability and enough power for tasks like tire inflation, brad nailing, or dusting.
- Get your Tool Shop 2 Gallon Air Compressor ready by checking connections and draining any moisture.
- Connect your air hose and chosen tool, ensuring everything is snug and leak-free.
- Plug it in, power it on, and let the tank fill with air to its maximum pressure.
- Adjust the pressure regulator to the precise PSI your specific air tool requires.
- Always follow safety guidelines, like wearing eye protection, before starting any project.
How To Use Tool Shop 2 Gallon Air Compressor?
Using your Tool Shop 2 Gallon Air Compressor is straightforward for most DIYers. It is designed for portability and ease of use, making it a great helper for many smaller jobs.
This compact machine offers enough power for common tasks without taking up much space. We found that many people appreciate its quick setup time and simple controls.
Understanding Your Air Compressor
Before diving in, take a moment to understand what your Tool Shop 2 Gallon Air Compressor does. It draws in air, compresses it, and stores it in its small tank. This stored air then powers your tools.
Think of it like a rechargeable battery for your air-powered tools. When the pressure drops, the motor kicks in to refill the tank, keeping your tools running smoothly.
Why Choose a 2-Gallon Compressor?
A 2-gallon compressor is perfect if you need something light and easy to move. It is not meant for heavy, continuous industrial use, but it shines for smaller, intermittent tasks.
Many homeowners choose this size for its convenience and ability to handle common household projects. It is a great entry-level machine for air tool beginners (Professional Tool Guides).
What Can a 2-Gallon Compressor Power?
You might be surprised by what this little workhorse can do. It is fantastic for inflating car tires, bicycle tires, or sports balls. Brad nailers and staplers also work well with it.
You can also use it for blowing dust and debris from workspaces. Just make sure your specific tool’s air requirements fall within the compressor’s capabilities. We found that most small tools will work.
Safety First: Your Essential Checklist
Before you even plug in your compressor, safety should be your top priority. Air compressors can be powerful, so a little caution goes a long way. This is not just a suggestion; it is a critical step.
- Wear safety glasses or goggles to protect your eyes from flying debris.
- Use ear protection if the compressor noise is loud, especially during long use.
- Ensure your work area is clean and well-lit, free from clutter.
- Always check that all hoses and fittings are securely attached before operation.
- Read your compressor’s manual; it contains specific safety details for your model.
Setting Up Your Tool Shop Compressor
Ready to get started? Setting up your compressor is pretty simple. You will be up and running in just a few minutes, ready to tackle your projects with ease. It is like plugging in a lamp, but with a bit more power.
Connecting the Air Hose
First, attach your air hose to the compressor’s air outlet. Make sure it is a snug fit; you do not want any air leaks. Most compressors use quick-connect fittings, which are very easy to use.
Just pull back the collar, insert the hose end, and release the collar. Give it a gentle tug to confirm it is locked in place. This step ensures a smooth workflow with no pressure loss.
Attaching Your Air Tool
Next, connect your chosen air tool to the other end of the hose. Again, use the quick-connect fitting if your hose has one. Listen for the satisfying click that tells you it is secure.
Always double-check both connections. A loose connection means less air getting to your tool, making your compressor work harder. It is like trying to drink water from a straw with a hole in it, right?
Powering On and Building Pressure
With everything connected, it is time to power up your Tool Shop 2 Gallon Air Compressor. Find a dedicated outlet and plug it in. Avoid using extension cords if possible, or use a heavy-duty one if necessary.
Flip the power switch to the ‘On’ position. You will hear the motor hum and the tank start to fill with air. The pressure gauge will show the PSI rising. Let it run until it reaches its maximum pressure and automatically shuts off.
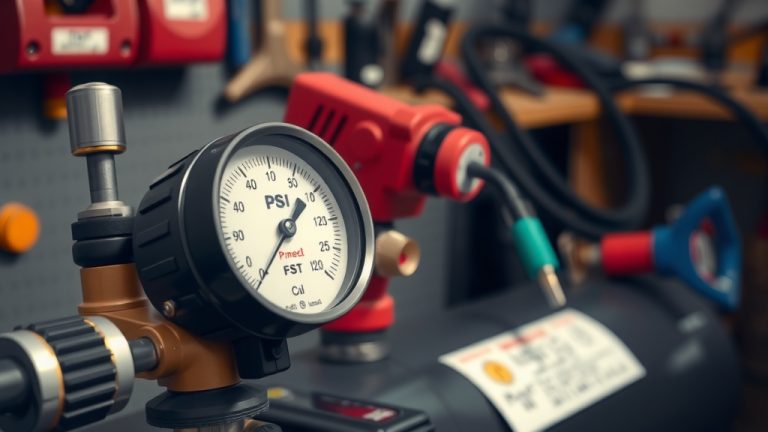
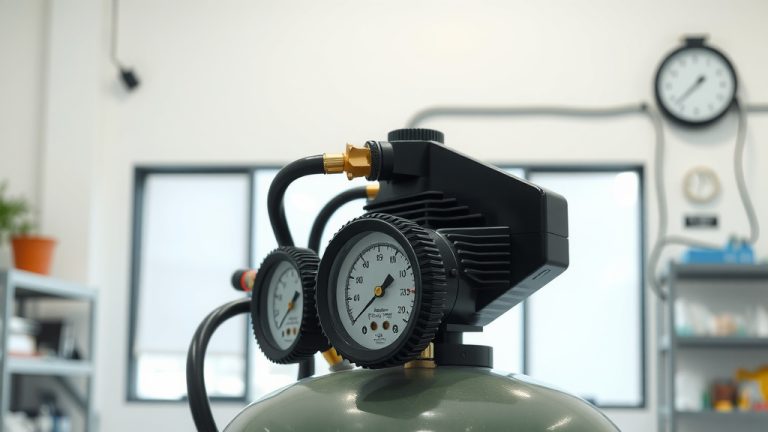
Understanding Pressure Gauges
Your compressor usually has two gauges. One shows the tank pressure, telling you how much air is stored. The other shows the regulated pressure, which is what your tool actually receives.
The tank pressure will always be higher than the regulated pressure. This is normal and how the system works. Keep an eye on both, especially the regulated pressure when working.
Adjusting the Regulator for Your Task
This step is where you tailor the compressor’s output to your tool. Most air tools have a recommended operating pressure (PSI) listed on them or in their manual. You will need to match this. We found this step is often overlooked, leading to poor tool performance.
Turn the pressure regulator knob slowly. Watch the regulated pressure gauge as you turn it. Adjust it until it matches the PSI required by your tool. For example, a brad nailer might need around 90 PSI.
| Air Tool | Typical PSI Range | Common Use |
|---|---|---|
| Tire Inflator | 20-100 PSI | Car, bike, sports balls |
| Brad Nailer | 70-100 PSI | Trim work, small projects |
| Blow Gun | 20-50 PSI | Dusting, cleaning |
| Stapler | 60-90 PSI | Upholstery, light carpentry |
Starting Your Project and Monitoring Pressure
Now that everything is set, you can begin your project. As you use your air tool, the tank pressure will drop. The compressor’s motor will cycle on and off to maintain pressure. This is completely normal.
Keep an eye on the regulated pressure gauge. If it drops too low, your tool might not perform correctly. Take short breaks to allow the compressor to recharge its tank fully. This helps extend the life of your unit.
Draining the Tank: A Must-Do Maintenance Step
After every use, or at least regularly, you must drain the air tank. Why? Because when air is compressed, moisture builds up inside the tank. This moisture can cause rust and damage over time (Many experts agree).
Locate the drain valve at the bottom of the tank. With the compressor off and unplugged, open the valve and let the water spray out. Close it once only air comes out. This small habit prevents big problems.
Troubleshooting Common Issues
Sometimes, things do not go as planned. If your compressor is not building pressure, first check all connections for leaks. A hiss means air is escaping, so tighten that fitting! This is often the simplest fix.
If the motor runs but no air comes out, the pressure switch might be faulty or the tank valve closed. If it trips a breaker, it might be an issue with your power supply or the compressor drawing too much current. Always consult your manual for specific troubleshooting steps.
Conclusion
The Tool Shop 2 Gallon Air Compressor is a fantastic tool for a wide range of small to medium DIY projects. By following these straightforward steps for setup, operation, and maintenance, you can ensure it serves you well for years.
Remember, safety is not an option; it is essential. Always wear proper protection and understand your tool’s requirements. With a little care, your compact compressor will become a reliable partner in your workshop. Happy building!
What is the ideal PSI for inflating car tires with a 2-gallon compressor?
The ideal PSI for car tires varies, but most passenger cars require between 30-35 PSI. You should always check the specific recommendation on your car’s door jamb or owner’s manual. A 2-gallon compressor can easily handle this, though it might cycle a few times for all four tires.
Can I paint with a Tool Shop 2 Gallon Air Compressor?
Generally, a 2-gallon compressor is not recommended for continuous painting with a spray gun. Painting requires a consistent, higher volume of air (CFM) that a small tank cannot sustain for long periods. You might manage very small touch-up jobs, but it will struggle with larger surfaces.
How often should I drain the tank on my 2-gallon air compressor?
You should drain the tank after every use to prevent moisture buildup and rust, which can severely damage the compressor over time. If you use it briefly, draining it at the end of the day or week is a good practice.
My compressor won’t turn on. What should I check first?
First, check if it’s plugged into a working outlet and if the power switch is in the ‘On’ position. Also, check your electrical panel to see if a circuit breaker has tripped. Sometimes, a thermal overload switch on the compressor itself might have tripped, which usually resets after cooling down.
Are all air tools compatible with a 2-gallon air compressor?
No, not all air tools are compatible. A 2-gallon compressor is best for tools with lower air consumption (CFM) and intermittent use, such as brad nailers, staplers, blow guns, and tire inflators. High-CFM tools like orbital sanders, impact wrenches, or larger spray guns will quickly deplete the tank and require a larger compressor.