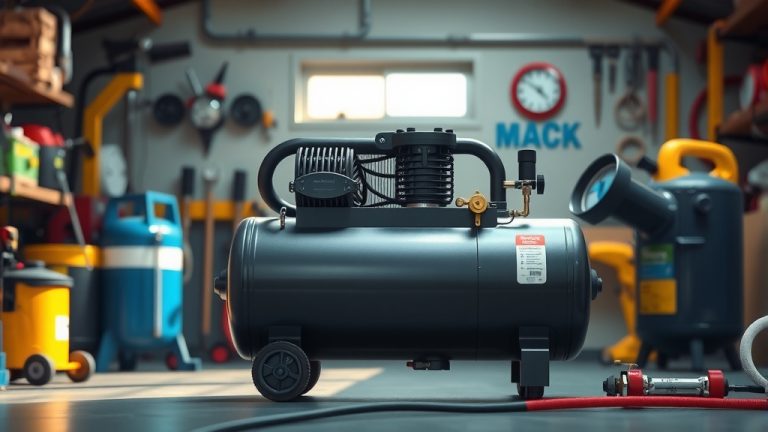
How To Use Stanley FatMax Air Compressor?
To use your Stanley FatMax air compressor, connect it to a power source, attach your desired air tool, and then adjust the air pressure regulator for your specific task, ensuring safety precautions are always followed.
Always remember to drain the condensation from the tank after each use to maintain its performance and longevity, which is a key step for any Stanley FatMax air compressor user.
- Get started by understanding your compressor’s basic components and safety rules.
- Connect air tools correctly and always adjust the pressure for your job.
- Perform simple maintenance like draining the tank to keep it working well.
- Troubleshoot minor issues yourself before seeking expert help.
- This guide makes using your Stanley FatMax simple and straightforward.
How To Use Stanley FatMax Air Compressor?
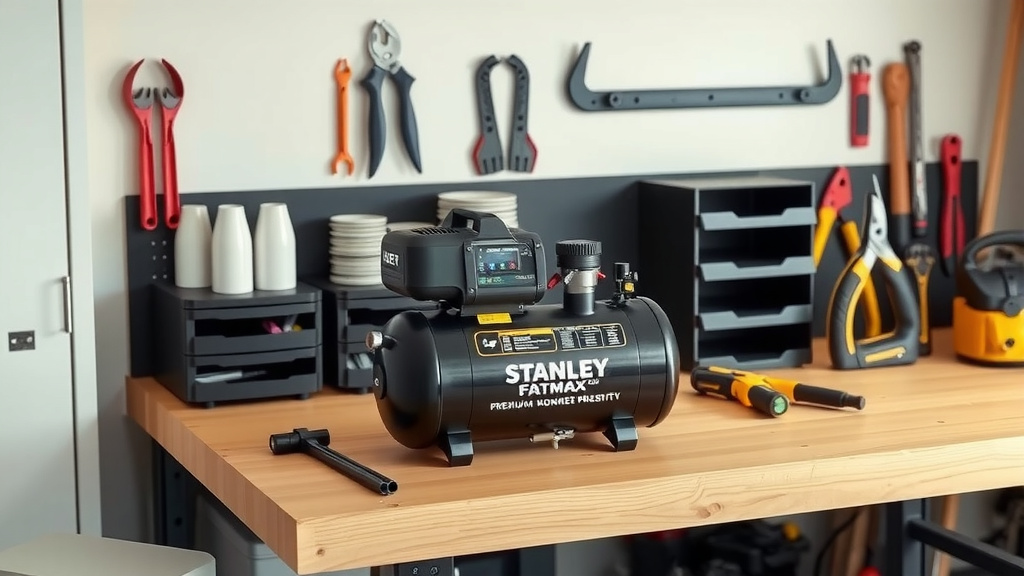
Using your Stanley FatMax air compressor effectively means understanding its features and following some simple steps. It’s designed to be user-friendly, providing power for various tasks around your home or workshop.
Getting Started: Your Stanley FatMax Basics
Before you even plug it in, take a moment to look over your compressor. You’ll find the air tank, the motor, and the control panel. Understanding these basic parts makes operation much smoother.
Many experts suggest familiarizing yourself with the pressure gauge and the regulator knob. These are your main controls for managing air output.
Safety First: A Quick Check
Before any operation, safety is paramount. Always wear eye protection, like safety glasses. Ensure your workspace is well-ventilated, especially if you’re painting or using chemicals.
We found that keeping children and pets away from the operating area prevents accidents. It’s just common sense, right?
Powering Up Your Compressor
Now, let’s get some power to this machine. Plug your Stanley FatMax into a grounded electrical outlet. Many models require a standard 120-volt outlet.
Once plugged in, turn the power switch to the “on” position. You’ll hear the motor start running. The compressor will begin to build air pressure inside its tank.
Wait until the motor stops, which means the tank has reached its maximum pressure. This usually takes a few minutes, depending on the tank size.
Understanding the Controls
Your Stanley FatMax has a control panel that’s pretty intuitive. You’ll see two gauges: one shows the tank pressure, and the other shows the regulated output pressure.
The regulator knob allows you to adjust the output pressure. Turn it clockwise to increase pressure and counter-clockwise to decrease it. We found this adjustment to be key for task versatility.
Connecting Your Air Tools
Connecting an air tool is like shaking a hand – quick and easy. Most compressors use quick-connect couplers. Push your air tool’s male plug into the female coupler on the compressor’s hose.
You’ll hear a click, indicating it’s securely attached. Give it a gentle tug to ensure it’s locked in place. No one wants a tool flying off, do they?
Adjusting Air Pressure for Different Tasks
This is where your compressor really shines. Different tasks need different air pressures. Inflating tires needs one setting, while running a nail gun needs another.
Many guidelines point to checking your tool’s manual for its recommended PSI (pounds per square inch). This prevents damage to your tool and ensures optimal performance (tool manufacturers).
Common Pressure Settings Guide
| Task | Recommended PSI Range |
|---|---|
| Inflating Car Tires | 30-35 PSI |
| Inflating Bicycle Tires | 40-70 PSI |
| Brad Nailer / Stapler | 70-90 PSI |
| Blow Gun Cleaning | 40-60 PSI |
| Spray Painting (HVLP) | 20-40 PSI |
Common Tasks for Your FatMax
Your Stanley FatMax is quite versatile. You can use it to inflate vehicle tires, sports equipment, and even inflatable pools. Just attach the right nozzle and set the PSI.
For home projects, it works great with nail guns or staplers for carpentry. It’s also handy for quick clean-ups using a blow gun to remove dust and debris from your workbench or tools.
Maintenance: Keeping Your FatMax Happy
A little care goes a long way in extending your compressor’s life. The most important step is draining the air tank after every use. Condensation builds up inside, which can lead to rust.
Look for the drain valve at the bottom of the tank. Open it up, let the water escape, then close it tightly. We found this simple step prevents major problems down the road.
Regularly check the air filter for dirt and debris. A clean filter ensures your compressor breathes easily and runs efficiently.
Pre-Use Checklist
- Check for any visible damage or loose parts.
- Ensure the power cord is in good condition.
- Verify the air filter is clean and properly installed.
- Confirm the tank drain valve is closed.
- Gather all necessary safety gear.
Troubleshooting Common Issues
Sometimes, things don’t go as planned. If your compressor isn’t turning on, first check the power connection. Is it plugged in securely? Is the outlet working?
If it’s running but not building pressure, make sure the tank drain valve is closed. A leaking valve will prevent pressure from building up. Research often connects proper valve closure with efficient operation (compressor manuals).
Overheating can also stop your compressor. If it feels hot, give it a break. Most Stanley FatMax models have thermal overload protection.
When to Call for Help
If you’ve tried basic troubleshooting and the problem persists, it might be time to contact Stanley FatMax customer support. They can offer specific guidance for your model.
Do not try to disassemble the compressor yourself for major repairs. This could be dangerous and might void your warranty.
Conclusion
Using your Stanley FatMax air compressor is a straightforward process once you understand the basics. From initial setup and safety checks to connecting tools and performing simple maintenance, you’re now equipped with the knowledge to tackle various projects.
Remember, regular care, especially draining the tank, keeps your compressor reliable for years. So, go ahead, power up your projects with confidence and stay safe out there!
How do I set the correct PSI on my Stanley FatMax air compressor?
You set the correct PSI using the regulator knob on the control panel. Turn it clockwise to increase the pressure or counter-clockwise to decrease it. Always refer to your air tool’s manual for its recommended operating pressure to avoid damage and ensure efficiency.
Can I use an extension cord with my Stanley FatMax air compressor?
While possible, it’s generally recommended to plug your compressor directly into a wall outlet. If you must use an extension cord, make sure it’s a heavy-duty, outdoor-rated cord with the correct gauge (e.g., 12-gauge or lower) and length to prevent voltage drop and overheating.
What kind of maintenance does a Stanley FatMax air compressor need?
The most important maintenance is draining condensation from the air tank after every use to prevent rust. You should also regularly check and clean the air filter, inspect the power cord for damage, and ensure all connections are secure and leak-free.
My Stanley FatMax compressor runs constantly; is this normal?
A compressor running constantly usually indicates a problem. It could be an air leak in the tank or hoses, a faulty pressure switch, or a check valve issue. This is not normal and should be investigated to prevent motor wear and potential damage.
What attachments are most useful for a home garage with a Stanley FatMax?
For a home garage, useful attachments include a tire inflator with a pressure gauge, a blow gun for cleaning dust and debris, a brad nailer or stapler for woodworking projects, and potentially a spray gun for painting small items. These cover a wide range of common tasks.