How To Use RIDGID Air Compressor?
To use your RIDGID Air Compressor, begin by connecting your air tool to the hose and ensuring all connections are secure and leak-free. Then, plug in the compressor, turn it on, and allow the tank to build to its maximum pressure.
Always consult your owner’s manual for specific operational guidelines and recommended safety procedures unique to your particular RIDGID Air Compressor model.
- Before starting, always check your RIDGID compressor and tools for any damage.
- Connect the air hose firmly to both the compressor and your chosen air tool.
- Plug in the unit, turn it on, and wait for the air tank to fully pressurize.
- Set the correct air pressure (PSI) for your specific project and tool.
- After use, safely shut down the compressor and drain moisture from the tank.
How To Use RIDGID Air Compressor?
Using your RIDGID Air Compressor correctly means understanding its features and following proper safety steps. You’ll connect your tools, power up, and manage air pressure for many projects.
Safety First: Your Most Important Step
Before touching any power tools, always prioritize safety. Working with compressed air means handling powerful forces and potential hazards. Think of it like cooking: you wouldn’t start chopping without a clean workspace.
Always wear eye and hearing protection. Many experts, including OSHA, stress the importance of personal protective equipment (PPE). Compressed air can propel debris at high speeds, and loud noises can cause lasting hearing damage.
Make sure your workspace is clean and well-lit. Clutter can lead to trips, and poor lighting hides potential dangers. A clear area helps you focus on the task at hand.
Pre-Use Safety Checklist
- Is the compressor on a stable, level surface?
- Are all air hoses free of cuts or cracks?
- Are you wearing safety glasses and ear protection?
- Is the power cord in good condition?
- Is the air tank drain valve fully closed before starting?
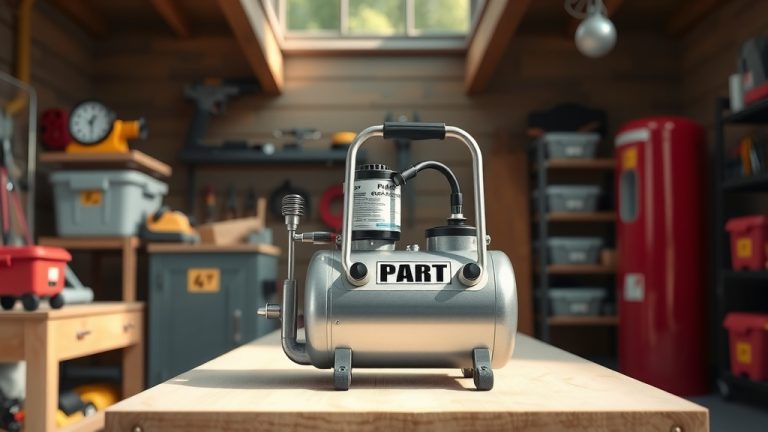
Getting Started: Unboxing Your Compressor
When you first get your RIDGID compressor, you’ll need to prepare it. Remove all packaging materials carefully. Check for any shipping damage right away. Sometimes, parts can shift during transport.
Locate your owner’s manual. This book holds specific instructions for your model. We found that reading the manual truly helps prevent many common setup mistakes (RIDGID User Guides).
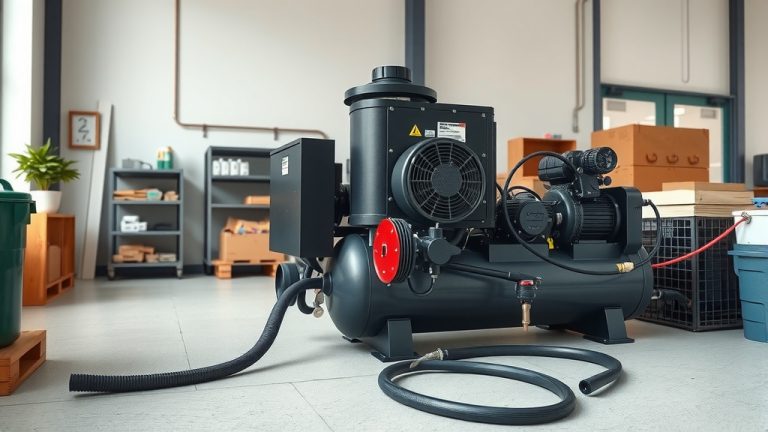
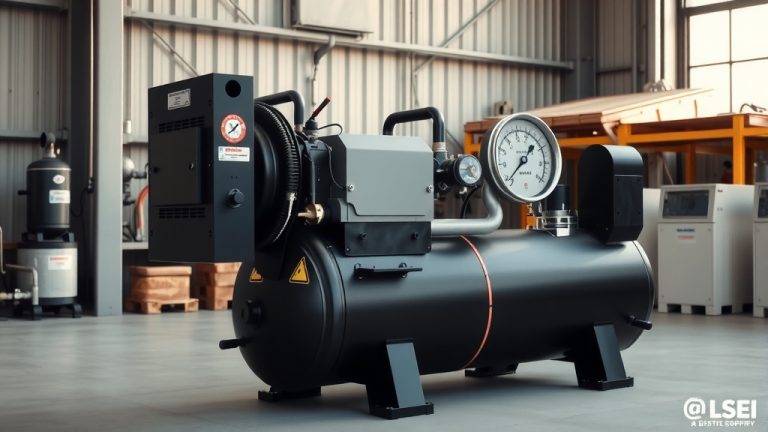
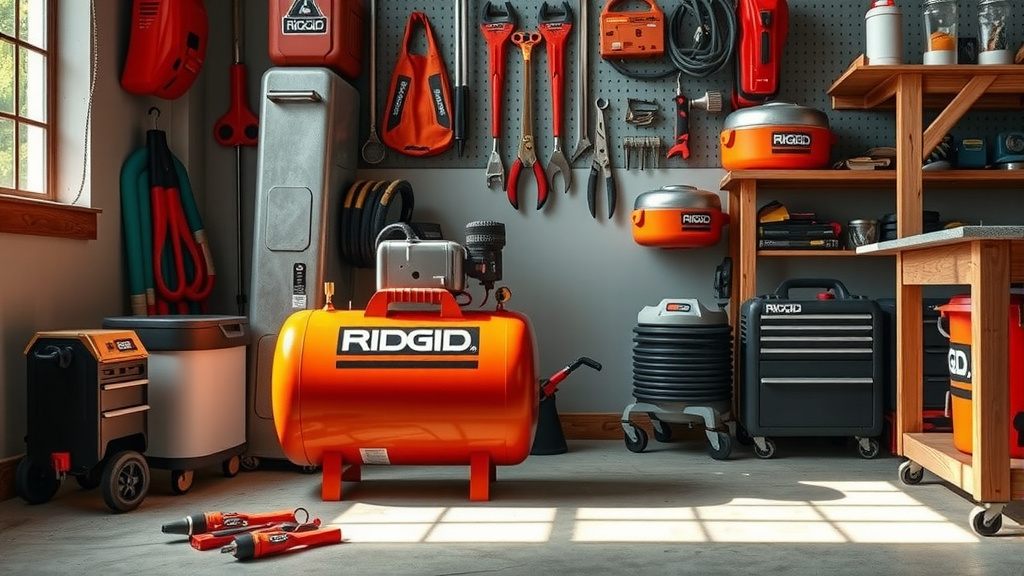
Understanding Your RIDGID Compressor’s Parts
Knowing your compressor’s key components makes using it much easier. You have the air tank, the motor, and the pump. Each part plays a vital role in its operation.
Look for the pressure gauge, which shows the air pressure inside the tank. The regulator allows you to adjust the output pressure for your tools. The quick-connect coupler is where your air hose attaches easily.
Setting Up Your Workspace
Position your RIDGID air compressor on a flat, stable surface. This prevents tipping and ensures proper operation. Air compressors can vibrate a lot, especially larger models.
Ensure there’s good ventilation around the compressor. The motor generates heat, and proper airflow prevents overheating. Giving it some space is like giving a runner room to breathe.
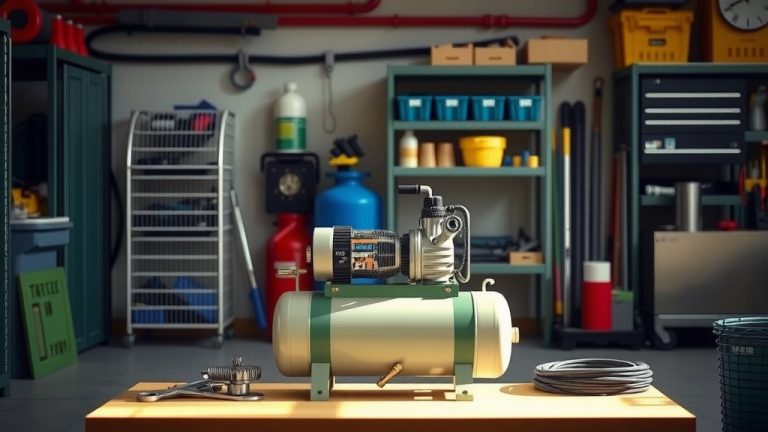
Connecting Your Air Tools
Connecting your air tool is often straightforward. Attach one end of your air hose to the compressor’s quick-connect coupler. Give it a firm tug to make sure it’s seated properly and won’t leak.
Then, attach the other end of the hose to your air tool. Again, a secure connection is key. A loose connection means lost air pressure and wasted energy, like a leaky garden hose.
Powering On and Building Pressure
Plug your RIDGID compressor into a suitable power outlet. Many models require a dedicated circuit. We found that using extension cords incorrectly can cause power issues or even damage.
Flip the power switch to the “on” position. You’ll hear the motor start running. The compressor will begin filling the air tank. Watch the pressure gauge climb steadily.
Wait for the compressor to reach its maximum pressure and automatically shut off. This means the tank is full and ready. It’s like waiting for your coffee maker to finish brewing before pouring.
Adjusting Air Pressure for Your Project
Different air tools need different amounts of air pressure. Most tools have their recommended PSI listed right on them or in their manual. Using too much pressure can damage tools or materials.
Turn the regulator knob to adjust the output pressure. The regulator gauge shows the pressure going to your tool. Adjust it until it matches your tool’s requirement. This fine-tuning is important for precise work.
Using the Air Tool Effectively
With your tool connected and pressure set, you’re ready to work. Always maintain a firm grip on your tool. Direct the airflow or fastening action away from yourself and others.
Work steadily and safely. If the compressor kicks on during use, that’s normal; it’s just refilling the tank. Take breaks if you’re doing a long or intense project.
When You’re Done: Shutting Down Safely
When your project finishes, turn off the compressor at the power switch. Then, unplug it from the wall outlet. This prevents accidental restarts or power surges.
Bleed the air from the tank. You do this by opening the drain valve, usually located at the bottom of the tank. This removes moisture and prevents rust inside the tank. Many experts agree that draining moisture regularly extends compressor life (Compressor Manufacturers Association).
Essential Maintenance Tips
Regular maintenance keeps your RIDGID compressor running well. This includes draining the tank often and checking for air leaks. Think of it as routine care for your car.
Periodically inspect air filters and replace them if they are dirty. A clean filter helps the motor breathe easily. Also, check hoses and fittings for wear and tear or damage.
Troubleshooting Common Issues
Sometimes, your compressor might not work as expected. If it won’t start, check the power cord and circuit breaker. If it leaks air, inspect your connections and hoses for tightness or damage.
If the compressor runs constantly, it might have a leak or a faulty pressure switch. Small issues can often be fixed with a quick check or tightening. Your manual often has a troubleshooting section that is incredibly helpful.
Storing Your RIDGID Air Compressor
Store your compressor in a clean, dry place. Protect it from extreme temperatures. Moisture and cold can harm internal components and lead to rust.
Consider disconnecting hoses and attachments before storage. This prevents kinks in the hose and keeps everything organized. A little organization saves time later.
Choosing the Right Air Tool for the Job
Your RIDGID air compressor is versatile. But pairing it with the right tool is key. A small brad nailer needs less air than a larger impact wrench. Selecting the correct tool makes your work much more efficient.
Consider the CFM (Cubic Feet per Minute) and PSI requirements of your tools. Your compressor must supply enough air for the tool to operate correctly. It’s like making sure your car has enough horsepower for towing.
| Common Air Tool | Typical PSI Range | Best For… |
|---|---|---|
| Brad Nailer | 60-100 PSI | Light trim, small crafts |
| Finish Nailer | 70-120 PSI | Baseboards, crown molding |
| Stapler | 60-90 PSI | Upholstery, insulation, roofing |
| Impact Wrench | 90-120 PSI | Automotive repairs, heavy fastening |
| Blow Gun | 20-50 PSI | Cleaning, drying surfaces |
Air Compressor Do’s and Don’ts
- DO always read your RIDGID manual.
- DO wear safety gear.
- DO drain the air tank regularly.
- DO keep your workspace clear.
- DON’T leave the compressor unattended while running.
- DON’T use a damaged hose or faulty attachments.
- DON’T point air nozzles at people or pets.
- DON’T exceed the tool’s max pressure.
Conclusion
Mastering your RIDGID Air Compressor makes many home and shop projects easier. By following these simple setup, operation, and maintenance steps, you ensure safe and efficient use every time. Remember, patience and attention to detail go a long way in getting the most from your valuable tool. You’re now equipped to tackle those projects with confidence!
Frequently Asked Questions
What kind of oil does a RIDGID air compressor use?
Many RIDGID air compressors are oil-free, meaning they do not require oil for lubrication. If your specific model is an oil-lubricated type, it will typically use a specific synthetic air compressor oil. Always check your owner’s manual for the exact oil type and specifications to avoid damage.
How do I drain water from my RIDGID air compressor tank?
To drain water, first turn off and unplug the compressor. Then, locate the drain valve at the very bottom of the air tank. Slowly open this valve counter-clockwise to release any accumulated moisture and air pressure. Once drained, close the valve firmly. Perform this after each use or daily for heavy use.
Can I use an extension cord with my RIDGID air compressor?
Using an extension cord is often possible, but it must be the correct type. It needs to be heavy-duty, typically 12-gauge or thicker, and as short as possible to prevent voltage drop. An inadequate extension cord can cause the compressor to overheat or malfunction. Always refer to your manual for recommended cord specifications.
Why is my RIDGID air compressor constantly running?
A constantly running compressor often indicates an an air leak in the tank or connections, or a problem with the pressure switch. Check all fittings, hoses, and valves for audible leaks. You can spray soapy water on suspected areas to see bubbles. If no leaks are found, the pressure switch might need inspection or replacement.
What is the ideal PSI for general use with a RIDGID air compressor?
There isn’t one “ideal” PSI for general use, as it depends entirely on the air tool and the specific task. Most air tools have a recommended operating pressure range, typically between 60-120 PSI. Always set your regulator to the tool’s specified PSI to ensure optimal performance and tool longevity.