How To Use RIDGID Pancake Air Compressor?

To use a RIDGID pancake air compressor, first ensure it’s placed on a stable, level surface, then connect your air hose and chosen pneumatic tool to the compressor’s quick-connect coupler.
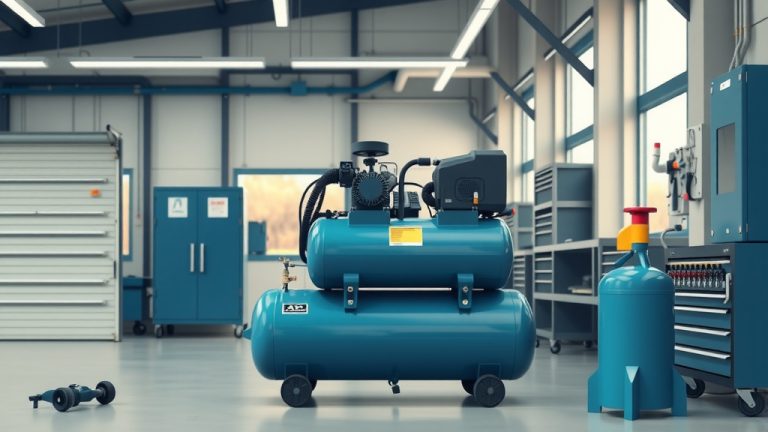
Power on the unit, allow it to build pressure to its maximum PSI, and then adjust the regulator to the working pressure required by your specific application, like powering a nail gun or inflating tires.
Here’s a quick overview of what you’ll find:
- You’ll learn how to set up your RIDGID pancake compressor safely and quickly.
- We cover connecting your tools and getting them ready for action.
- Discover essential tips for operation and basic maintenance.
- Get practical advice to tackle common DIY projects with ease.
How To Use RIDGID Pancake Air Compressor?
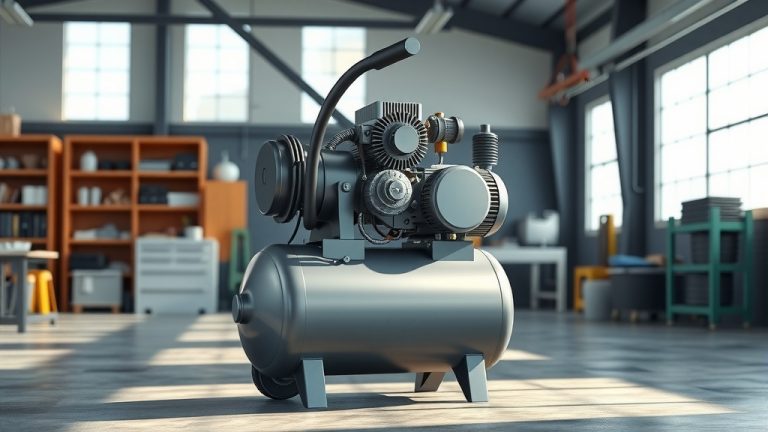
Using your RIDGID pancake air compressor involves a few straightforward steps, from initial setup to powering your favorite tools. You’ll quickly get the hang of harnessing this machine’s power for your projects.
Unboxing and First Impressions
When you first get your RIDGID pancake compressor, take a moment to look it over. Is everything intact? Are there any visible damages from shipping? Most experts suggest you always inspect new equipment right away.
These compressors are known for their compact size and portability, making them perfect for moving around your workshop or job site. They’re designed for convenience.
Safety First: Your Number One Priority
Before you even think about plugging it in, let’s talk safety. Air compressors can be powerful, and understanding the risks helps you stay safe. Always wear eye protection – safety glasses are non-negotiable.
We also found that hearing protection is a good idea, especially during prolonged use (OSHA guidelines often mention this). Compressed air can be loud. Also, never point an air nozzle at yourself or others; it’s not a toy!
Essential Safety Checklist
- Wear safety glasses.
- Use hearing protection.
- Ensure adequate ventilation in your workspace.
- Keep children and pets away from the operating compressor.
- Read your compressor’s instruction manual thoroughly.
- Check for damaged hoses or fittings before each use.
Choosing the Right Location
Where should you put your compressor? Find a flat, stable surface. This helps prevent the unit from tipping over while running. Good ventilation is also key; the compressor generates heat, and it needs to cool down properly.
Keep it away from walls by a few inches to allow for air circulation. This helps to maintain the compressor’s motor life. We found that proper placement significantly impacts performance.
Connecting Your Air Hose
Your RIDGID pancake compressor will have a quick-connect coupler. This is where your air hose attaches. Simply push the male fitting of your air hose into the female coupler until it clicks securely. Give it a gentle tug to confirm it’s seated.
Many users say this quick-connect feature makes tool changes incredibly fast. No special tools are needed for this part.
Powering On Your Compressor
Now, plug your compressor into a grounded electrical outlet. Make sure the outlet can handle the compressor’s power draw; a dedicated circuit is often best. Flip the power switch to the “On” position.
You’ll hear the motor start and the tank begin to fill with air. This is the compressor building pressure. It will run until it reaches its maximum PSI, then it will automatically shut off.
Setting Your Working Pressure
Once the tank is full, look for the pressure regulator knob. This allows you to control the air pressure delivered to your tools. You’ll also see two gauges: one shows tank pressure, and the other shows regulated output pressure.
Turn the knob to adjust the output pressure to match your tool’s requirement. For example, a brad nailer might need 70-90 PSI, while inflating tires might need less. Consult your tool’s manual for its recommended PSI range.
Attaching Your Pneumatic Tool
Just like the air hose, your pneumatic tool (nail gun, impact wrench, tire inflator) will have a male quick-connect fitting. Push it into the hose’s female quick-connect. You’re ready to go!
Always ensure your tool is set up correctly and has any required lubrication before operating it. Think of it like making sure your car has gas before a trip.
Operating Your Tool
With everything connected and pressure set, you can now operate your pneumatic tool. As you use air, the compressor’s tank pressure will drop. When it reaches a certain point, the motor will kick back on automatically to refill the tank.
This auto-start/stop feature helps maintain consistent pressure and prevents over-pressurization, keeping you working smoothly. It’s a smart system built into most modern compressors.
Shutting Down and Depressurizing
When you’re finished, first turn off the compressor’s power switch. Then, disconnect your pneumatic tool. Before storing, it’s very important to drain the air from the tank.
Locate the drain valve, usually at the bottom of the tank, and slowly open it. You’ll hear the air hiss out. Let all the air escape, then close the drain valve. This prevents rust buildup inside the tank, extending its life.
Basic Maintenance Tips
Regular maintenance keeps your RIDGID compressor running like new. We found a few simple tasks can make a big difference.
Always drain the tank after each use. This prevents moisture from causing rust, which is a common issue with neglected compressors (Many sources, including manufacturer guides, emphasize this). Also, occasionally check the air filter and clean or replace it if it looks dirty.
Common Compressor Uses and Required PSI
| Application | Typical PSI Range | Why it matters |
|---|---|---|
| Brad/Finish Nailing | 70-90 PSI | Enough force for consistent fastener depth. |
| Stapling | 60-80 PSI | Securely fasten materials without damage. |
| Tire Inflation (Car) | 25-35 PSI | Matches standard vehicle tire pressure. |
| Blow Gun Cleaning | 30-50 PSI | Efficiently clears dust and debris. |
Troubleshooting Common Issues
What if your compressor isn’t working right? Sometimes, it’s a simple fix. If the compressor won’t start, check the power cord and the circuit breaker. Is the tank leaking air? Check all connections for tightness.
If it runs constantly without building pressure, you might have a leak or a faulty check valve. Consulting your user manual for the specific model often has a troubleshooting section that’s incredibly helpful.
Conclusion
Using your RIDGID pancake air compressor is a straightforward process once you understand the basic steps and safety precautions. By setting it up correctly, connecting your tools, and following simple maintenance routines, you’ll find it an incredibly versatile tool for countless projects. Remember, safety always comes first, and taking a few minutes for proper care will ensure your compressor serves you well for many years.
Frequently Asked Questions About RIDGID Pancake Air Compressors
What is a pancake air compressor best for?
Pancake air compressors are generally best for light to medium-duty tasks, such as operating brad nailers, finish nailers, staplers, and tire inflators. Their compact size and portability make them ideal for DIY projects, trim work, and small workshops where space is limited.
How long does it take for a RIDGID pancake compressor to fill up?
The fill time for a RIDGID pancake compressor can vary based on the specific model and its tank size, but typically, it takes only a few minutes to fill from empty to maximum pressure. For example, many models can fill their 6-gallon tank in about 1-2 minutes.
Can I use an impact wrench with a pancake compressor?
While some lighter-duty impact wrenches might work for short bursts, pancake compressors generally do not have enough CFM (Cubic Feet per Minute) output to sustain continuous use of larger impact wrenches. These tools demand a higher air volume than typical pancake models can consistently provide.
Do RIDGID pancake compressors require oil?
Most modern RIDGID pancake air compressors are designed to be oil-free. This means you do not need to add or change oil, making maintenance simpler and reducing the risk of oil-related issues. Always check your specific model’s manual to confirm if it’s an oil-free unit.
How do I drain water from my RIDGID pancake compressor?
To drain water from your RIDGID pancake compressor, first ensure the compressor is off and unplugged, then locate the drain valve at the bottom of the air tank. Slowly open this valve counter-clockwise to allow any accumulated moisture to escape. Close the valve tightly once all the water and air have been expelled.