How To Use RIDGID 6 Gallon Air Compressor?
To use your RIDGID 6 Gallon Air Compressor, first, connect your air hose and chosen air tool securely to the quick-connect coupler. Then, plug the compressor into a grounded outlet, allow it to build pressure, and adjust the regulator knob to your tool’s recommended PSI.
Always prioritize safety by wearing eye and hearing protection, and double-check all connections before operating the RIDGID 6 Gallon Air Compressor. Reading the user manual provides tool-specific guidance for optimal performance.
- Get your RIDGID 6 Gallon Air Compressor ready for action by understanding its basic parts and safety steps first.
- Connecting your air hose and tools is simple, but setting the correct air pressure (PSI) is key for a smooth project.
- Discover how to operate the compressor effectively for various tasks, from inflating tires to powering nail guns.
- Keep your compressor in top shape with easy maintenance tips, including draining condensation.
- Shut down and store your unit properly to ensure its longevity and readiness for your next big idea.
How To Use RIDGID 6 Gallon Air Compressor?
Using your RIDGID 6 Gallon Air Compressor means connecting your air tools, setting the pressure, and letting the compressor do the hard work. It’s about empowering your projects with a reliable air source, helping you tackle various tasks with ease.
Unboxing and First Steps
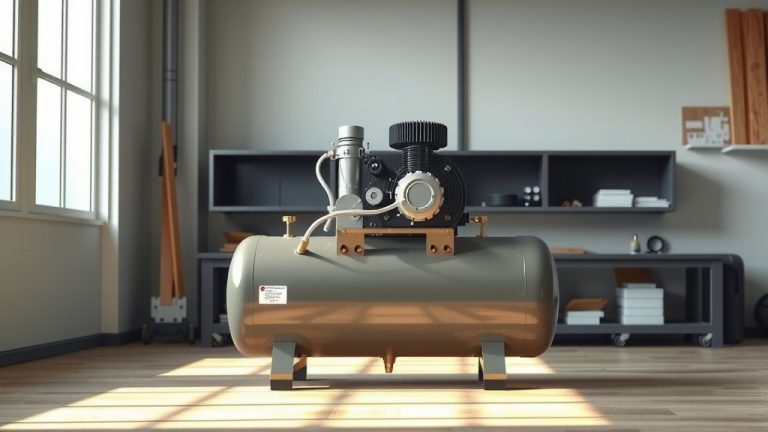
When you first get your new RIDGID 6 Gallon Air Compressor, it’s exciting! Pulling it out of the box is just the start. Take a moment to look over the compressor itself. Are there any obvious dings or issues? Most likely, it will be perfect and ready for action.
You’ll notice the sturdy roll cage and the easy-to-read gauges. Before you do anything else, you’ll want to familiarize yourself with the manual. We found that a quick read-through can save you a lot of guesswork later (RIDGID Manufacturer Guidelines).
Safety First, Always!
Think of safety as your project’s guardian angel. Before you even plug in your RIDGID air compressor, put on your safety glasses and hearing protection. Many experts say that earplugs or earmuffs are non-negotiable, as compressors can be loud (OSHA Guidelines).
Also, make sure you’re working in a well-ventilated area. While this compressor is electric, you’re still dealing with pressurized air. Always check that the power outlet is grounded and in good condition.
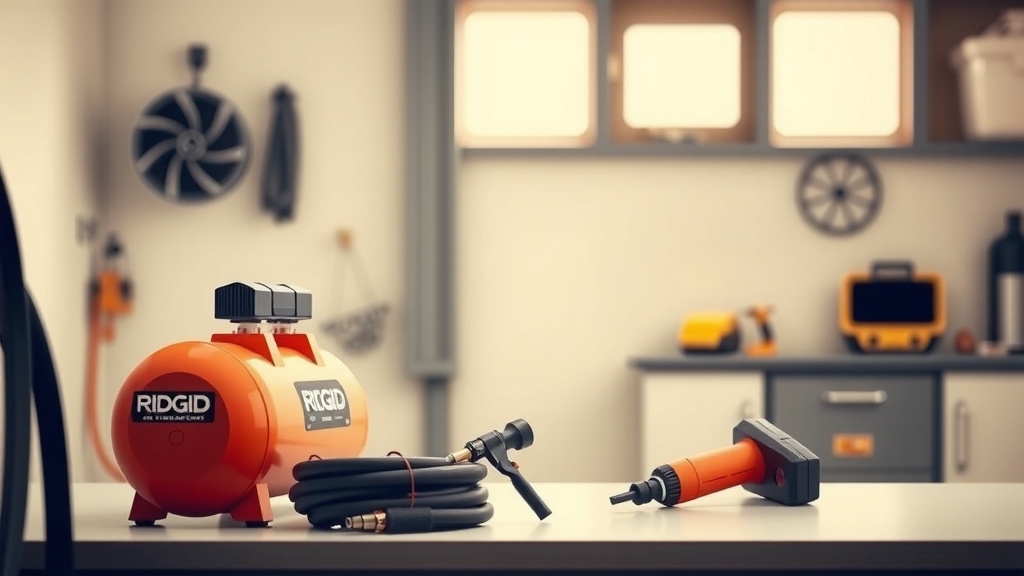
Getting Connected: Hoses and Tools
Connecting your air hose is usually a breeze. You’ll find a quick-connect coupler on your compressor. Just push the collar back, insert your air hose fitting, and release the collar. It should snap into place securely.
Now, connect your air tool to the other end of the hose the same way. Always give it a gentle tug to ensure it’s firmly attached. A loose connection means a leak, and a leak means wasted air pressure and efficiency.
Choosing the Right Air Tool
Your RIDGID 6 Gallon Air Compressor is versatile, but not every tool is a perfect match. Think about what you’re trying to do. Are you inflating tires, driving nails, or cleaning off your workbench? Each task needs a specific air tool.
For example, a tire inflator needs less air volume than an impact wrench. We found that matching your tool to your compressor’s capabilities (measured in CFM and PSI) gives you the best performance and prevents frustration.
Understanding PSI and CFM
PSI (Pounds per Square Inch) tells you the air pressure. CFM (Cubic Feet per Minute) indicates the volume of air flow. Your RIDGID 6 Gallon unit has a good balance of both, making it a solid choice for many DIY and professional tasks.
Most air tools have a recommended PSI listed right on them or in their manual. It’s like knowing the speed limit for your tool. Too little PSI, and the tool won’t work right. Too much, and you risk damaging the tool or your project.
Setting the Right Pressure
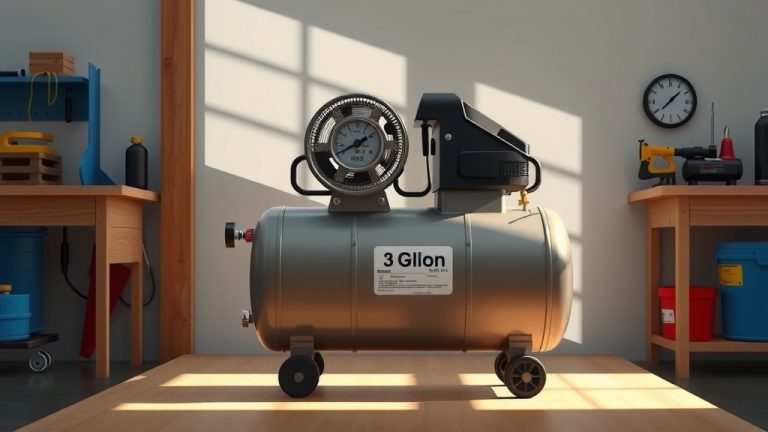
Once your tools are connected, it’s time to set the pressure. Plug in your compressor. It will power on and begin to build air pressure. You’ll hear it working, and the tank pressure gauge will rise. Once it reaches its max pressure, the motor will stop. This is normal.
Now, look for the regulator knob. This allows you to adjust the *output* pressure for your tools. Turn the knob clockwise to increase PSI and counter-clockwise to decrease it. Keep an eye on the regulated pressure gauge as you adjust. We found that fine-tuning this is the key to smooth operation.
| Common Air Tool | Recommended PSI Range | Typical Use |
|---|---|---|
| Tire Inflator | 20-50 PSI | Car tires, bike tires, sports balls |
| Brad Nailer | 70-100 PSI | Trim work, small woodworking projects |
| Blow Gun | 20-60 PSI | Cleaning, drying surfaces |
| Stapler | 70-100 PSI | Upholstery, light framing |
Powering Up and Operating Your Compressor
With the pressure set, you’re ready to go! The RIDGID 6 Gallon Air Compressor is designed for straightforward use. Simply pull the trigger on your air tool, and the pressurized air will activate it. If the tank pressure drops below a certain point, the compressor motor will automatically kick back on to recharge the tank.
This auto-cycle feature is super convenient, letting you work without constant monitoring. Just be aware of the noise when it restarts. Many users appreciate this compressor’s ability to maintain consistent pressure for sustained tasks, making your work easier.
What About Condensation?
Air compressors create condensation – it’s a natural part of compressing air. This water collects at the bottom of the tank. If you don’t drain it, it can lead to rust and potentially damage your compressor.
After each use, or at least regularly, you’ll want to drain the tank. Locate the drain valve at the bottom of the tank. With the compressor off and fully depressurized (important!), open the valve and let the water drain out. Close it tightly when finished.
Common Uses for Your RIDGID 6 Gallon Compressor
Your RIDGID 6 Gallon Air Compressor is a true workhorse for many homeowners and small workshops. It’s light enough to move around but powerful enough for a range of jobs. Think about what you need to get done, and chances are, this compressor can help.
Many experts point out its portability combined with sufficient power makes it a popular choice for everything from home renovations to routine maintenance (Tool Review Sites).
DIY Projects Made Easy
Imagine effortlessly nailing crown molding, quickly inflating pool toys, or even just blowing dust off your workshop bench. This compressor excels at these kinds of tasks. It’s perfect for projects like:
- Installing baseboards or trim with a finish nailer.
- Stapling fabric for upholstery work.
- Inflating vehicle tires, sports equipment, or air mattresses.
- Powering a blow gun for cleaning sawdust or drying surfaces.
- Light painting projects with a suitable spray gun (check CFM requirements).
Basic Troubleshooting Tips
Even the most reliable tools can have a hiccup. If your compressor isn’t working as expected, don’t panic. First, always check your power source. Is it plugged in firmly? Is the circuit breaker tripped?
If the compressor runs but doesn’t build pressure, check for air leaks in your hose or connections. Sometimes, a quick tightening is all it takes. If it overheats and shuts off, allow it to cool down before trying again. Always consult the manual for specific error codes or persistent issues.
When to Call for Help (or consult the manual)
While basic troubleshooting is helpful, sometimes the problem is more complex. If you hear unusual noises, smell burning, or the compressor simply won’t turn on despite checking the basics, it might be time to seek professional assistance or contact RIDGID customer support. Your manual will have contact information.
Proper Storage and Shutdown
After you’re done for the day, proper shutdown is just as important as proper startup. First, turn off the compressor. Then, release any remaining air pressure from the tank. You can usually do this by pulling the safety relief valve or simply by using an air tool until the tank is empty.
Once depressurized and drained of condensation, unplug the unit. Store your RIDGID 6 Gallon Air Compressor in a clean, dry place. Keeping it away from extreme temperatures and moisture will prolong its life significantly.
Pre-Use Checklist
A quick glance before you start can make all the difference:
- Are your safety glasses and hearing protection ready?
- Is the power cord in good condition and plugged into a grounded outlet?
- Are all hose and tool connections tight and leak-free?
- Is the tank drain valve closed securely?
- Have you set the regulator to the correct PSI for your tool?
Conclusion
Mastering your RIDGID 6 Gallon Air Compressor is about understanding its capabilities and following a few simple steps. From initial setup and prioritizing safety to connecting your tools and performing routine maintenance, each action contributes to a smoother, more efficient workflow. This versatile machine is designed to be a reliable partner in your projects, making tasks that once seemed daunting feel incredibly manageable. By treating your compressor with care and following these guidelines, you’ll find it an incredibly valuable addition to your toolkit, ready to power your ideas for years to come.
What kind of air tools can the RIDGID 6 Gallon Air Compressor power?
The RIDGID 6 Gallon Air Compressor is well-suited for a variety of common air tools, including brad nailers, finish nailers, staplers, tire inflators, blow guns, and even some smaller paint spray guns. Its 6-gallon tank and sufficient CFM output handle intermittent use of these tools effectively for DIY and light professional tasks.
How often should I drain the condensation from my air compressor?
Many manufacturers, including RIDGID, recommend draining the condensation from your air compressor tank after each use. This prevents rust buildup inside the tank, which can compromise its integrity and the quality of the air output over time.
Can I use an extension cord with my RIDGID 6 Gallon Air Compressor?
While generally not recommended, if you must use an extension cord, ensure it is a heavy-duty, outdoor-rated cord with the correct gauge (e.g., 12 or 10 gauge) and is as short as possible. An improper extension cord can cause voltage drop, leading to poor compressor performance or even motor damage.
What does “oil-free” mean for my air compressor?
“Oil-free” means the pump of your RIDGID 6 Gallon Air Compressor operates without lubrication, eliminating the need for oil changes and reducing maintenance. This also means the air produced is free of oil contaminants, which is beneficial for painting or certain sensitive applications.
My compressor won’t turn on. What should I check first?
If your RIDGID 6 Gallon Air Compressor won’t turn on, first check if it’s securely plugged into a working, grounded electrical outlet. Verify that the circuit breaker hasn’t tripped. Also, ensure the power switch on the compressor is in the “On” position. Sometimes, thermal overload protection might have activated if the unit was overworked; let it cool down before trying again.