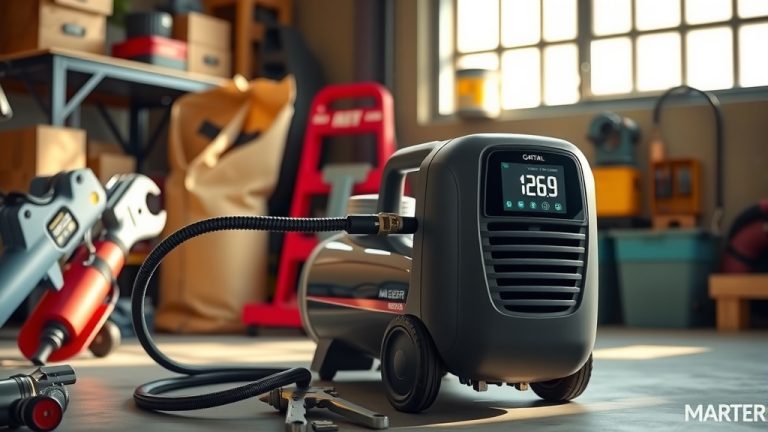
How To Change Air Compressor Attachments?
To change air compressor attachments, first disconnect the power and bleed all air from the tank for safety.
Then, pull back the collar on your quick-connect coupler to release the old tool, and push the new attachment firmly into place until it clicks.
- Always prioritize safety: disconnect power and bleed all air from the tank.
- Understand your quick-connect coupler type (e.g., industrial, automotive) for proper connection.
- To remove an attachment, simply pull back the coupler’s locking collar.
- To connect a new tool, push its plug firmly into the coupler until it locks into place.
- Always test connections for air leaks before putting your air compressor to full use.
Ever found yourself needing to swap out an air nailer for a tire inflator, or perhaps a paint sprayer for an air ratchet? Changing air compressor attachments is a common task for any air tool user. It might seem tricky at first, but with a few simple steps, you will become a pro. We found that understanding your equipment helps greatly with this.
This guide will walk you through the process, ensuring you can switch tools safely and efficiently. We want you to feel confident using your air compressor. Let’s dive in and make tool changes a breeze.
How To Change Air Compressor Attachments?
Changing air compressor attachments involves ensuring safety by bleeding air, then using the quick-connect coupler to remove one tool and secure another. This process is generally straightforward once you know the basics.
Why Change Attachments?
Your air compressor is a versatile powerhouse, much like a multi-tool for your workshop. One minute you might be inflating tires, the next you could be sanding furniture. This flexibility comes from being able to swap attachments quickly.
Changing tools lets you tackle many different jobs with a single compressor. It saves space and money. Many experts say that the right attachment for the job leads to better results and less effort.
Safety First: Before You Start
Before touching any attachment, safety must be your top priority. Air compressors store a lot of energy. Ignoring safety steps can lead to serious injury. Think of it like handling a loaded spring – you want to release the tension carefully.
We found that many common incidents happen due to neglecting these first few steps (OSHA guidelines often highlight this). Taking a moment to be safe saves a lot of trouble later. Always put your well-being first.
Essential Safety Checklist
- Disconnect the compressor from its power source.
- Turn off the air compressor switch.
- Bleed all air from the tank.
- Wear appropriate personal protective equipment (PPE).
- Ensure your work area is clear.
- Read your compressor’s manual for specific safety instructions.
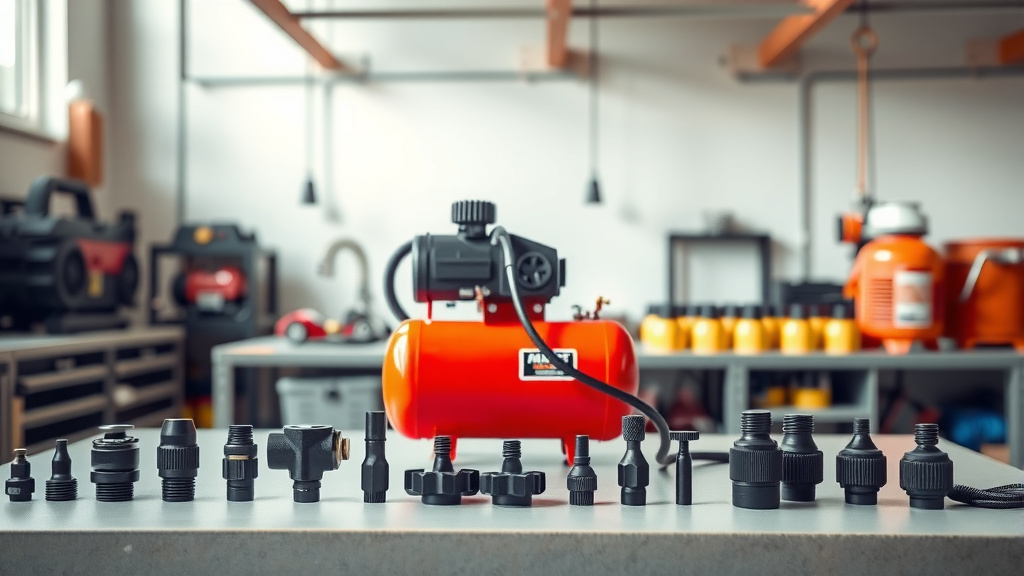
Understanding Quick-Connect Couplers
Quick-connect couplers are the heart of attachment changes. They allow for fast, easy tool swaps. Think of them as a high-tech handshake between your air hose and your tool.
These couplers consist of two parts: the coupler itself, usually on the hose, and the plug (or nipple), found on the tool. Many experts say that matching these two parts is key to a secure connection.
Types of Couplers: A Quick Look
Not all quick-connect couplers are the same. There are several common types, such as industrial (I/M), automotive (A/M), and universal. Using mismatched types can cause leaks or prevent connection. We found that checking compatibility early avoids frustration.
Most home and shop compressors use industrial or automotive styles. Always confirm what type you have. This ensures a snug and leak-free fit every time you connect a tool.
Step-by-Step: Removing an Attachment
Once your compressor is safely off and depressurized, removing an attachment is quick. It’s like unlatching a seatbelt. Your current tool has a plug inserted into the hose’s coupler. Many people find this process quite intuitive.
Simply grasp the outer collar of the coupler on the air hose. Pull this collar back firmly. As you pull, the tool’s plug will release, allowing you to easily detach the old tool. It should slide right out.
Step-by-Step: Connecting a New Attachment
Now, it’s time for your new tool! Connecting it is just as easy as removing the old one. This is where the “quick” in quick-connect really shines. We often see users successfully connect tools within seconds. Just be sure to align the pieces correctly.
Take the plug of your new attachment and push it firmly into the coupler on the air hose. You will hear a distinct “click” as it locks into place. Give the tool a gentle tug to ensure it’s secure. This confirms a proper and tight connection.
Checking for Leaks
After connecting a new attachment, always check for air leaks. A leak can reduce efficiency and put more strain on your compressor. It is like having a tiny hole in a balloon. Many experts recommend this crucial step. You will want to fix any leaks promptly.
Connect your compressor back to power and let it build pressure. Listen for hissing sounds around the coupler. You can also spray a soapy water solution on the connection; bubbles will indicate a leak. A leak-free connection is a happy connection.
Maintaining Your Couplers and Attachments
Regular maintenance can extend the life of your couplers and attachments. It’s like oiling a door hinge; a little care goes a long way. Clean couplers work better and last longer. We found that a simple cleaning routine keeps things smooth.
Periodically clean out any dirt or debris from inside the couplers and on the attachment plugs. A little bit of air tool oil can also help keep the internal mechanisms moving freely. Proper storage also helps prevent damage, ensuring your tools are ready when you are.
Common Air Compressor Attachment Types
Air compressors power a wide array of tools. Here is a brief overview of some common attachments you might encounter:
| Attachment | Common Uses |
|---|---|
| Tire Inflator | Inflating vehicle tires, sports equipment, air mattresses. |
| Air Blow Gun | Cleaning dust and debris from surfaces, drying parts. |
| Air Nailer/Stapler | Woodworking, framing, upholstery, various fastening tasks. |
| Paint Sprayer | Painting cars, furniture, walls, fences. |
| Impact Wrench | Loosening/tightening nuts and bolts, automotive work. |
Troubleshooting Connection Problems
Sometimes, an attachment just will not connect or disconnect easily. Don’t worry, this happens. Most times, it’s a minor issue. We found that a little troubleshooting often solves these hiccups.
First, double-check that the air pressure is fully bled. Stuck attachments can be due to residual pressure. Also, inspect the coupler and plug for damage or debris. A bent plug or gritty coupler can prevent a good connection. Sometimes, a quick clean or a drop of air tool oil is all it needs.
Conclusion
Changing air compressor attachments is a fundamental skill for anyone using these powerful tools. By following a few simple steps—prioritizing safety, understanding your quick-connect couplers, and performing basic maintenance—you can ensure smooth, efficient, and safe tool changes every time. Your air compressor is a versatile companion, and mastering attachment swaps helps you get the most out of it. Keep these tips handy, and you will find your projects run much more smoothly!
How do I know what type of quick-connect coupler I have?
You can usually determine the coupler type by examining its profile or checking your air hose or compressor manual. The most common types are Industrial (I/M), Automotive (A/M), and sometimes a Universal style. Comparing your existing plugs and couplers to images online can often help identify them. Many experts suggest sticking with one type across your tools for simplicity.
Can I use different brands of attachments with my air compressor?
Yes, generally, you can mix and match different brands of attachments with your air compressor, as long as the quick-connect plugs on the attachments are compatible with the coupler on your air hose. The key is the coupler type (e.g., Industrial, Automotive), not the brand itself. We found that most air tools use standard plug sizes.
What if my attachment is stuck and won’t disconnect?
If an attachment is stuck, first ensure the air compressor is off and all air pressure is bled from the tank and hose. Residual pressure can make it impossible to disconnect. If it’s still stuck, inspect the coupler and attachment plug for debris, rust, or damage. A gentle wiggle and pulling the collar back firmly often works. Avoid excessive force to prevent damage.
Do I need to lubricate air compressor attachments or couplers?
While not every attachment needs lubrication, regularly adding a few drops of air tool oil to the air inlet of your pneumatic tools helps lubricate their internal mechanisms, extending their life. For couplers, occasionally cleaning them and applying a very small amount of silicone lubricant or air tool oil to the moving parts can help maintain smooth operation and prevent sticking. Many guidelines point to regular lubrication as a good practice (tool manufacturer recommendations).
How often should I check my air hose and couplers for wear?
It is good practice to visually inspect your air hose and couplers before each use for any signs of wear, cracks, bulges, or leaks. A more thorough check should be done at least quarterly, or more often if you use your compressor frequently. Look for damage to the hose, corrosion on couplers, and ensure all connections are secure. Research often connects regular inspection with safer tool operation.