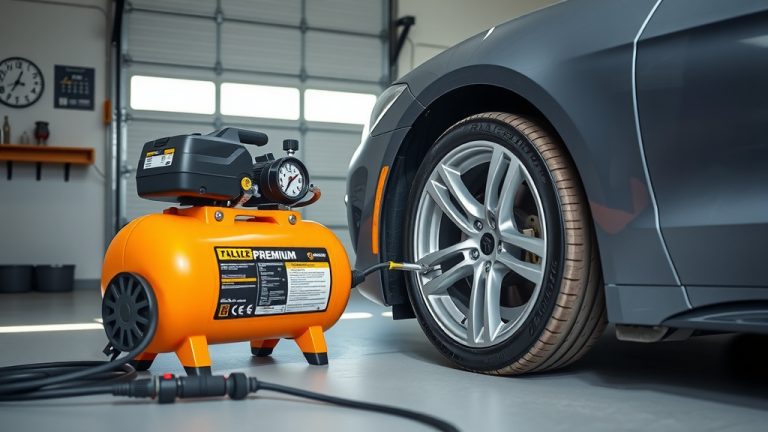
How To Change Air Compressor Tip?
Changing an air compressor tip often involves safely removing the old nozzle and securely fitting a new one, ensuring your unit operates at its best.
You can change an air compressor tip by first disconnecting power, releasing pressure, then unscrewing or prying off the worn tip and installing its replacement.
- Always prioritize safety: disconnect power and drain air pressure first.
- Gather the correct tools like wrenches or pliers for a smooth tip replacement.
- Inspect your current tip for wear signs before deciding on a change.
- Choose the right replacement tip to match your compressor and task.
- Follow specific steps for removal and installation to avoid damage or leaks.
How To Change Air Compressor Tip?
To change an air compressor tip, you must first power down the unit and relieve all air pressure. Then, carefully remove the old tip using appropriate tools and securely attach the new one, checking for proper fit.
Why Bother Changing Your Air Compressor Tip?
You might wonder why changing a small tip matters. A fresh tip helps your compressor work efficiently. It ensures a consistent air stream, which is vital for many tasks. Think of it like a good pen writing smoothly.
A worn tip can cause air leaks or reduce pressure. This means your compressor has to work harder. Working harder uses more energy, costing you money (Many experts say).
Spotting the Signs: When to Change Your Tip
How do you know it’s time for a change? You’ll often see visible signs of wear. The tip might look bent, cracked, or corroded. These are clear indicators.
You might also notice a drop in performance. Is your air tool feeling weaker? Is paint spraying inconsistently? These are common clues. We found that reduced efficiency often points to a worn tip.
Listen for Leaks
Sometimes, you can hear air escaping. A distinct hissing sound often means your tip is not sealing right. This wastes air and makes your compressor run more frequently.
What Tools Will You Need?
Before you start, gather your tools. You’ll likely need a wrench, pliers, or a screwdriver. The exact tools depend on your compressor model.
Having a clean cloth and a small wire brush can also be handy. These help clean the area before installing the new tip. A clean fit is a good fit.
Safety First: Pre-Replacement Steps
Safety is not just a suggestion; it’s a rule. You are working with compressed air. Always start by unplugging your compressor from its power source.
Next, you need to release all the air pressure. Open the drain valve or activate a tool connected to the hose. Wait until the pressure gauge reads zero. This step is critically important for your safety (Industry standards recommend).
Check the Manual
Before any work, quickly check your compressor’s manual. It might have specific instructions for your model. This small step can save you time and trouble later.
Step-by-Step Guide to Changing Your Air Compressor Tip
Okay, let’s get into the actual process. It’s usually straightforward, but patience helps. You’ve got this.
Removing the Old Tip
First, grab your wrench or pliers. Most tips either screw on or are held by a locking mechanism. Turn counter-clockwise to loosen screw-on tips.
If it’s a quick-connect tip, you might need to pull back a collar. Sometimes, a little force is needed if the tip is stuck. Just be gentle not to damage other parts.
Once loose, carefully pull or unscrew the old tip completely off. Set it aside. You might want to compare it to your new tip.
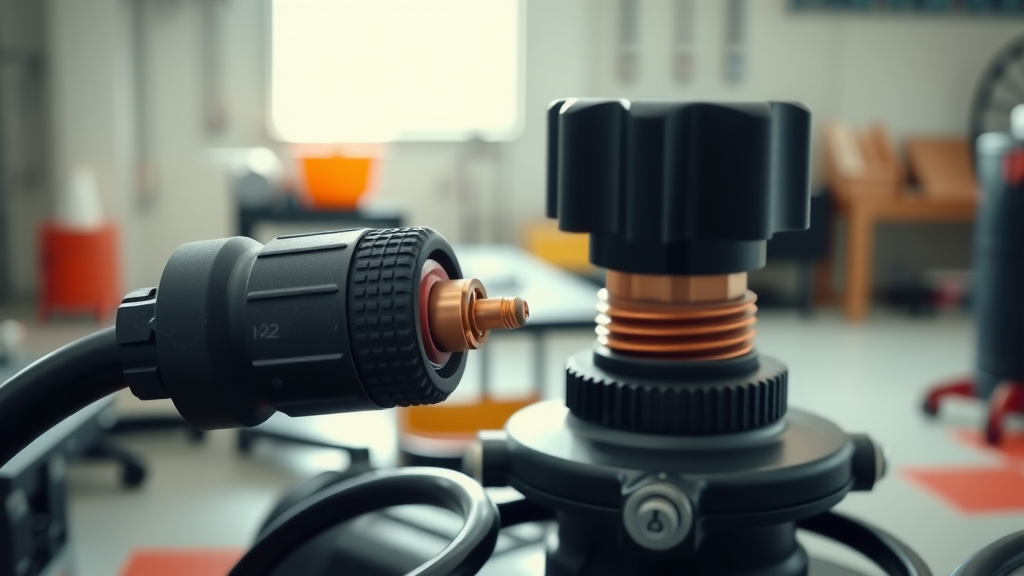
Cleaning the Connection Point
This is a small but important step. Use your wire brush or clean cloth. Wipe away any dirt, debris, or old sealant from the connection point. A clean surface helps ensure a tight, leak-free seal.
Installing the New Tip
Take your new air compressor tip. Make sure it’s the correct size and type. Align it with the connection point.
If it’s a screw-on tip, twist clockwise until it’s hand-tight. Then, use your wrench to tighten it a bit more. Avoid overtightening; it can strip threads.
For quick-connect tips, push it firmly into place until it clicks. Give it a gentle tug to ensure it’s locked. Many experts suggest this double-check.
Testing for Leaks
After installation, you need to test. Plug in your compressor and let it build up pressure. Don’t connect any tools yet.
Mix some soapy water in a spray bottle. Spray the connection point of the new tip. If you see bubbles forming, you have a leak. Tighten the tip slightly more or re-seat it.
Choosing the Right Replacement Tip
This might seem simple, but tips vary. You need to match the size and thread type. Your compressor manual will often list the correct specifications.
Consider the material as well. Brass tips are common and durable. For heavy-duty use, stainless steel might be a better choice. We found that choosing the right material improves longevity.
Common Pitfalls and How to Avoid Them
- Overtightening: You can strip threads or damage the tip. Use firm but gentle pressure.
- Wrong Tip Size: A tip that doesn’t fit won’t seal, leading to leaks. Always double-check your specs.
- Forgetting to Depressurize: This is a serious safety risk. Always release all air pressure first.
- Skipping the Leak Test: You could be wasting air and energy without knowing it. Always test.
Troubleshooting Common Issues After Tip Change
Sometimes things don’t go perfectly. Here’s a quick guide for common problems you might encounter.
| Problem | Possible Cause | Solution |
|---|---|---|
| Air leak (hissing) | Loose connection, damaged O-ring | Tighten tip, inspect/replace O-ring |
| Low air pressure | Tip too restrictive, leak still present | Check tip size, re-test for leaks |
| Tip won’t connect | Incorrect tip size/type, debris | Verify compatibility, clean connection |
Maintaining Your Air Compressor for Tip Longevity
A little care goes a long way. Regularly draining your compressor tank prevents rust. Rust can then damage connections and tips.
Keep your air lines clean and free of kinks. This helps maintain consistent pressure. Consistent pressure reduces strain on your tip.
Regular Inspection Checklist
Here’s a quick checklist to keep your compressor in top shape and make your tips last longer:
- Check air lines for cracks or wear.
- Inspect the air filter regularly.
- Drain condensation from the tank weekly.
- Wipe down exterior connections.
- Listen for unusual noises during operation.
Conclusion
Changing an air compressor tip is a simple yet impactful maintenance task. By following these steps, you ensure your compressor runs safely and efficiently. Remember, a well-maintained tool lasts longer and performs better.
Don’t let a worn tip slow you down or waste energy. A small investment of time in maintenance can save you frustration and costs in the long run. Keep those projects moving smoothly!
How often should I change my air compressor tip?
The frequency depends on usage and tip material. For heavy daily use, you might change it every few months. For occasional use, once a year or when you notice performance issues is often enough. Always inspect it regularly for visible signs of wear or damage.
Can I use any tip on my air compressor?
No, you cannot use just any tip. You need to match the tip’s size, thread type, and connection style (e.g., NPT, quick-connect) to your compressor’s hose or tool. Using the wrong tip can lead to leaks, damage, or improper function.
What are the benefits of using a high-quality air compressor tip?
Using a high-quality air compressor tip offers several benefits. It provides better sealing, reducing air leaks and increasing efficiency. High-quality materials like brass or stainless steel also offer greater durability and resistance to corrosion, extending the tip’s lifespan and improving overall performance.
What if the old tip is stuck and won’t come off?
If the old tip is stuck, first ensure all air pressure is released. You can try applying a penetrating oil to the threads and letting it sit for a few minutes. Then, use a wrench or pliers with firm, steady pressure. Sometimes, gently tapping the connection point can help loosen it, but avoid excessive force to prevent damage.
Is it normal for air compressor tips to wear out?
Yes, it is completely normal for air compressor tips to wear out over time. They are often exposed to friction, high-pressure air, and sometimes corrosive elements, especially if moisture is present in the air line. Regular use naturally causes wear, making periodic replacement a standard maintenance practice.