How To Put Air In Air Compressor?
To put air in an air compressor, you simply connect it to a power source, ensure the tank drain valve is closed, and then allow it to run until it reaches its automatic shut-off pressure. This process fills the storage tank with pressurized air.
You are essentially waiting for the compressor’s motor and pump to convert ambient air into a compressed state, storing it for your various pneumatic tool needs.
- Running an air compressor to fill its tank is straightforward: plug it in, close the drain valve, and let it build pressure.
- Always check your compressor’s oil (if applicable) and ensure connections are secure before starting.
- The compressor will automatically stop once it hits its factory-set maximum pressure, saving you from overfilling.
- Regular maintenance, like draining condensation, keeps your air compressor healthy and ready to go.
- Properly filling your tank ensures you have a consistent and reliable air supply for all your projects.
How To Put Air In Air Compressor?
You put air in an air compressor by plugging it in, closing the drain valve, and letting its motor and pump do the work until it automatically stops.
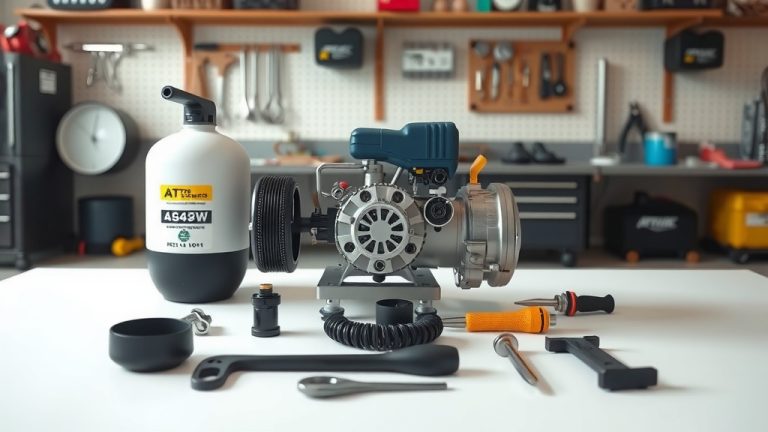
Understanding Your Air Compressor First
Before you start, take a moment to understand your air compressor. Is it an oil-lubricated or oil-free model? Knowing this helps with basic maintenance.
You will find that most compressors have a power switch, a pressure gauge, a regulator, and a drain valve. Getting familiar with these parts helps you use it safely.
Getting Ready: Safety Checks Are Key
Safety is not just a buzzword; it’s a necessity. Always wear safety glasses when working with compressed air. It’s like wearing a helmet on a bike; it just makes sense.
Before even thinking about power, check all your hoses and fittings. Look for any cracks or loose connections. A loose fitting can cause an unexpected burst of air, which is not fun.
Connecting to Power: The Right Way
Plug your air compressor into a suitable power outlet. Many experts say that for larger compressors, a dedicated circuit is often best (OSHA guidelines).
Avoid using extension cords if possible. If you must use one, make sure it’s a heavy-duty, grounded cord rated for the compressor’s wattage. Think of it as matching a key to a lock; the right fit prevents issues.
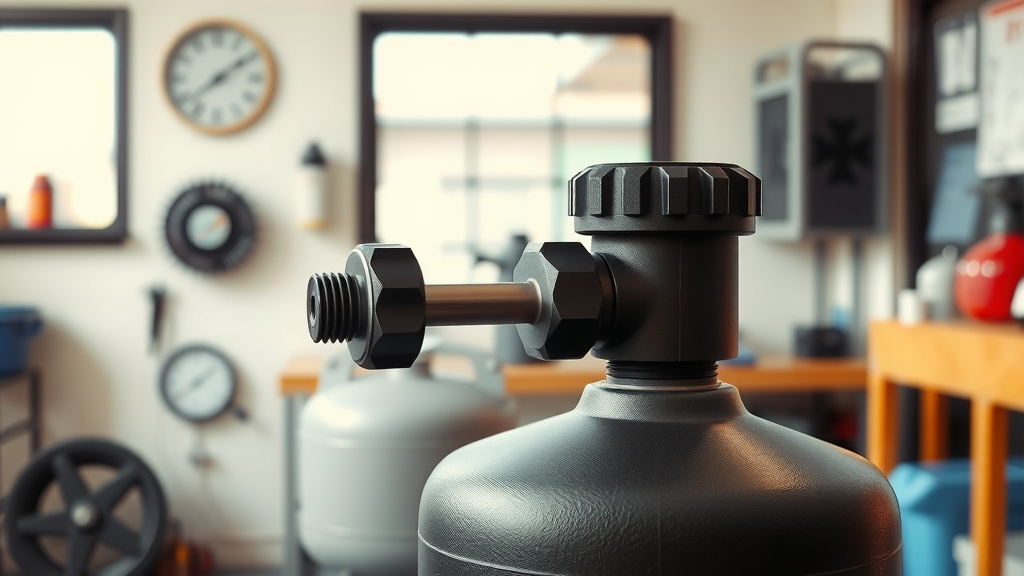
Closing the Drain Valve: A Crucial Step
At the bottom of your compressor’s air tank, you’ll find a drain valve. This valve needs to be **fully closed** before you start filling the tank.
If it’s open, all your efforts to put air in will just lead to air escaping. It’s like trying to fill a bucket with a hole in the bottom, quite inefficient.
Checking the Oil Level (If Applicable)
For oil-lubricated compressors, this is a quick but **vital check**. You’ll usually find a dipstick or a sight glass.
Ensure the oil level is within the manufacturer’s recommended range. Running an oil-lubricated compressor without enough oil can cause significant damage, much like driving a car without oil.
Quick Oil Level Checklist
- Locate the oil fill cap or dipstick.
- Unscrew and remove the dipstick.
- Wipe it clean, then reinsert it fully.
- Remove it again and check the oil level.
- Add recommended compressor oil if too low.
- Do not overfill; this can also cause problems.
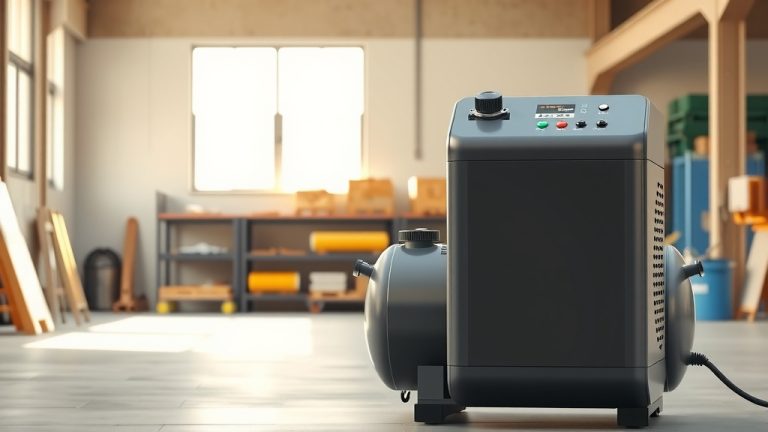
Turning On Your Compressor
Now, flip the power switch to the “On” position. You will hear the motor kick in and the pump begin to work. It’s a bit like an engine starting up.
The compressor is now actively drawing in ambient air and compressing it into the storage tank. You might feel a slight vibration, which is normal.
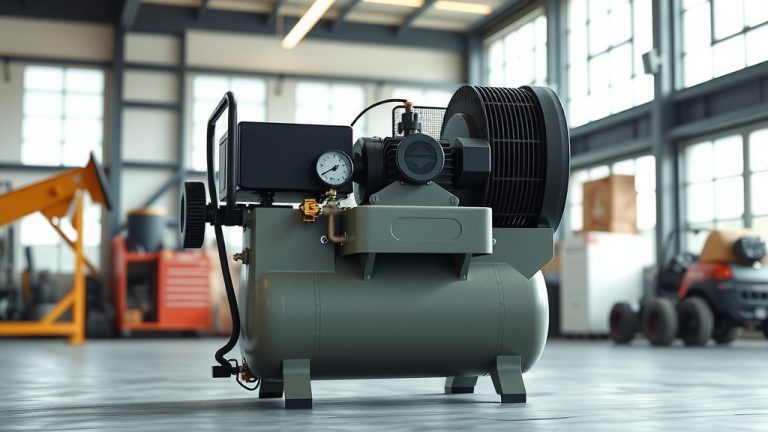
Monitoring the Pressure Gauge
Keep an eye on the pressure gauge. You will see the needle slowly climb as the tank fills with air. It’s satisfying to watch, isn’t it?
Your compressor is designed to **automatically shut off** once it reaches its preset maximum pressure. This prevents over-pressurization and ensures safe operation.
What Happens When It Stops?
When the compressor reaches its maximum pressure, it will automatically turn off. This is a normal and expected function.
At this point, your air tank is full and ready for use. It’s like a battery fully charged, ready to power your tools.
Setting the Regulator for Your Tools
The air compressor’s tank pressure is often higher than what your tools need. Use the pressure regulator to **adjust the output air pressure** to your desired PSI.
Many pneumatic tools have specific pressure requirements (e.g., 90 PSI for an impact wrench). Consult your tool’s manual for the correct setting.
Connecting Your Air Hose and Tools
Now you can connect your air hose to the compressor’s air outlet. Then, attach your desired pneumatic tool to the other end of the hose.
Always ensure connections are secure. A quick-connect fitting should snap firmly into place, providing a reliable seal.
Don’t Forget Regular Maintenance!
Draining the condensation from your tank after each use is incredibly important. Moisture can lead to rust inside the tank, which weakens it over time (Compressed Air & Gas Institute).
Regularly check and clean or replace the air filter. A clogged filter makes your compressor work harder, consuming more energy and reducing efficiency.
| Step | Action | Why It Matters |
|---|---|---|
| 1 | Close Drain Valve | Prevents air loss during fill. |
| 2 | Check Oil (if applicable) | Protects internal components from wear. |
| 3 | Plug In Securely | Ensures proper power flow and safety. |
| 4 | Turn On Power | Activates pump to compress air. |
| 5 | Monitor Gauge | Confirms pressure build-up and auto-shutoff. |
| 6 | Set Regulator | Matches air pressure to tool needs. |
Conclusion
Putting air in your air compressor is a straightforward process that becomes second nature with a little practice. By following these steps, from basic safety checks to understanding your pressure gauge, you ensure both the longevity of your equipment and the efficiency of your projects. Remember, a well-maintained compressor is a reliable compressor, ready to tackle any task you throw its way.
How do I know my air compressor tank is full?
Your air compressor tank is full when the unit automatically shuts off. You can also confirm this by looking at the pressure gauge, which will typically show the maximum pressure rating for your specific model, often around 120-175 PSI.
Can I leave air in my compressor tank when not in use?
While you can leave some air in the tank, it’s generally recommended to drain the air (and condensation) after each use, especially for longer storage. This helps prevent rust and corrosion inside the tank, extending its lifespan.
How long does it take for an air compressor to fill up?
The time it takes to fill an air compressor tank varies greatly depending on its tank size (gallons) and the compressor’s motor power (horsepower and CFM rating). Smaller pancake compressors might fill in a few minutes, while larger industrial units can take longer.
Why is my air compressor not building pressure?
If your air compressor is not building pressure, check for common issues such as an open drain valve, loose hose connections, a faulty pressure switch, a damaged check valve, or a worn-out pump. A clogged air filter can also reduce efficiency.
Do I need to regulate the pressure every time I use a tool?
Yes, you should always set the regulator to the recommended pressure for the specific tool you are using. This ensures optimal tool performance, prevents damage to the tool, and promotes safe operation. Think of it as fine-tuning for the best results.